Pág. 12
Set up
English
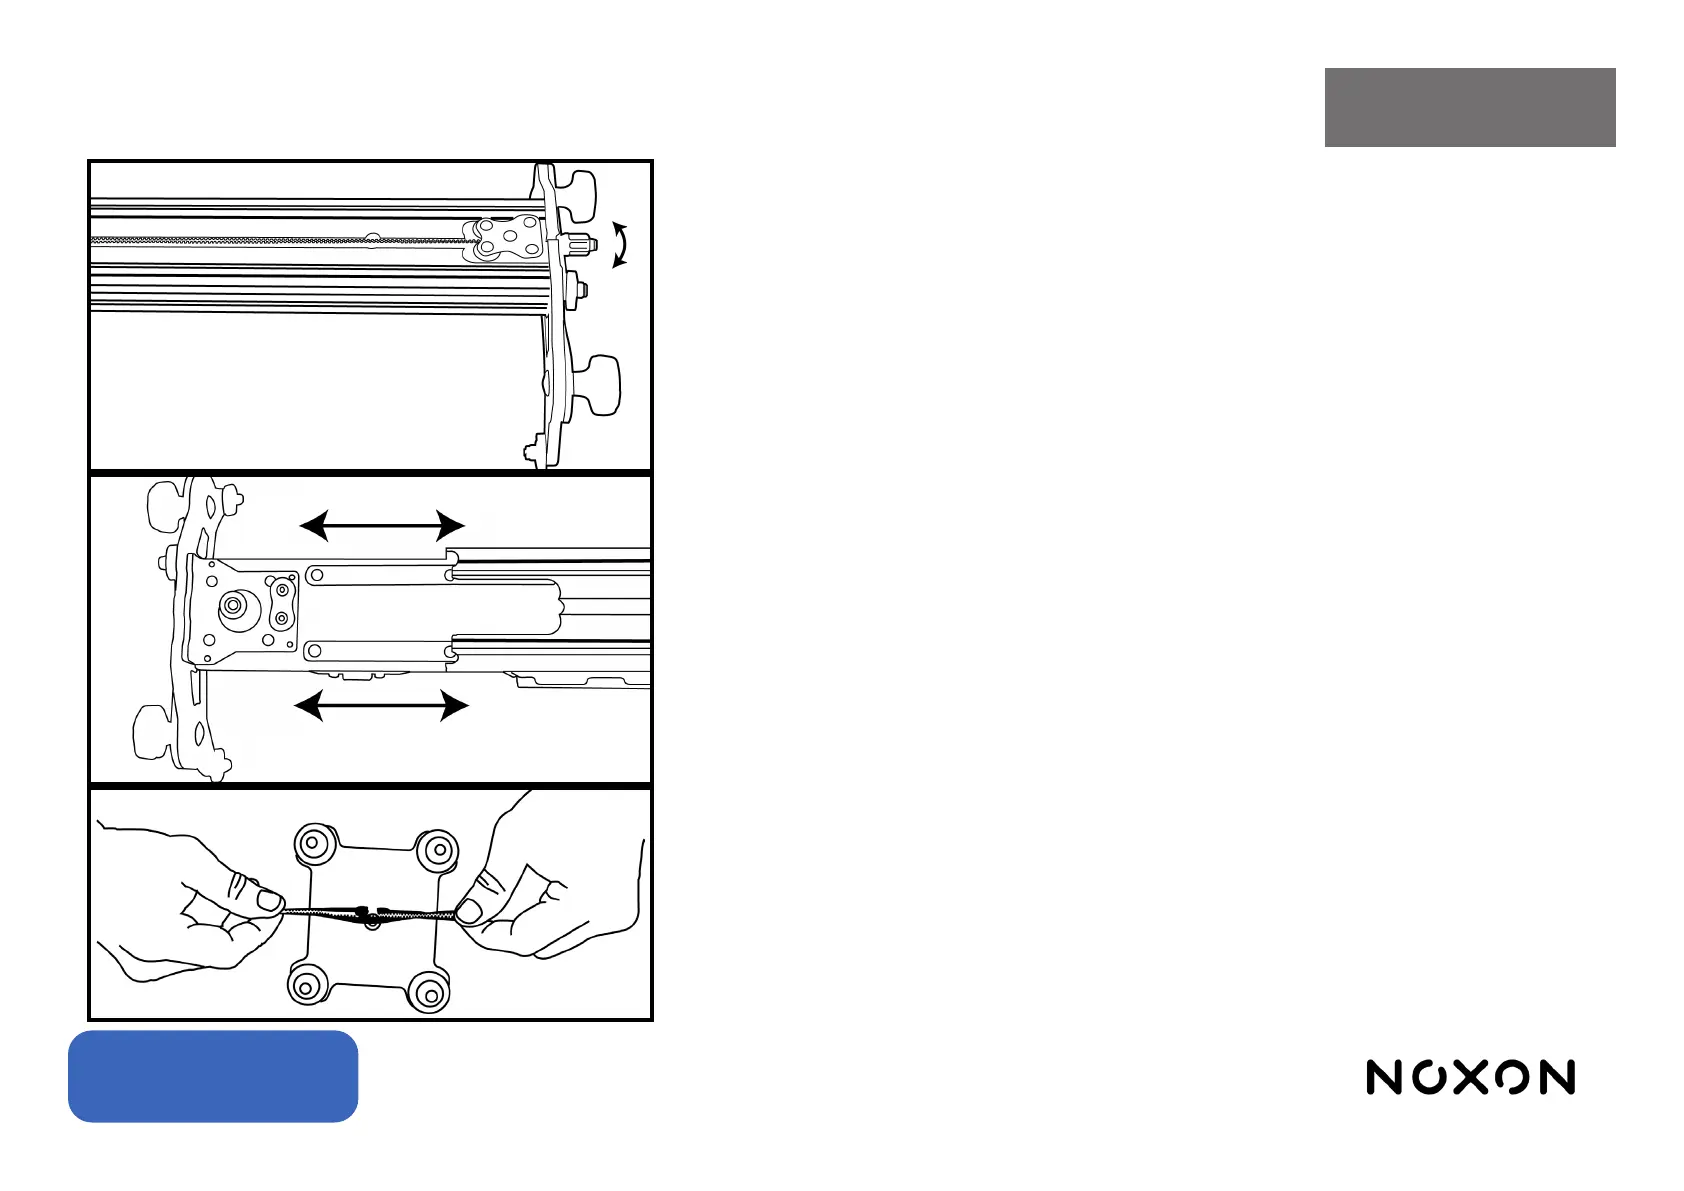
Changing the rail: (only available with Mod Slider)
1. Uncouple the tensioner from the end of the slider to loosen the belt.
2. Remove the belt from the motor pulleys.
3. Pull the end of the motor.
4. Remove cart.
5. Assemble the strap ends to the bottom of the carriage and stretch the strap with the teeth facing
each other.
6. Mount the motor on the rail and adjust the toothed belt on the motor pulleys.
7. Attach the tensioner to the end of the slider and tighten until the belt is tight.
Set in Tripod:
1. The Mod Slider has 5 adjustment holes for tripods. 2 positioned at the ends, 1 in the center of the
Mod Slider and 1 on each side for added security.
2. Screw in until secure.
Mounting Accessories:
1. Panning module: Screw in the module using the ¼ screw and connect the cable from the power
box to the panning module.
2. Tilting module: Screw in the module using the ¼ screw and connect the cable from the power box
to the tilting module.
3. Focus module: Insert circular bar at the base of the camera, x the motor on the bar, rotate the
whole assembly and ensure that the bracket makes contact with the lens, nally place the toothed belt
on the motor sprocket and the lens and tighten.
4. Shutter cable: Connect directly from the power box to the camera.
Camera mount:
1. The Mod Slider has a ¼ screw for xing the camera. Simply screw in until secure.
Turning on the slider:
1. Connect the battery to the power input of the electronic box.
2. Press and hold the power button until you hear two short beeps.
Starting the wireless controller:
1. Press and hold the center button until the screen turns on.
2. Rotate the center knob in any direction to complete the line on the screen.