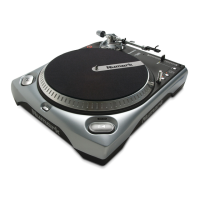
PRO TT-2 Turntable
- The Leader in DJ Technology
©2000 Industries - 6 - http://www.numark.com
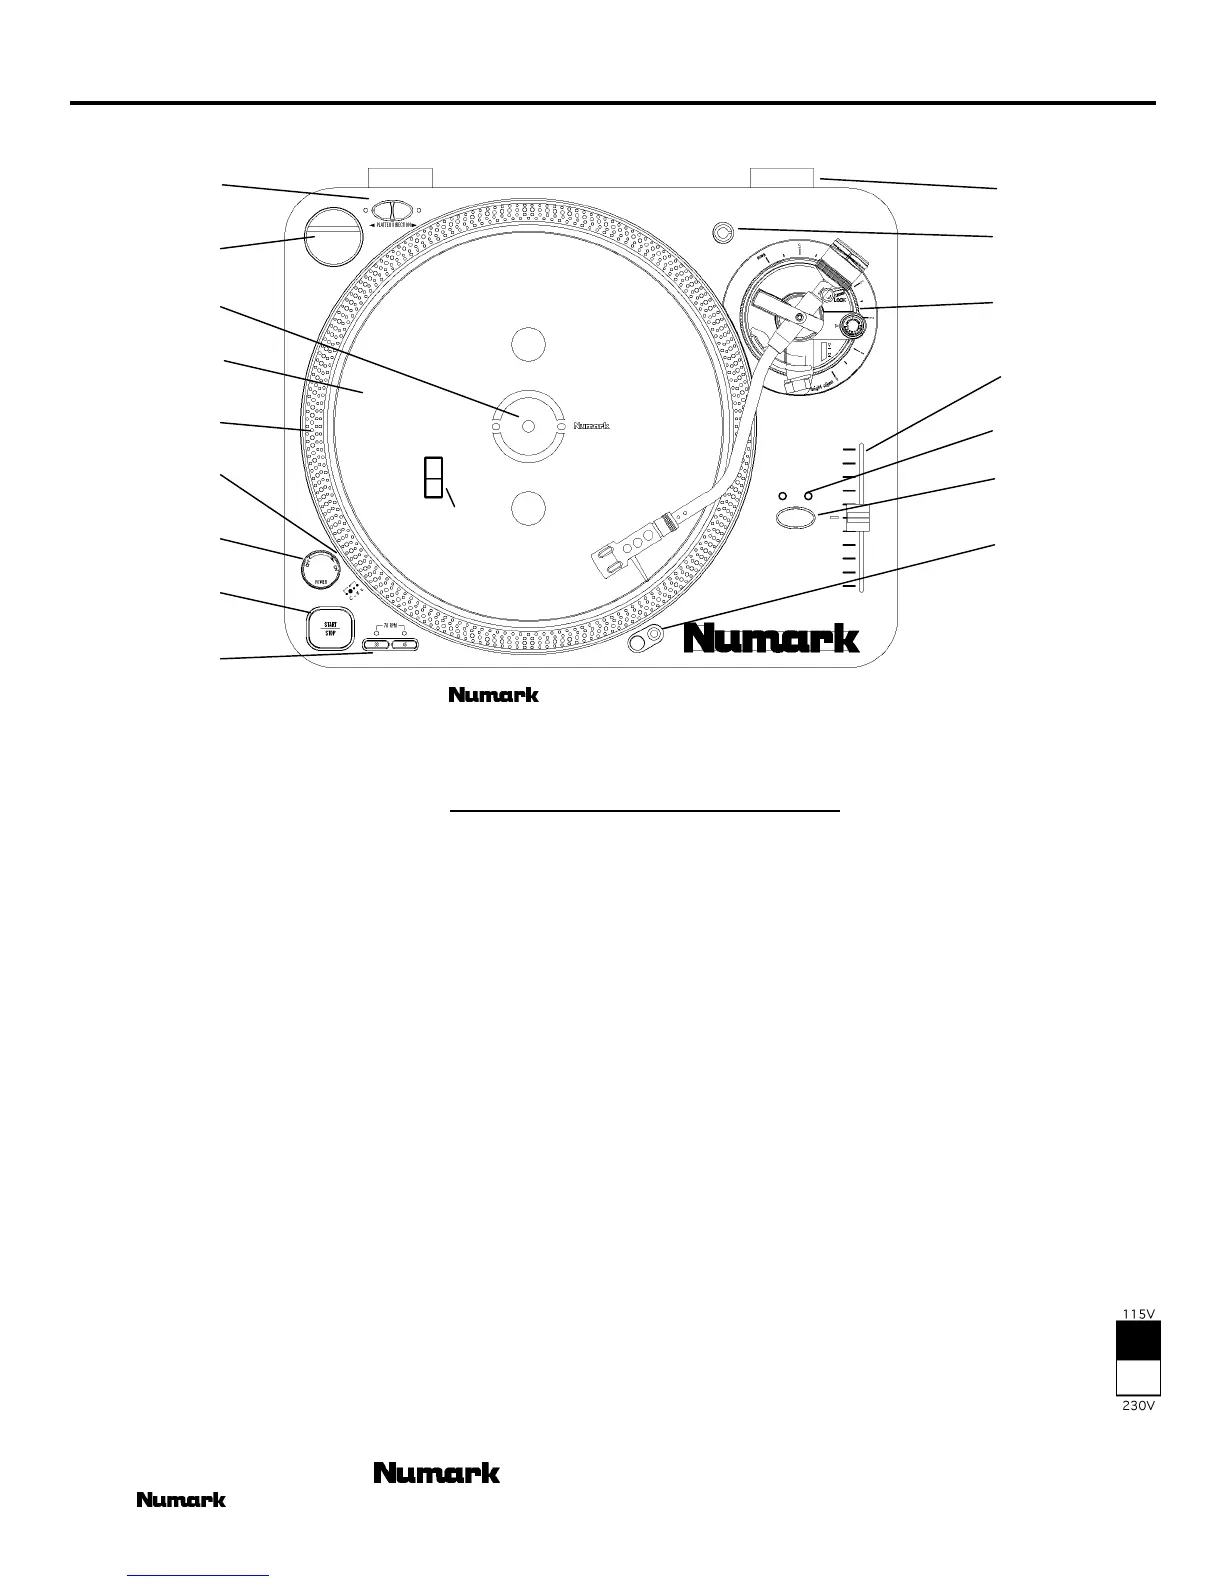
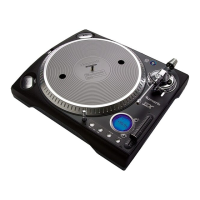
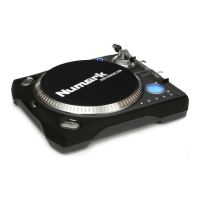
DIAGRAM AND PARTS DESCRIPTION
1
2
3
4
5
6
7
8
9
16
17
15
14
13
12
11
10
To fully appreciate the features of the TT-100, please read this entire manual before you begin operation. The
TT-100 should be placed on a level sturdy surface. Keep in mind that there are a few features you may never have seen before on a
turntable of this type that you will need to read about to use properly.
Start by removing all parts from the package and place on a level surface. Carefully check all packing material for hidden
parts. Use the contents guide for reference.
Do not discard any packing materials!
1. Power Dial
On - Rotate Right
Off - Rotate Left
2. START/STOP - Pressing once engages high torque motor;
pressing again engages brake.
3. Platter Revolution Speed Buttons
33rpm - Press 33
45rpm - Press 45
78rpm - Press 33 and 45
4. Strobe Light - Pulses a beam of light at the Strobe Dots.
The large dots will seem not to move when pitch is 0%.
5. Strobe Dots - Four rows of dots that indicate various
stages in pitch adjust.
-3.3% - outer row
0% - large dots
+3.3% - next row
+6% - inner row
6. Platter - Place this on the Center Spindle.
7. Center Spindle - Keeps platter and records centered. Place
the supplied slipmat on the Center Spindle now.
8. 45 Adapter - Place on Center Spindle for playing 7”
records with large center holes.
9. Forward/Reverse Buttons - Determine the direction the
platter will spin.
10. Lid Hinge Holder - Place the bottom tabs of your lid
hinges in here after you finish assembly.
11. Extra Stylus Holder - Place an extra headshell here.
12. Tone Arm Assembly - Explained in tonearm section
13. Pitch Adjust - Use this to change the speed of the platter
when quartz lock is inactive.
14. Pitch Percent Indication – Shows the amount of pitch
change possible
15. Quartz Lock
On - will hold the revolution speed to 0%
Off - will allow use of the Pitch Adjust
HOLD DOWN- to alternate from 10% to 20% Pitch
16. Target Light - Press the button to the right and a light will
pop up directed at the stylus position.
17. Voltage Selector - With unit unplugged set the
desired voltage for your location using a screw
driver.