Do you have a question about the NuTone 349BR and is the answer not in the manual?
Key safety instructions including electrical shock, fire risk, proper installation, and grounding.
Guidelines for safe operation, preventing motor damage, and installation considerations.
Determine optimal roof placement and drill a guide hole for template use.
Use template to cut shingles and boards for the ventilator opening.
Guidelines for connecting the fan motor and house power cable, ensuring proper grounding.
Information on the fan thermostat's preset temperature and adjustment range.
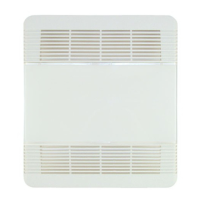
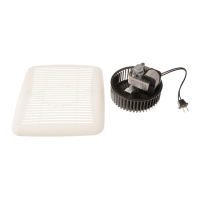
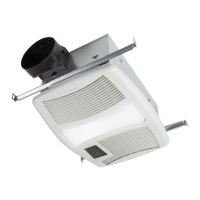
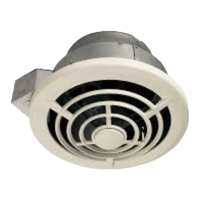
Identifies key components of the ventilator with part numbers and descriptions.
Details the one-year limited warranty, coverage, exclusions, and service process.
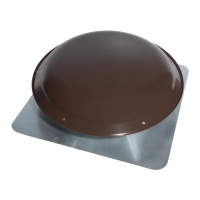
The provided manual describes the Broan Model 349BR Roof-Mount Powered Attic Ventilator, a device designed for general ventilating use in attics. Its primary function is to exhaust hot, stale air from the attic space, helping to reduce attic temperatures and potentially lower cooling costs for the home.
The Broan 349BR is a powered attic ventilator that is installed on the roof. It features an impeller driven by a motor, which draws air from the attic and expels it outdoors. The unit is equipped with a thermostat that automatically controls its operation based on the ambient temperature in the attic. This allows the fan to turn on when the attic reaches a set temperature and turn off when the temperature drops 10 degrees below that set point. The thermostat is factory preset to 110°F but can be adjusted by the user to activate between 60°F and 120°F. The manual emphasizes the importance of providing sufficient air intake vents, ideally under the eaves, to ensure proper airflow and prevent backdrafting of fuel-burning appliances. The Home Ventilating Institute (HVI) recommends one square foot of open air inlet per 300 cfm of fan capacity.
While specific CFM (Cubic Feet per Minute) ratings are not explicitly stated in the provided pages, the HVI recommendation for air inlet size (one square foot per 300 cfm) implies that the fan has a measurable capacity.
The manual includes prominent warnings regarding fire, electric shock, and injury. Key safety points include:
The Broan 349BR is designed as a robust and automatically controlled solution for attic ventilation, emphasizing proper installation, safety, and long-term durability.