3
INSTALLATION
WARNING: To reduce the risk of fire, do not store or use
gasoline or other flammable vapors and liquids in the vicinity
of the heater.
CAUTION: High temperature, risk of fire, keep electrical cords,
drapery, furnishings, and other combustibles at least 3 feet (0.9
m) from the front of the heater and away from the side and rear.
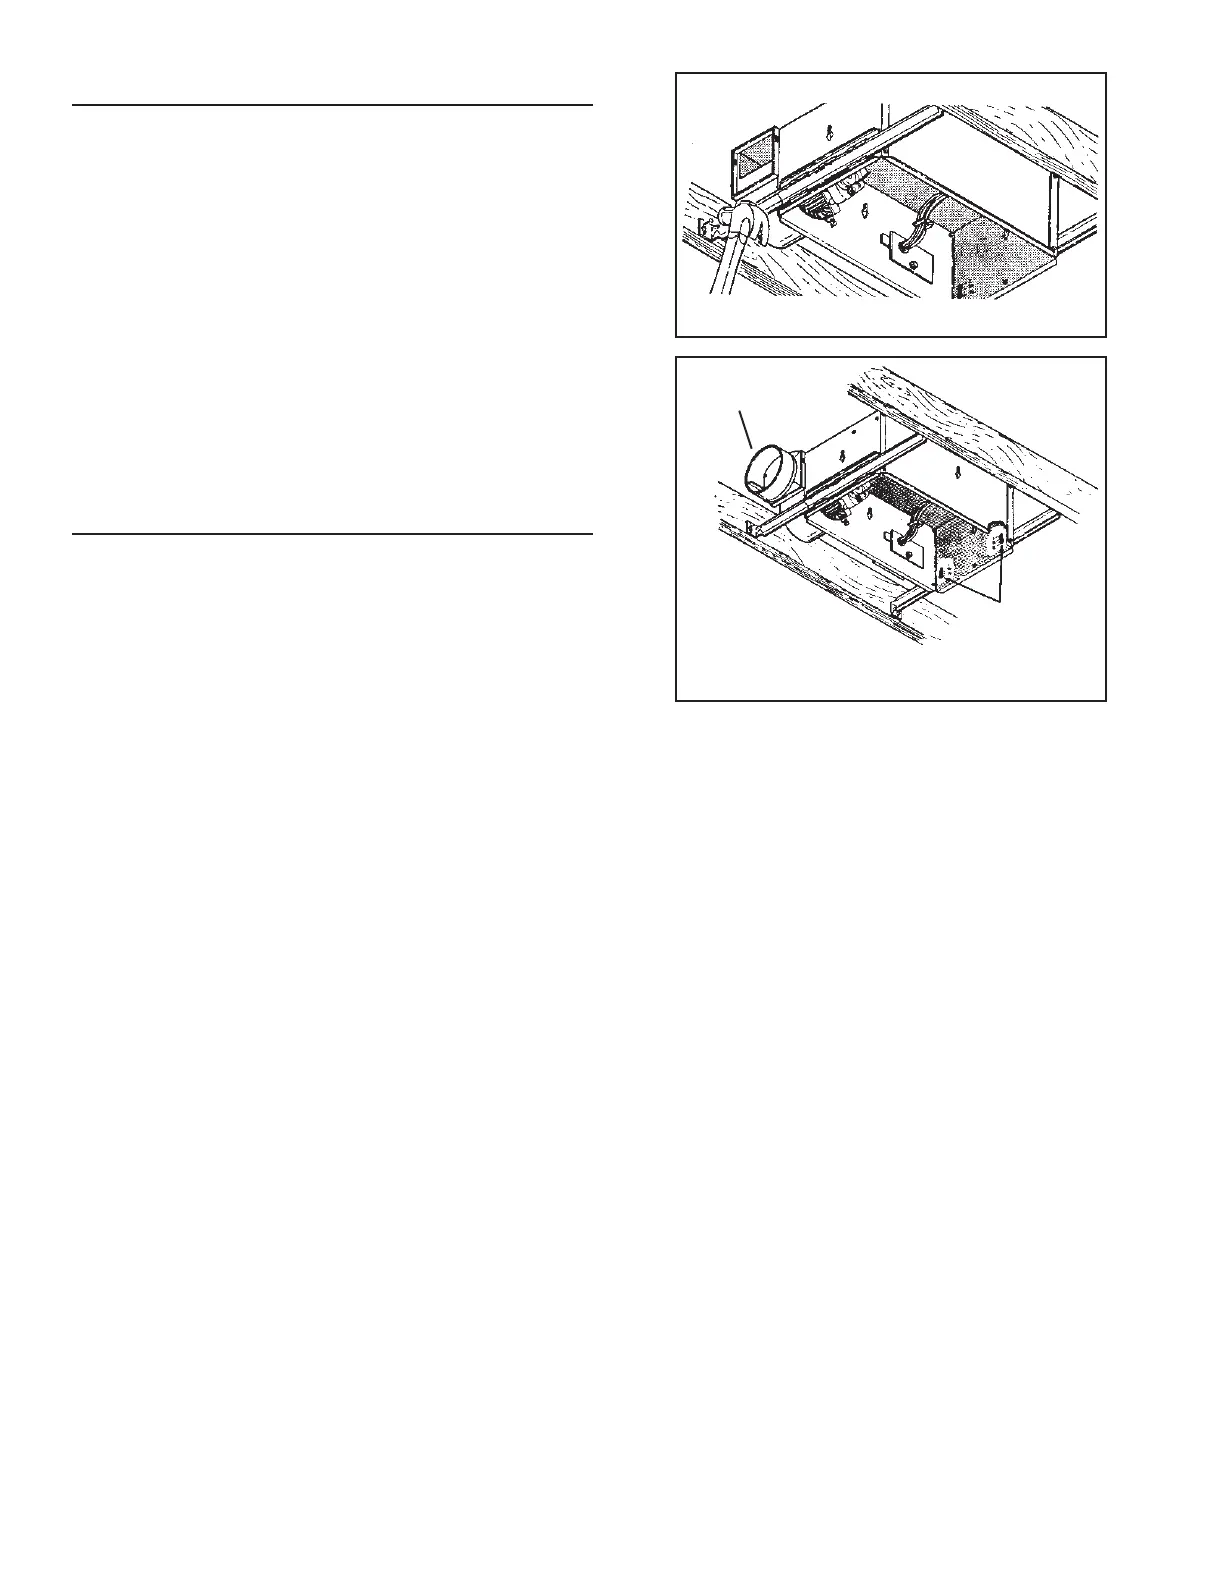
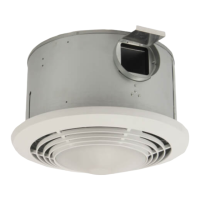
Refer to FIGURE 3
1. Position unit between joists and extend mounting brackets.
2. Nail brackets firmly to joists. Bottom of brackets should be po-
sitioned flush with joist bottom.
Refer to FIGURE 4
3. Brackets are factory-set for ½” thick ceiling material. For thicker
ceilings, loosen 4 vertical adjusting screws and lower housing
to appropriate thickness on gauges. Tighten vertical adjusting
screws firmly.
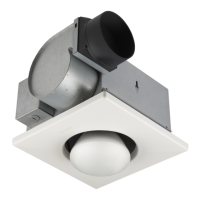
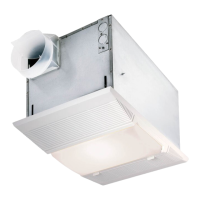
ATTACH DUCTWORK
(MODELS 9417DNM & 9425WHC ONLY)
Refer to FIGURE 4
1. Snap the damper/duct connector onto housing. Make sure that
tabs on the connector lock in housing slots and that gravity
closes damper.
2. Attach 4” round duct to damper/duct connector and run ductwork
to the outside through a roof or wall cap. Check damper to make
sure it opens freely. Tape all joints to make them secure and air
tight.
FIGURE 3
FIGURE 4
VERTICAL
ADJUSTING
SCREWS
DAMPER/DUCT
CONNECTOR