Page 3
MODELS BN100C • NT080C • NT100C
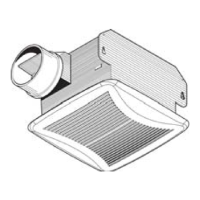
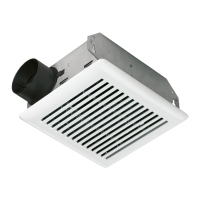
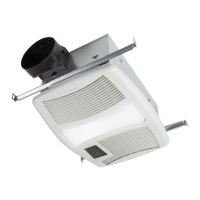
1.Snap the damper/duct connector onto housing. Make sure that
tabs on the connector lock into slots in housing. Top of
damper/duct connector should be flush with top of housing.
2.Connect 4” round duct to damper/duct connector and extend
duct to outside through a roof or wall cap. Check damper to
make sure that it opens freely. Tape all duct connections to
make them secure and air tight.
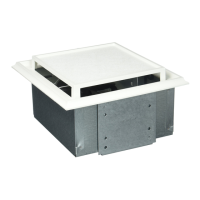
5.Additional mounting holes are provided for installations where
access from above is inconvenient or not possible. Nail or screw
housing directly to joists or framing.
4.Place housing in opening so that its bottom edge is flush with
finished ceiling. Nail to joist through keyhole on both sides. To
ensure a noise-free installation, drive another nail through the
top hole of each mounting tab.
EXISTING CONSTRUCTION (CONT’D)
1.Wire unit following diagram above. Run electrical cable as direct
as possible to unit. Do not allow cable to touch sides or top of
unit after installation is complete.
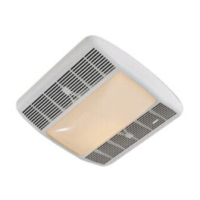
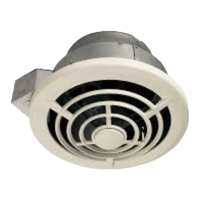
1.Squeeze grille springs together.
2.Insert springs into slots in motor
plate.