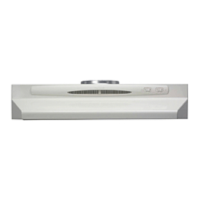
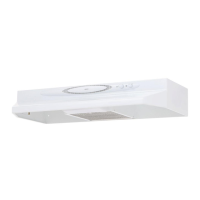
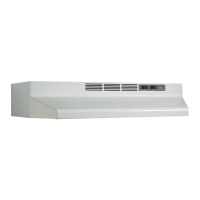
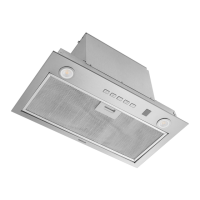
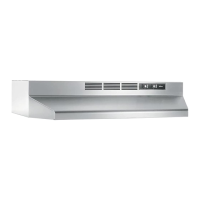
MODELS NS130BL • NS130SS • NS130WW
NS136BL • NS136SS • NS136WW
Page 4
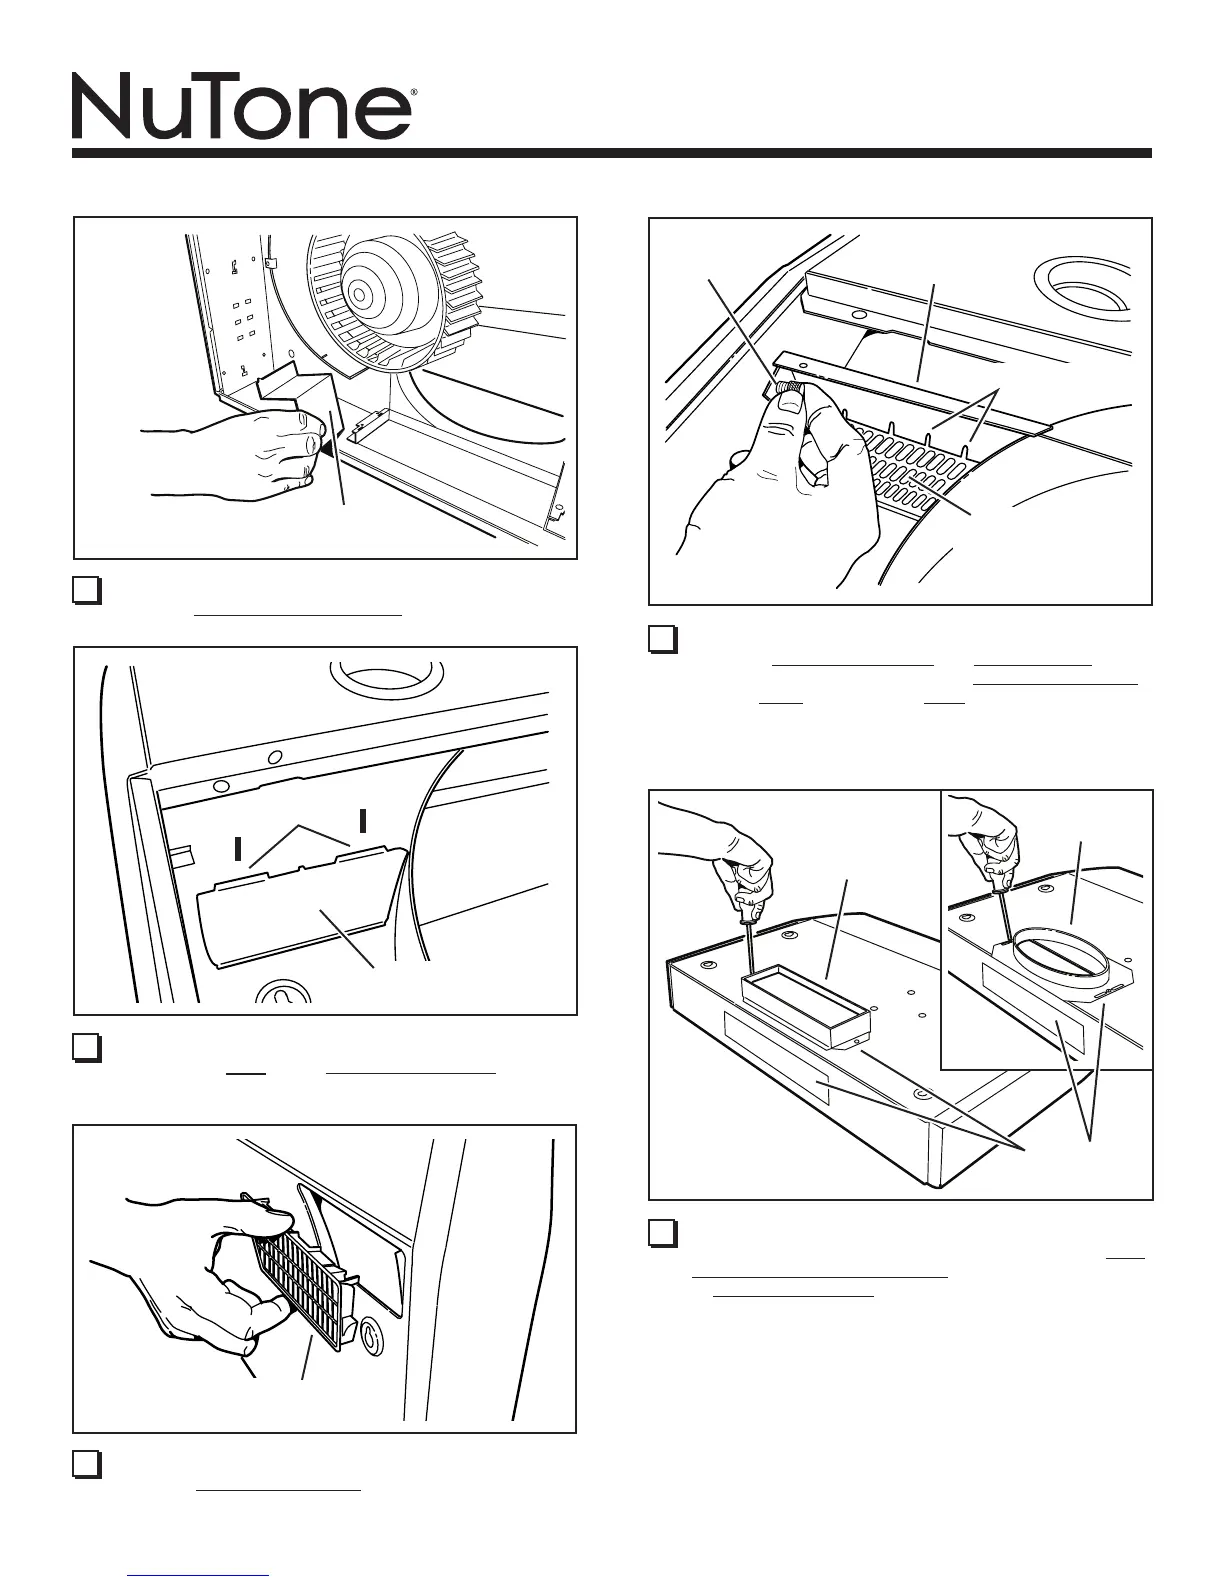
10 DUCTED INSTALLATION ONLY:
Remove vertical or horizontal duct knockout. Attach 3¼”
x 10” Damper/Duct Connector (if using 3¼” x 10” duct)
or 7” Oval Duct Plate
**
(if using 7-inch round duct)
over the knockout opening.
KNOCKOUT
OPENINGS
3¼” x 10”
DAMPER /
DUCT
CONNECTOR
7” OVAL
DUCT PLATE
**
6 NON-DUCTED INSTALLATION ONLY:
Remove Recirculation Scroll Wall from inside the hood.
RECIRCULATION
SCROLL WALL
7 NON-DUCTED INSTALLATION ONLY:
Depress the Tabs on the Recirculation Cover and
push cover out through top of hood to remove it.
RECIRCULATION
COVER
TABS
▼
▼
8 NON-DUCTED INSTALLATION ONLY:
Remove Recirculation Grille from plastic bag and snap
it into the opening in the top of the hood.
RECIRCULATION
GRILLE
9 NON-DUCTED INSTALLATION ONLY:
Remove Recirculation Plate and Thumb Screw from
plastic bag. Slide plate down onto Recirculation Grille
so that Slots in plate t into Tabs on grille. Secure plate
with thumb screw.
RECIRCULATION
GRILLE
RECIRCULATION
PLATE
SLOTS & TABS
THUMB
SCREW
**
Note that the 7-in. round duct will need to be squeezed into an
oval shape to connect to the 7-in. oval duct plate on the hood.