3
1
⁄4” X 10” DUCT INSTALLATION
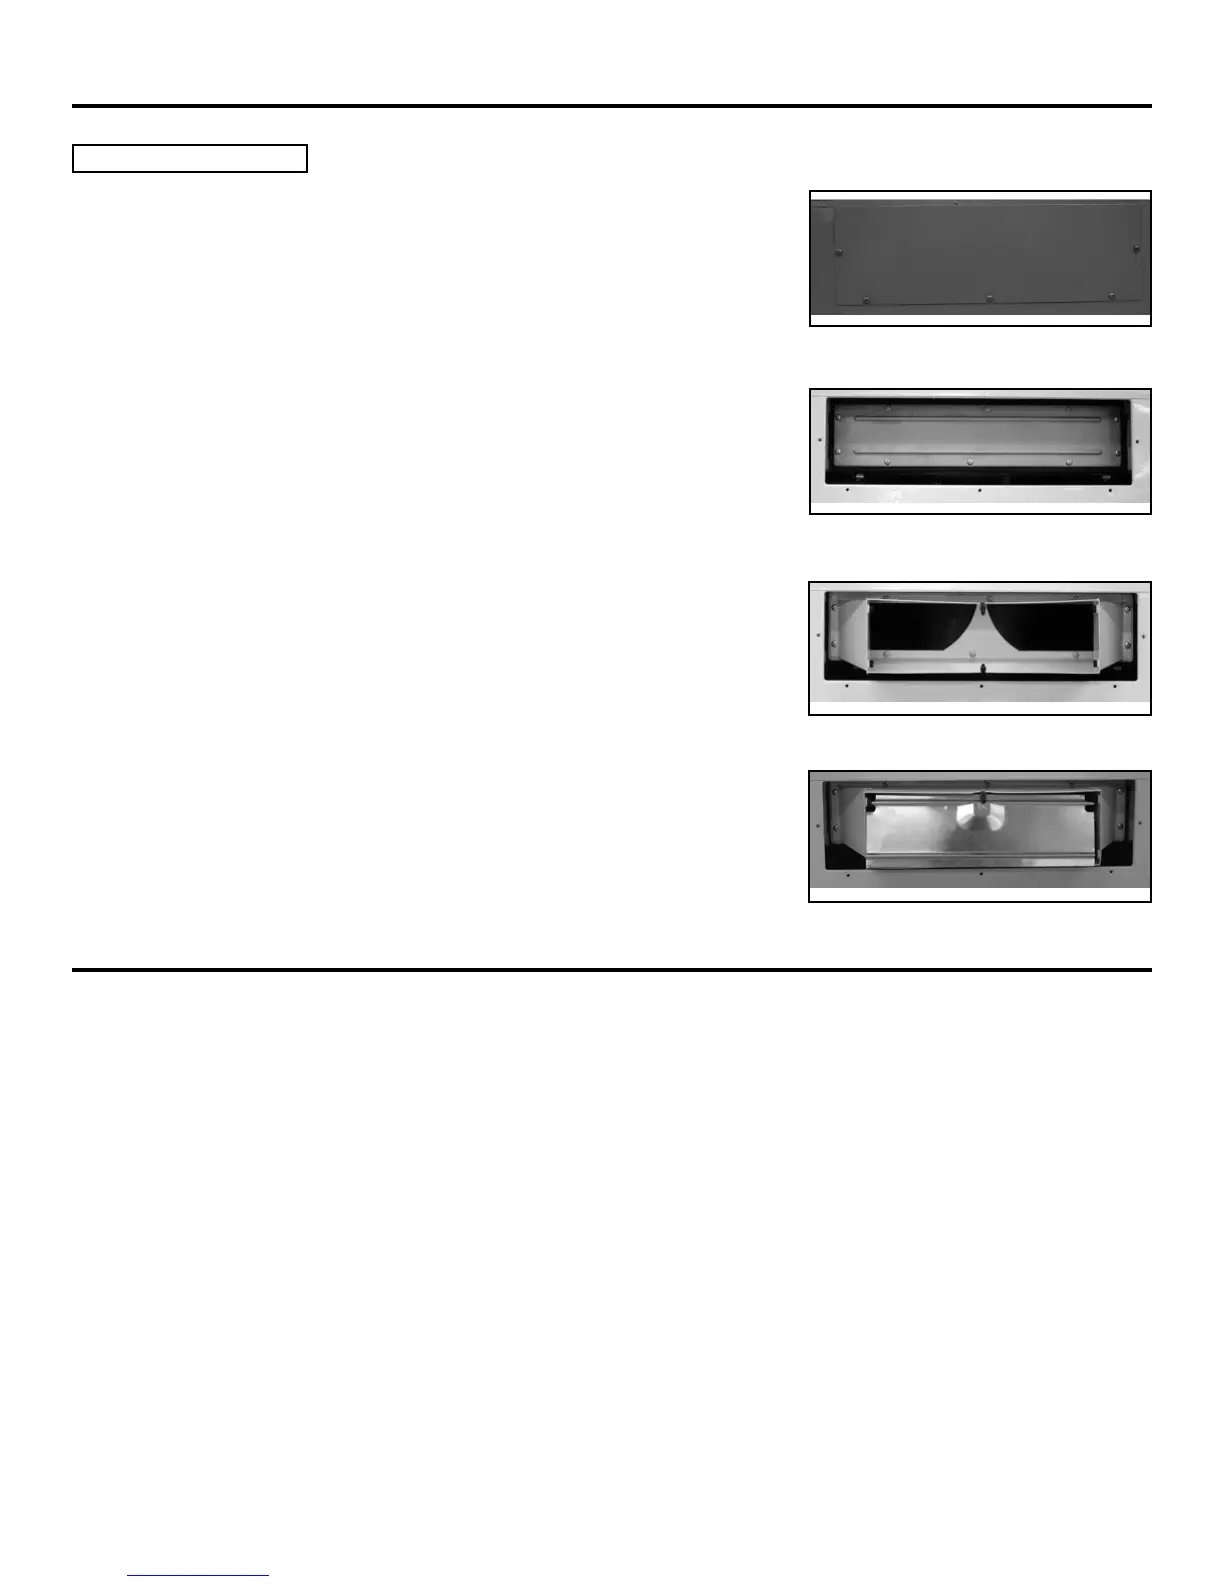
3. If installed, remove and discard the large shutoff plate located on the BACK of the hood.
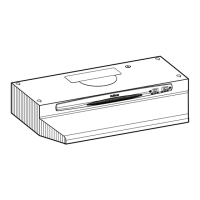
4. If installed, remove and discard the small shutoff plate located INSIDE the back of the
hood. Keep the screws for further use. DO NOT RENMOVE THE GASKET!
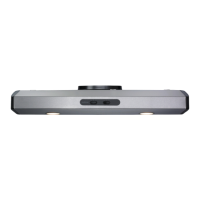
5. Using 10 screws previously removed in point 4, install the adapter on the gasket, in the
inside back of the hood.
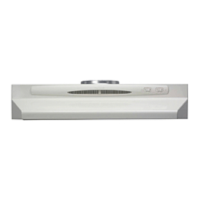
6. Install the damper in the adapter, as shown beside.
1. Insert the power cable in the hood and tighten the wire clamp to secure the cable.
2. Align hood’s keyhole mouting slots over the four (4) partially installed screws.
3. Making sure the duct positions over the hood’s duct adapter, push the hood against the rear wall. Secure hood by tightening screws.
HOOD PREPARATION - HORIZONTAL DISCHARGE INSTALLATION (CONT’D)
HOOD INSTALLATION
HJ0005
HJ0002
-5-
HO0049
HO0048