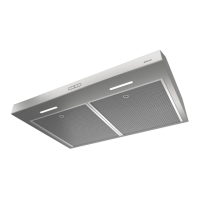
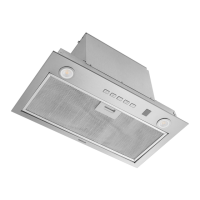
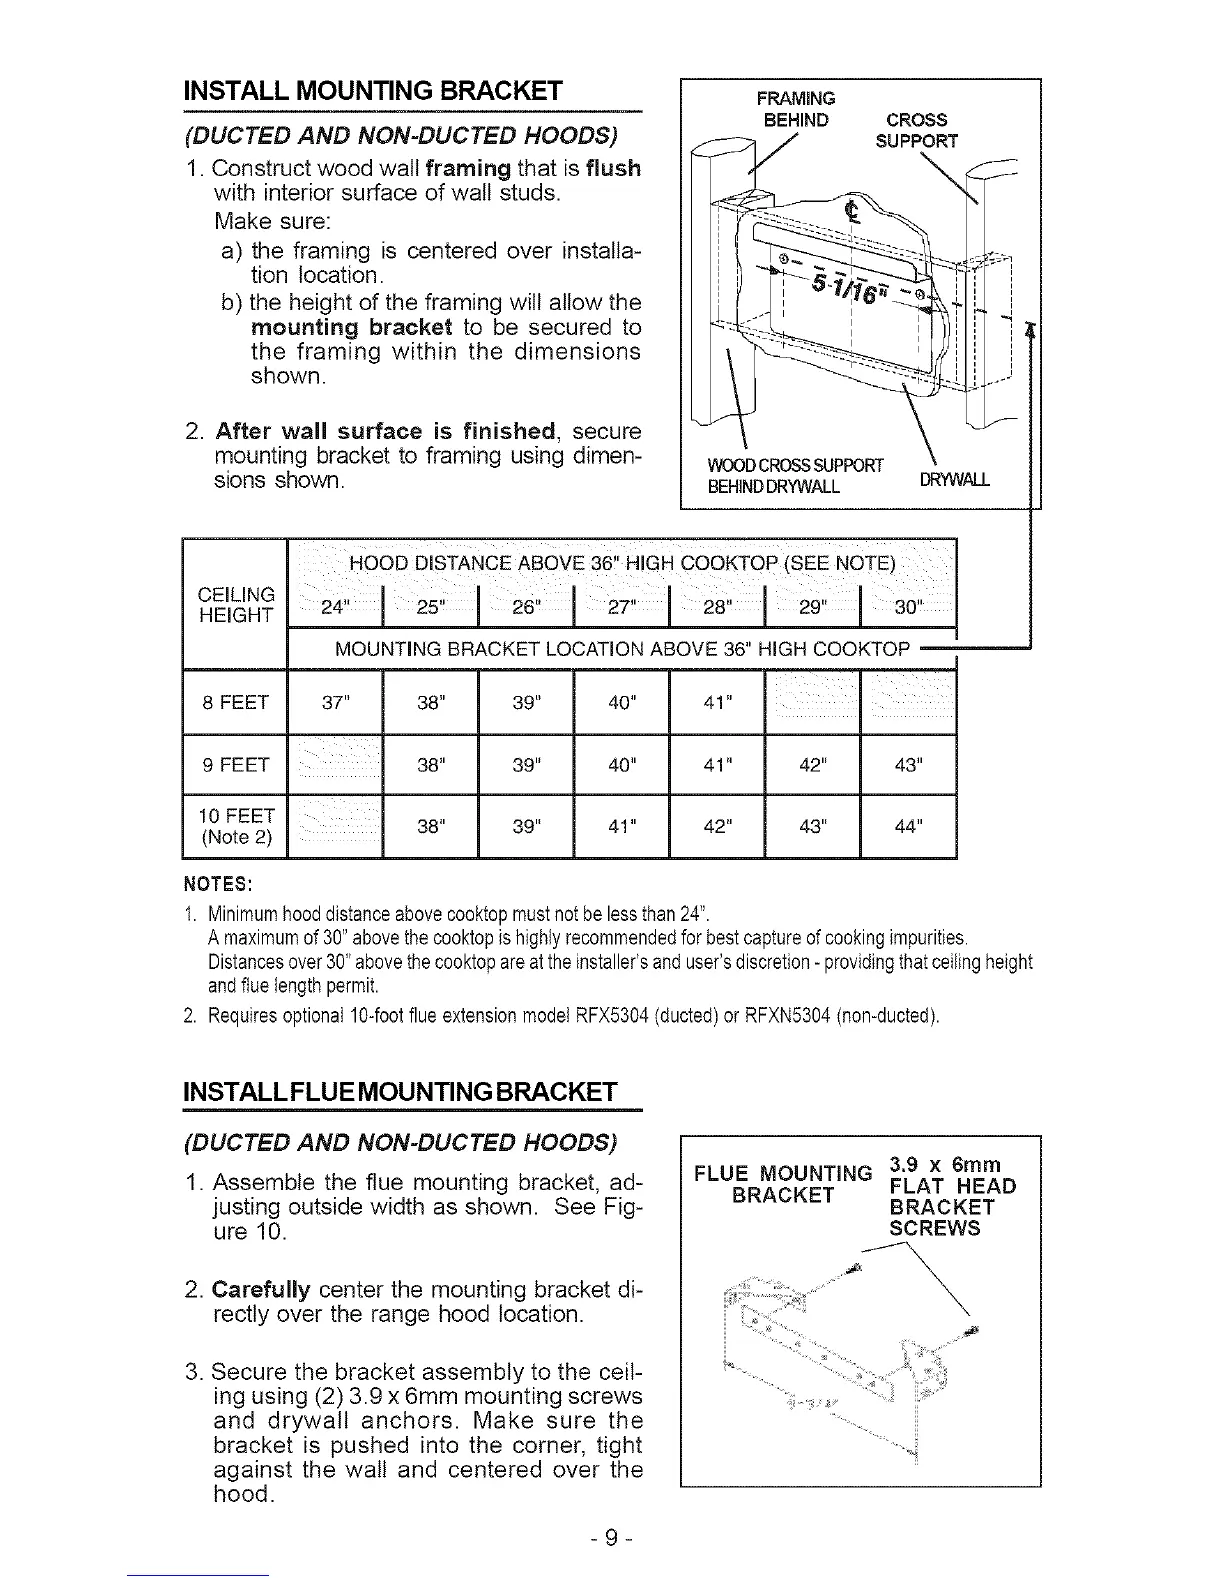
INSTALL MOUNTING BRACKET FRAMING
BEHIND
(DUCTED AND NON=DUCTED HOODS)
1. Construct wood walt framing that is flush
with interior surface of wall studs.
Make sure:
a) the framing is centered over installa-
tion location.
b) the height of the framing will allow the
mounting bracket to be secured to
the framing within the dimensions
shown.
2. After wall surface is finished, secure
mounting bracket to framing using dimen-
sions shown.
WOODCROSSSUPPORT
BEHINDDRYWALL
CROSS
SUPPORT
\
CEILING
HEIGHT
HOOD DISTANCE ABOVE 36!' H!GH COOKTOP (SEE NOTE)
2°:!
MOUNTING BRACKET LOCATION ABOVE 36" HIGH COOKTOP
8 FEET
9 FEET
10 FEET
(Note 2)
37" 38" 39" 40" 41 " .
38" 39" 40" 41 " 42" 43"
38" 39" 41 " 42" 43" 44"
NOTES:
1. Minimumhooddistanceabovecooktopmustnotbe lessthan 24".
A maximumof 30"abovethe cooktopishighlyrecommendedfor bestcaptureofcookingimpurities.
Distancesover 30"abovethe cooktopareat the installer'sand user'sdiscretion- providingthatceilingheight
and fluelengthpermit.
2. Requiresoptional 10-footflueextensionmodel RFX5304(ducted)or RFXN5304(non-ducted).
INSTALL FLUE MOUNTING BRACKET
(DUCTED AND NON-DUCTED HOODS)
1. Assemble the flue mounting bracket, ad-
justing outside width as shown. See Fig-
ure 10.
2. Carefully center the mounting bracket di-
rectly over the range hood location.
3. Secure the bracket assembly to the ceil-
ing using (2) 3.9 x 6mm mounting screws
and drywall anchors. Make sure the
bracket is pushed into the corner, tight
against the wall and centered over the
hood.
-9-
FLUE MOUNTING 3.9 x 6ram
BRACKET FLAT HEAD
BRACKET
SCREWS
 Loading...