INSTALLATION AND USE & CARE INSTRUCTIONS
INSTALLATION
5
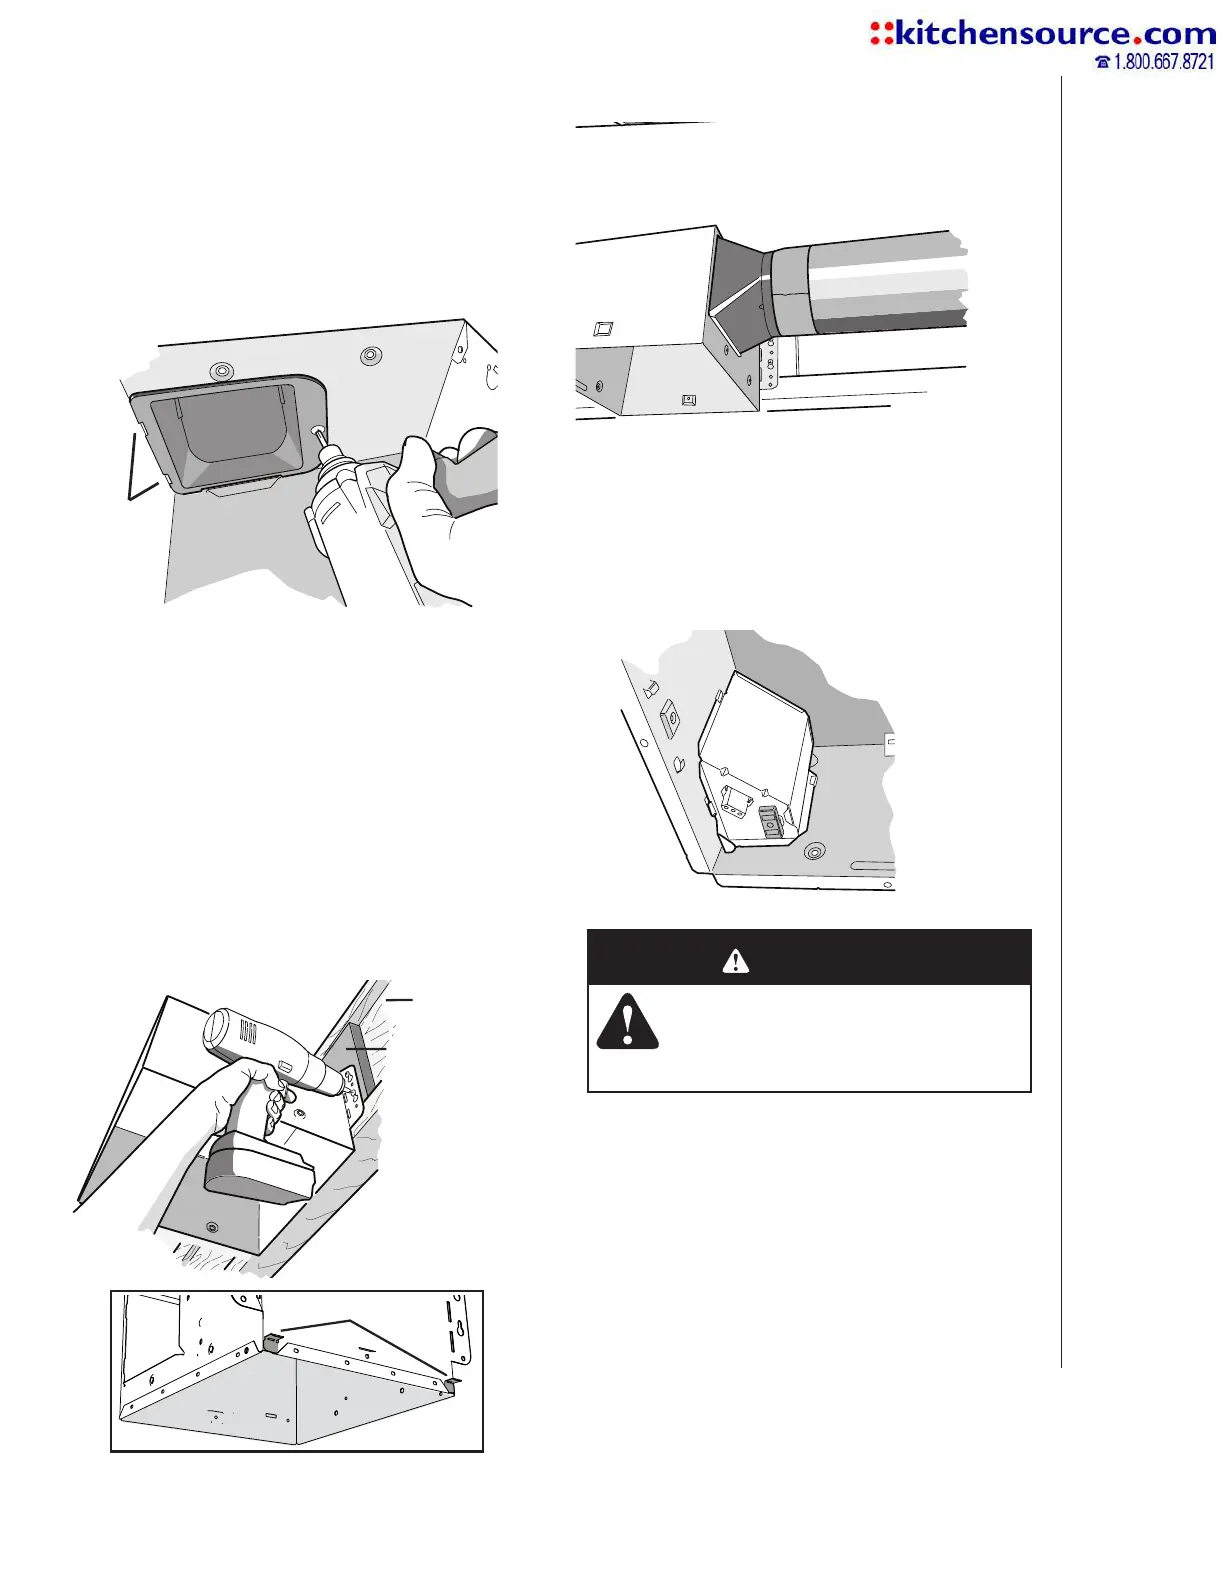
7. Connect 4-in. round duct.
8. Connect wiring.
Connect power cable to housing with appropriate
UL approved connector. Make wiring connections as
shown in “Wiring Diagrams” section. Re-install wiring
panel and secure with screw from parts bag.
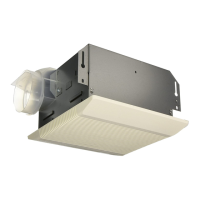
5. Attach damper/duct connector
to fan housing.
Push connector through opening from inside of housing.
Engage tabs and secure with screw from parts bag.
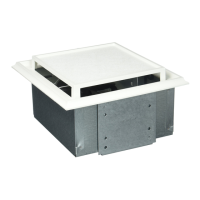
6. Mount housing to ceiling
structure.
Make sure bottom of housing will be flush with finished
ceiling.
For proper location using ½” ceiling material: Bend out
housing tabs to fit against bottom of structure.
Secure housing through mounting ears with
appropriate fasteners.
If mounting housing to I-joist, use wood blocking as
shown.
NEW CONSTRUCTION
For Retrofit Installation - Skip to Page 6.
TABS
HOUSING TABS
I-JOIST
WOOD
BLOCKING
CAUTION
• DO NOT TOUCH THE HUMIDITY-
SENSING CIRCUIT BOARD.
Electrostatic discharge may damage
the circuit board.
 Loading...