INSTALLATION AND USE & CARE INSTRUCTIONS
INSTALLATION
6
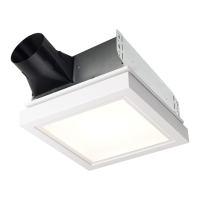
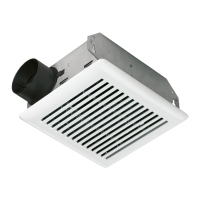
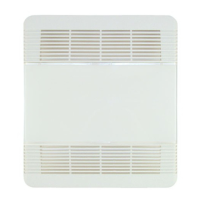
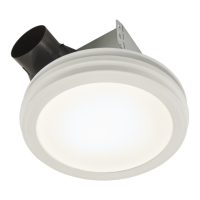
10. Finish ceiling, then install grille.
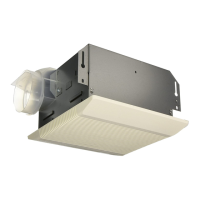
Attach MOUNTING PLATE to housing with (2) SCREWS.
Connect LIGHT PANEL PLUG to receptacle in corner of housing.
Place LIGHT PANEL SLOT over HOOK on MOUNTING PLATE.
Swing opposite side of LIGHT PANEL up to MOUNTING PLATE and
secure with ATTACHMENT SCREW.
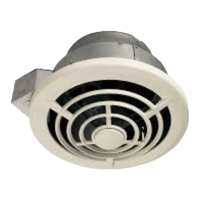
Line up GRILLE FRAME with (3) LIGHT PANEL OPENINGS and
rotate GRILLE FRAME clockwise to secure it to LIGHT PANEL.
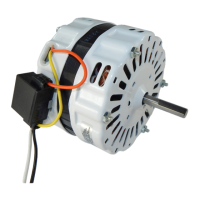
9. Install blower.
Re-install blower. Secure blower with 2 screws from parts bag and plug
blower into black receptacle.
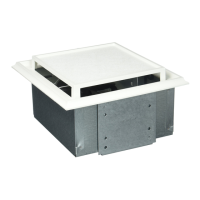
5. Remove old fan.
Enlarge ceiling opening (if necessary)
to 9¾” parallel to joist) by 10½”
(perpendicular to joist). Leave ductwork
and wiring in place.
6. Fold mounting ears flat
against housing.
RETROFIT
2
10½-in.
9¾-in.
JOIST
1
MOUNTING
PLATE
LIGHT
PANEL
GRILLE
FRAME
ATTACHMENT
SCREW
MOUNTING
PLATE
ATTACHMENT
SCREW (2)
LIGHT PANEL
PLUG
HOOK
SLOT
LIGHT
PANEL
OPENING (3)
CAUTION
• Make sure that the wiring inside of the housing
does not interfere with re-installation of the blower.
 Loading...