12345678
O
N
12345678
O
N
12345678
O
N
12345678
O
N
12345678
O
N
12345678
O
N
12345678
O
N
12345678
O
N
12345678
O
N
12345678
O
N
12345678
O
N
12345678
O
N
Page 10
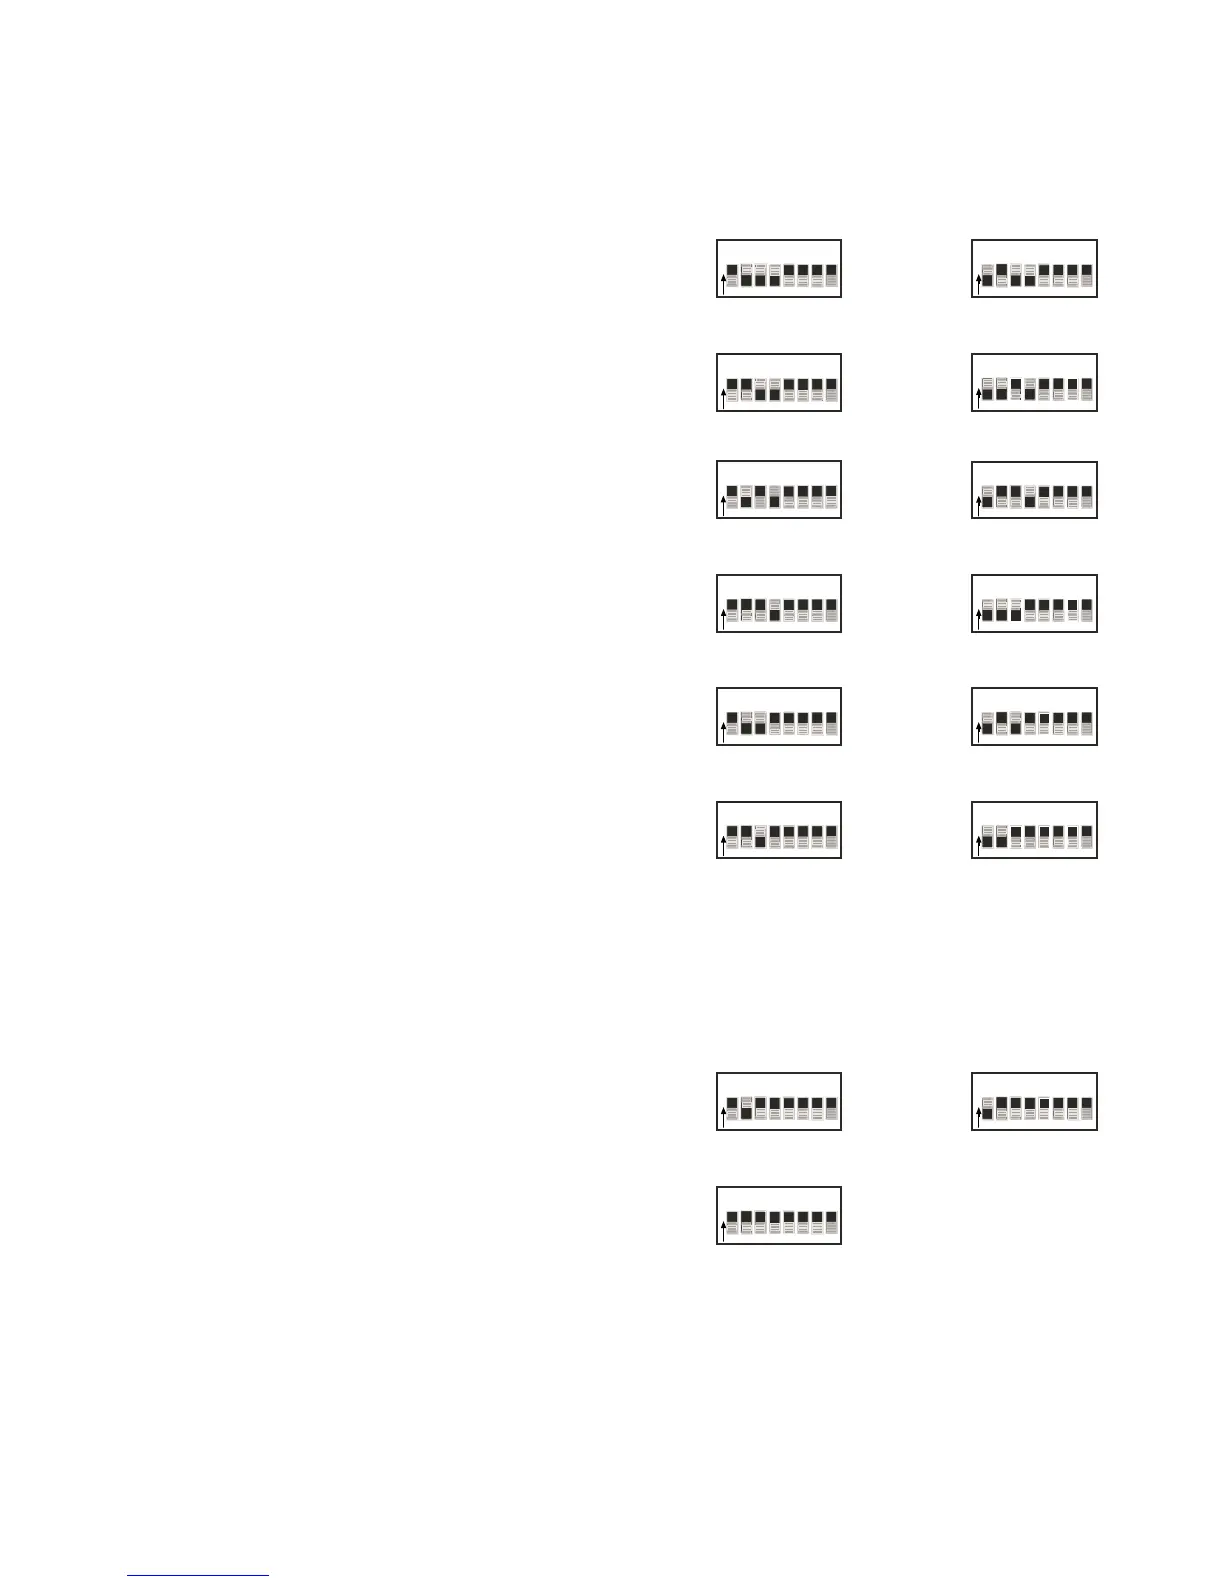
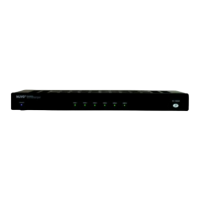
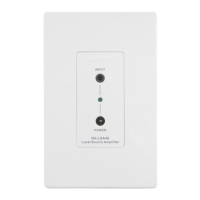
The single most important aspect of the installation
is to address the keypads correctly. The DIP switches
labeled 1-4 are used to set the address (zone #) that
this particular keypad will control.
On the back of the keypad is a chart that indicates
how to set these switches (Fig. 7). To set the keypad
to control zone #1, set switch #1 down (1) and switches
2-4 up (0). This keypad will now control the speakers
that are plugged into the Zone 1 speaker outputs
(Fig. 8).
Plug the keypad into the Cat-5 cable that is in zone
#1. If you press the ON/OFF button, the keypad
should light up and the LED on the front panel of the
E6M amplifier for ZONE 1 should light up.
Fig. 8: DIP switches 1-4
Zone 1
Zone 2
12345678
O
N
Zone 3
Zone 4
Zone 5
Zone 7
Zone 6
Zone 8
Zone 9
Zone 10
Zone 11
Zone 12
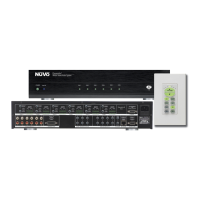
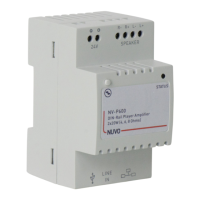
The three addresses labeled ZN 1*, 2*, and 3* are
set aside so that two keypads can be used in zones
1, 2, and 3. For instance, zone 1 can have two keypads:
one addressed 1-0-0-0 and one addressed 1-0-1-1
(Fig. 9). This allows for a total of 15 keypads in a 12-
zoned system.
Fig. 9: Zone 1, 2, and 3 additional
keypads
12345678
O
N
Zone 3*
Zone 2*Zone 1*
12345678
O
N
VIII. Setting the NV-EKP DIP Switches