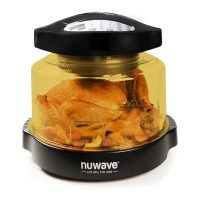
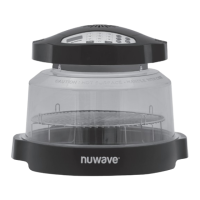
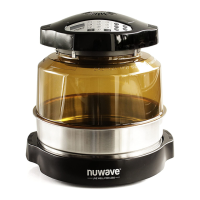
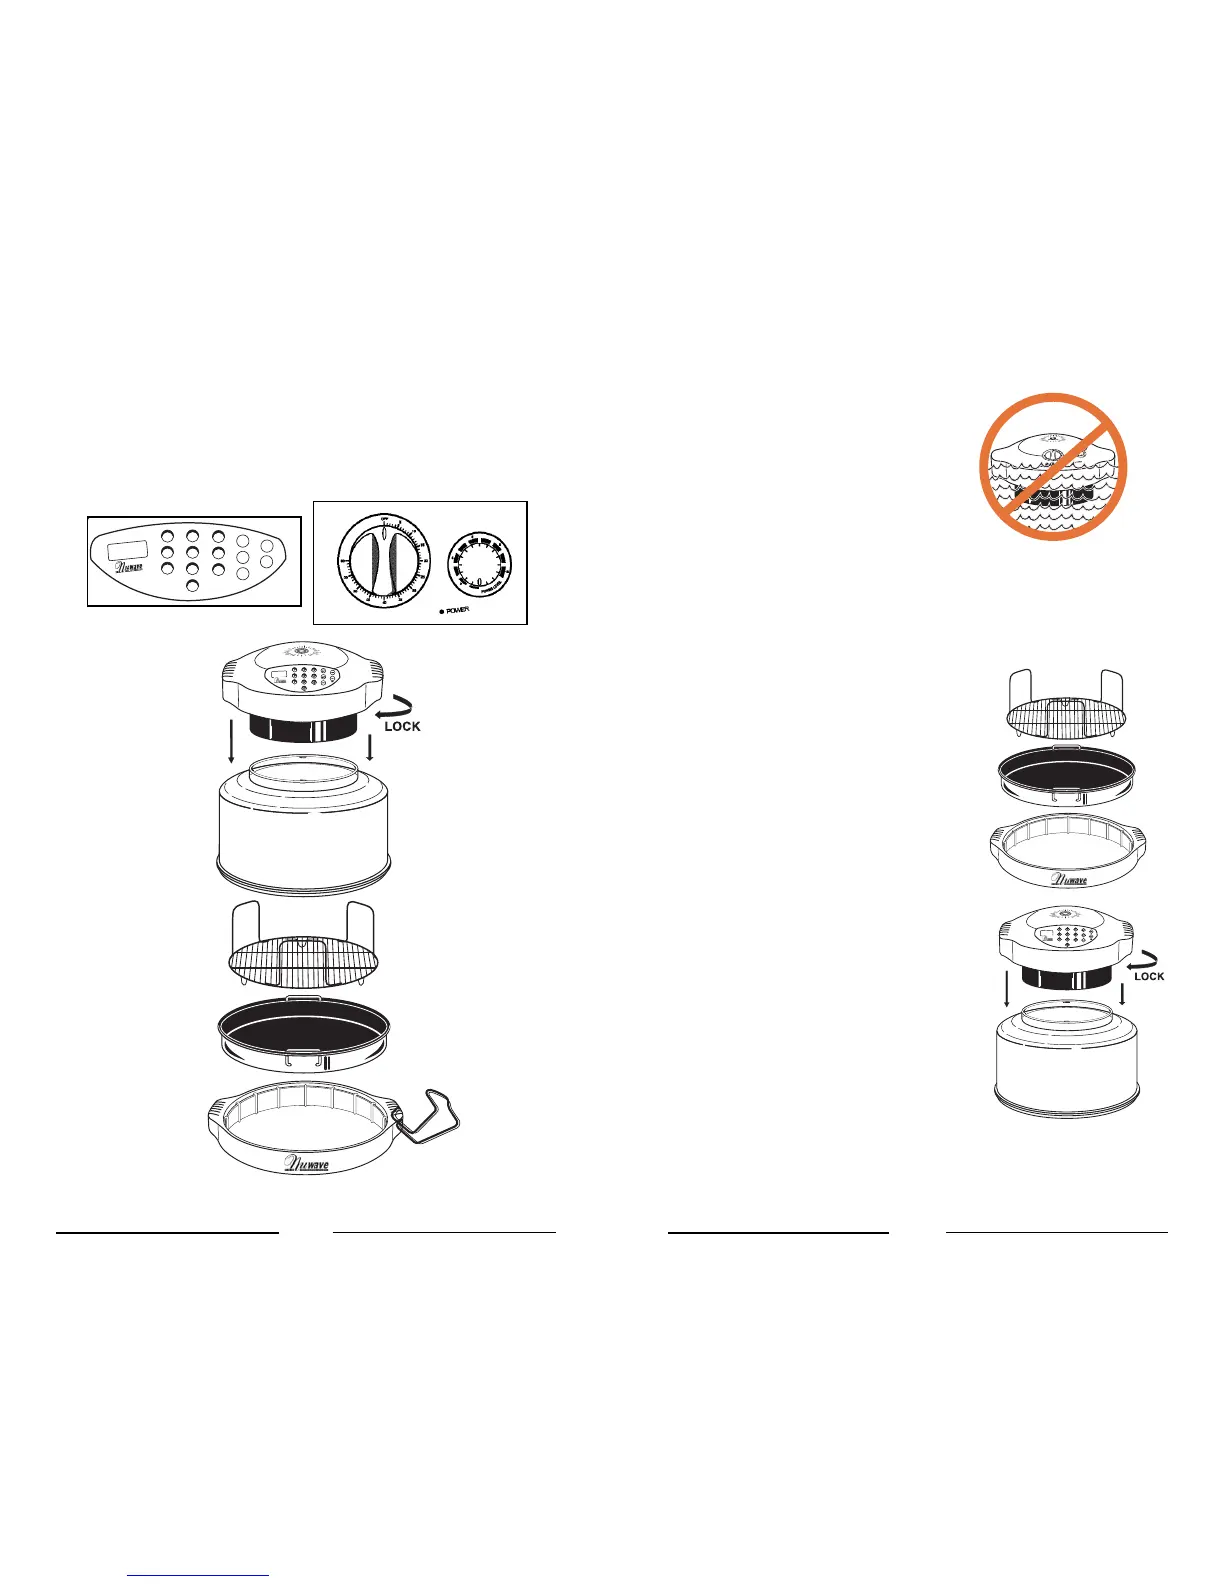
Power Head
Handles
Transparent
Dome
Cooking Rack
(1” or 4” Height)
Liner Pan
Base
Dome
Holder
Before Using
• Before using, wash dome, liner
pan, base, and cooking rack in
warm soapy water or clean in
the dishwasher.
• IMPORTANT : DO NOT WASH
OR IMMERSE POWER HEAD
IN WATER OR IN DISHWASHER. THE OUTER
SURFACE CAN BE CLEANED BY WIPING
CAREFULLY WITH A DAMP DISHCLOTH OR
SPONGE.
Assembly
• Place base on a firm stable surface.
• Place liner pan inside base. When
placing liner pan inside the base,
make sure the handles are positioned
at the dropped down position. If the
handles are not fully dropped down,
the dome may not fit over the base
properly (see illustration on pg.6).
• Place dual level cooking rack on the
liner pan according to cooking
requirements.
• Place food on the cooking rack.
• Place dome over food and on to base.
The dome should fit on to the base
evenly.
• Place power head into the rim of the
dome and lock it into place by
rotating the power head clockwise
until the locking lugs are engaged.
• Set cook time and power level
according to cooking
requirements.