10 | nVent.com nVent.com | 11
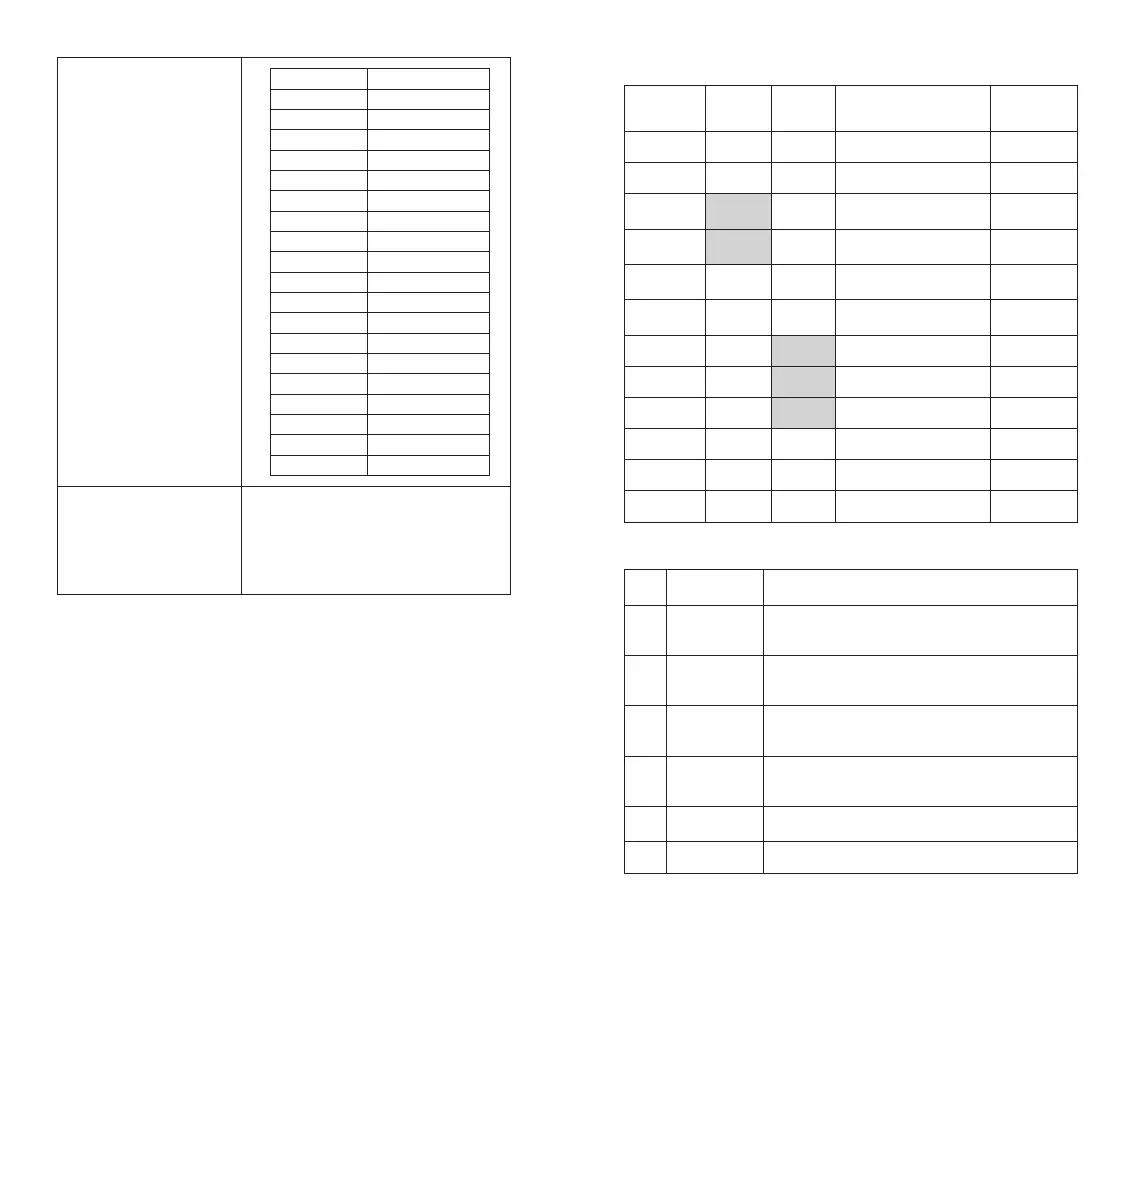
Sensor data
Temperature Resistance in kOhm
–40°C 32,34
–35°C 24,96
–30°C 19,48
–25°C 15,29
–20°C 12,11
–15°C 9,655
–10°C 7,763
–5°C 6,277
0°C 5,114
+5°C 4,188
+10°C 3,454
+15°C 2,862
+20°C 2,387
+30°C 1,684
+40°C 1,211
+50°C 0,8854
+60°C 0,6587
+70°C 0,4975
+80°C 0,3807
Approval
VDE approval pending-VDE according to
EN60730 EMC According to EN 50081-1/2
for emission and EN50082 - 1/2 for immunity
Temperature for bal pressure +100°Ctest
(DIN EN 60730/VDE 0631-1)
Rated impulse voltage: Overvoltage category III
(DIN EN 60730/ VDE 0631-1)
4. OPERATION
The Raystat V5 has a LED user screen interface:
The unit will switch to the main screen after 2 minutes of non-interaction on the
parameter input screens.
4.1 Quick install
When the unit is powered up for the rst time, a quick setup must be executed before
the unit is ready to start. The Quick start helps to set all important settings, the
unit will go in main screen mode automatically when done. Quick start is sucient
for normal operations. More settings are available in the Setup menu for special
installation conditions.
The Quick start will only start if no pre-setting is done.
The parameters can be changed by pressing the check mark button for 6 sec.
The controller can be protected by a keylock. If this keylock function is active, the
code (see SP 12 in parameter list) needs to be entered to unlock the unit. Resetting
the Raystat V5 to factory settings is done by simultaneously pressing the arrow up,
down arrow and OK buttons for 6 seconds.
Parameter overview :
PARAMETER
Operation
Mode:
LINE
Operation
Mode:
PASC
Description
Factory
settings
SP1
SET Temperature +3°C
SP2
Operation mode selection -----
SP3
Lowest ambient
temperature
-20°C
SP4
Average pipe diameter
level
2
>= DN 25 / 1”
SP5
Heater operation in
sensor failure mode
ON
SP6
Heater operation via
external contactor
No
SP7
Hysteresis 1 K
SP8
Low temperature alarm 0°C
SP9
Higher temperature alarm +65°C
SP10
Alarm sound status ON
SP11
TEST program OFF
SP12
KEY LOCK – Pass code OFF
Error codes :
Error
Code
Error
description
Remedy
Er 2.1 Sensor open
1. Check sensor cable connection
2. Verify operation of unit
3. Replace unit if cable ok & error still exists
Er 2.2 Sensor short
1. Check sensor connection
2. Replace sensor
3. Replace unit if sensor ok & error still exists
Er 3.1
Low
temperature
alarm
1. Verify heating system and sensor position
2. Verify menu settings of high temperature alarm
Er 3.2
High
temperature
alarm
1. Verify heating system and sensor position
2. Verify menu settings of high temperature alarm
Er 5.0
Heating cable
disconnected
Verify heating cable connection
Er 6.0 Internal error Replace unit

 Loading...