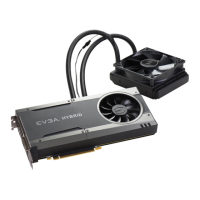
(b) For Founders Edition cards (#A), tighten 2 #9 screws circled in red, 10 #10 screws circled in yellow, and 4 #11
screws circled in green.
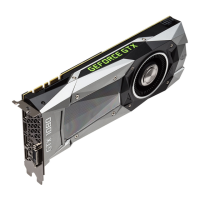
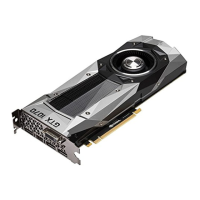
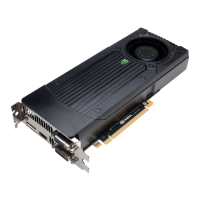
(c) For Blower model and iCX cards (#B,#C,#D), tighten 8 #7 screws circled in yellow, and 1 #6 screw circled in red.
(d) Once the backplate has been fastened, the HYBRID installation is complete.
Mounting the Radiator
1. To mount the radiator, it is recommended that the radiator be installed at a level above the HYBRID graphics
card. This will reduce pump noise and the potential to create an air bubble in the loop .
2. The radiator will fit mounting holes designed for a 120mm x 120mm case fan.
3. The default setting for the HYBRID’s radiator/fan is to blow through the radiator and outside the chassis. For
that reason, we recommend installing the radiator at the back or top of the chassis.
4. If installing the radiator in the back of the chassis, we recommend positioning the tubes at the bottom of the
radiator.
5. Make sure that you leave some slack in the tubing lines to prevent damage to the tubing or internal fittings. If the
tubes are twisted too much or pulled too tightly, you may cause damage to the pump/radia tor or cause the
HYBRID kit to begin leaking.
6. When ready, line-up the radiator with the mounting holes on the chassis. On the outside of the chassis use #17
washers and screws to fasten the radiator to the chassis.
7. Once fully mounted, use the remaining #16 cable ties to secure the radiator fan wire to the tubing.
8. Your EVGA GTX 1080 Ti SC HYBRID Kit installation is now fully complete!
 Loading...