C
Charles NelsonJul 28, 2025
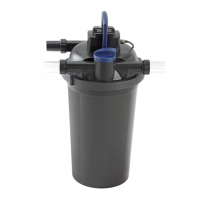
Why is my Oase Water Filtration System not working?
- WwardmarkJul 28, 2025
Your Oase Water Filtration System might not be performing due to several reasons. First, ensure the pump power supply is properly connected. An inappropriately sized or clogged pump could also be the culprit; check the packaging for proper sizing and inspect the pump, cleaning it if necessary. Also, a clogged debris basket can cause this issue; clear out any leaves or debris. Finally, examine the tubing for blockages or kinks, cleaning or replacing the tubing as needed and making sure to eliminate any kinks.