9.ReconnectthepowertotheHVACsystem.
10.Theunitisnowoperationalanddoesnotneedtobepoweredo
unless cleaning or bulb replacement is necessary.
NEVER LOOK DIRECTLY AT OR TOUCH A UV BULB WHILE ILLUMINATED.
Maintaining Your UV Air Treatment System
Inordertokeepyourunitoperatingatmaximumeectiveness,itisrecommendedthatyoucleantheUV
bulb(s) every 3 months and replace the bulb(s) every year.
Bulb Cleaning and Replacement
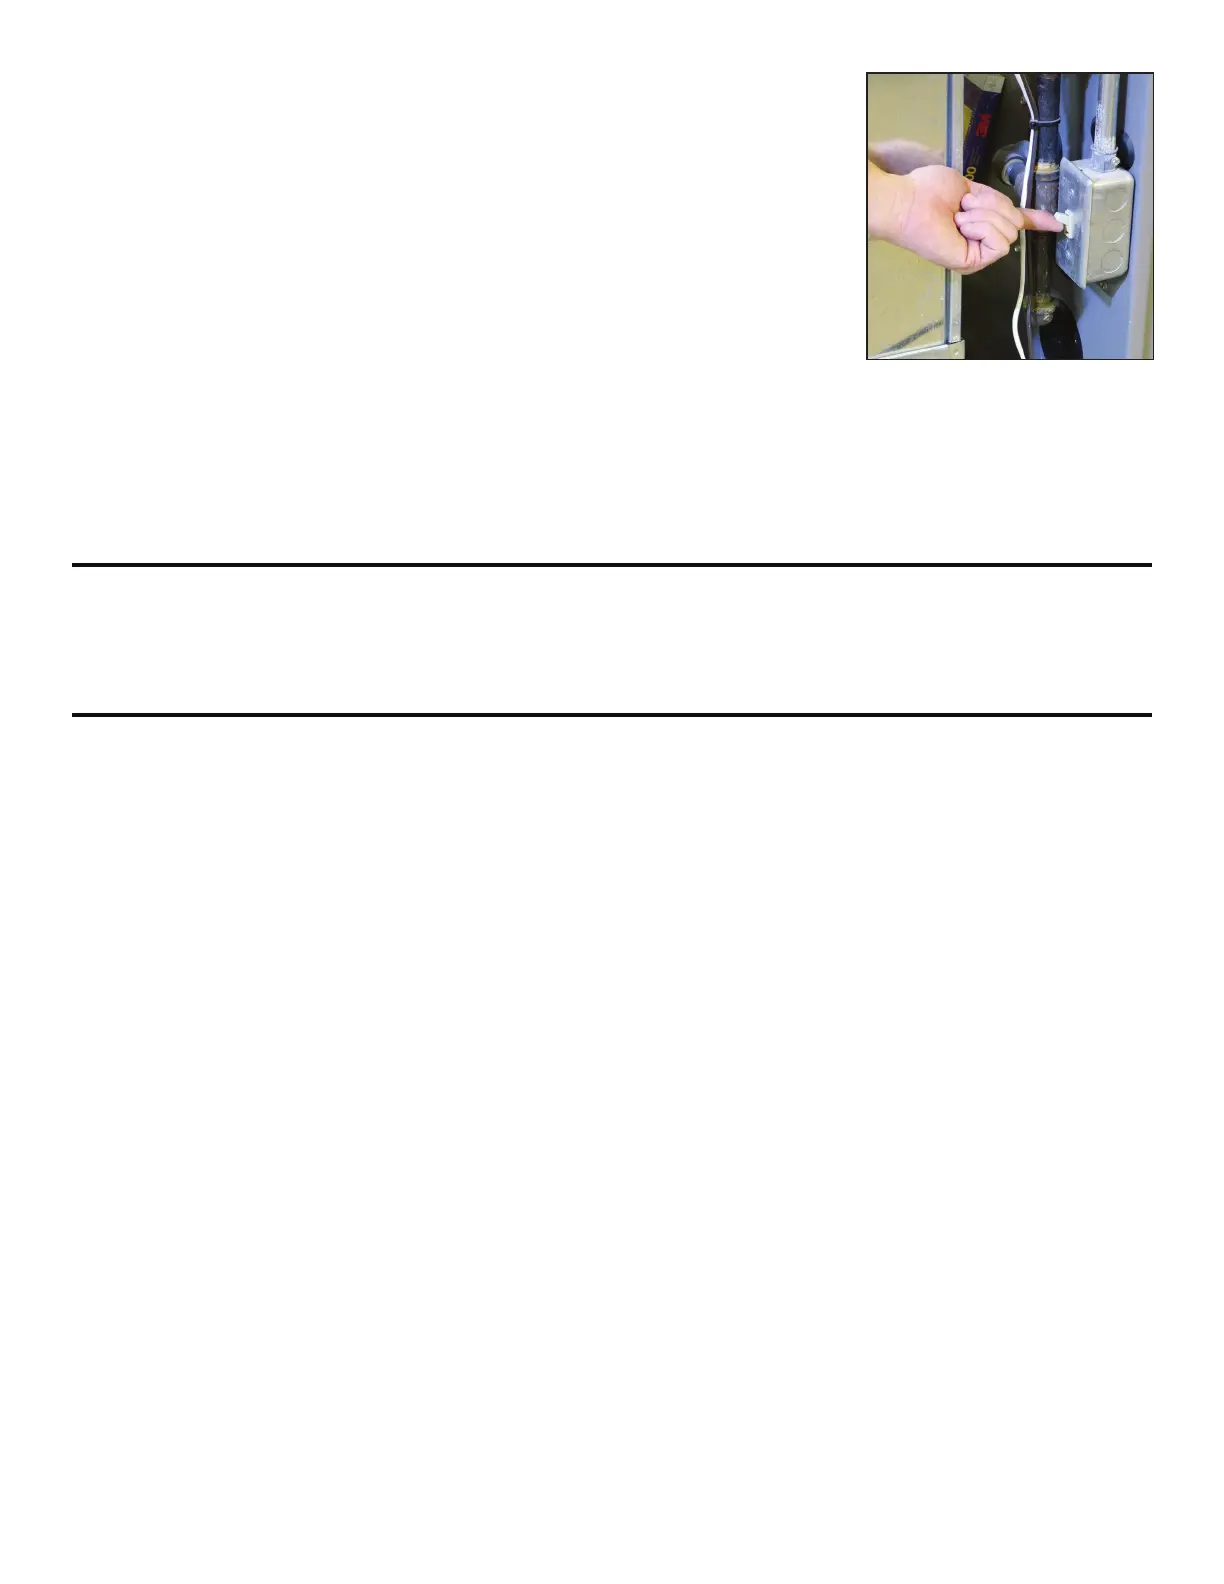
1.DisconnectthepowertotheHVACsystem,unplugunit,andallowUVbulb(s)tocoolforatleast15
minutes before attempting to remove the unit.
2. Remove 4 sheet metal screws and slide the unit out of the duct work.
3a. To Clean:HoldtheunitsecurelyandwipetheUVbulb(s)withasoftclothdampenedwithglass
cleaner.Ifyoutouchtheglasswithyourhand,besuretowipeawayanyngerprintsordirtwithcloth.
Makesurethebulbiscleananddrybeforeinstallingunitbackintoduct.
3b. To Replace: Visitwww.OdorStop.comtopurchasenewUVbulbsifneeded.Useofanybulbnot
approvedfortheunitwillvoidthewarrantyandcouldcauseseriousinjuryordamage.Holdtheunit
securelyandpushthebulbreleasebuttontoremovetheUVbulb.Installthenewbulbintotheunit
by sliding the bulb in from the outside until the bulb snaps into place. If you touch the bulb with your
hand,besuretowipeawayanyngerprintsordirtwithasoftdampcloth.Makesurethebulb(s)is/
are clean and dry before installing the unit back into the duct.
4. Re-install the unit into the duct work and re-install the 4 sheet metal screws. Tighten screws evenly until
unitissecurelyinplace.DONOTOVERTIGHTENSCREWS.
5.ReconnectthepowertotheHVACsystemandplugtheunitbackintoa120voltgroundedpoweroutlet.
6.TurntheunitonandverifythattheLEDindicatorlight(s)locatedneartheon/oswitchareilluminated.
IfthegreenLEDlight(s)is/arenotilluminated,seethetroubleshootingsection.
NEVER LOOK DIRECTLY AT OR TOUCH A UV BULB WHILE ILLUMINATED.
5
 Loading...