4
Operating Instructions and Parts Manual 23980
12/18
2018 OEMTOOLS
™
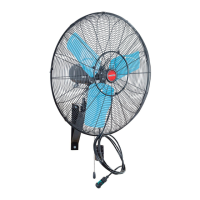
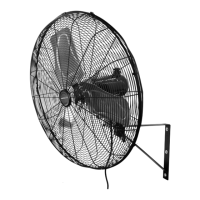
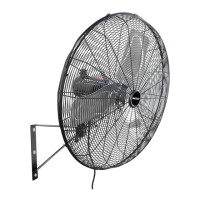
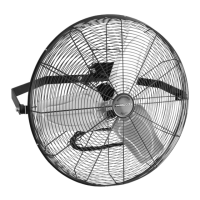
24" OSCILLATING
MISTING WALL MOUNT FAN
OPERATING INSTRUCTIONS
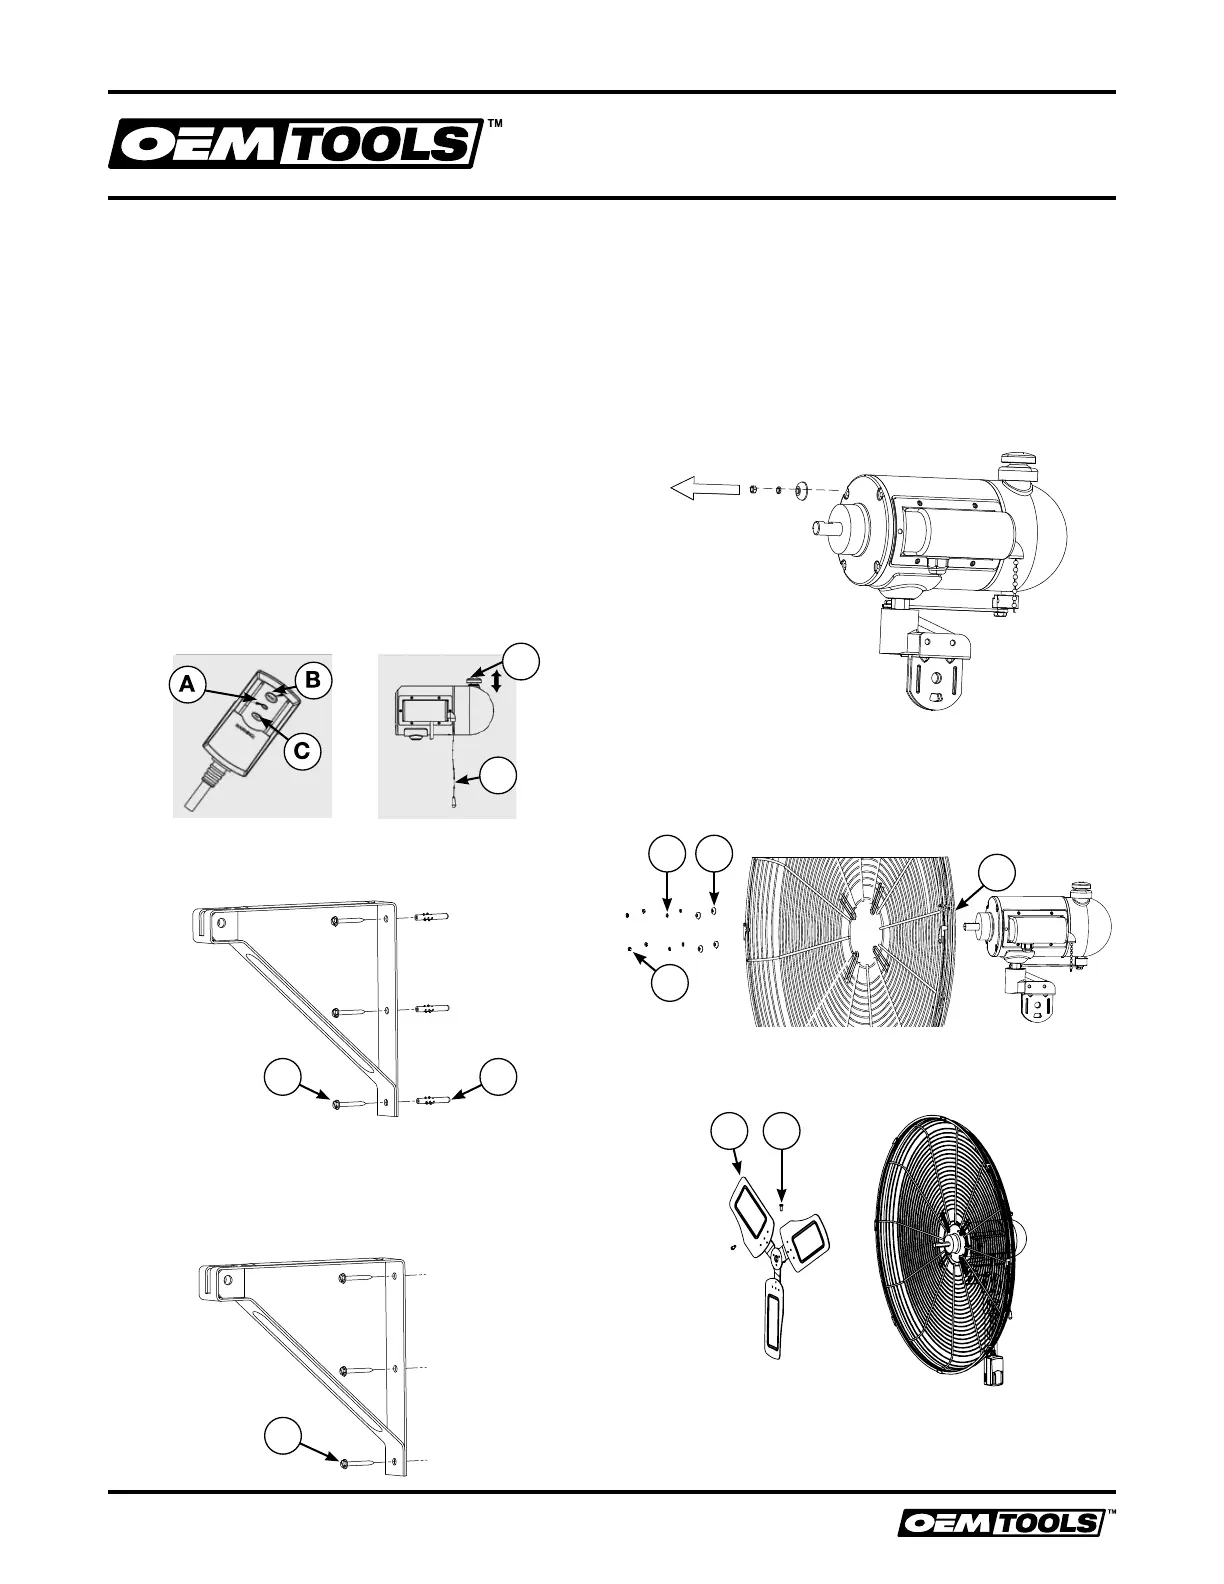
1. Test GFCI (Ground Fault Circuit Interrupter) plug
BEFORE EACH USE.
• Plug GFCI into power outlet.
•
Press RESET button (B). Indicator (A) should turn red.
• Press TEST button (C). Indicator (A) should turn off.
GFCI plug is tripped.
• Press RESET button (B) again for use.
• DO NOT USE FAN IF THE ABOVE TEST FAILS.
• Call customer service for assistance.
2. Adjusting Air Speed
The fan has three speeds (LOW, MEDIUM and HIGH). Pull the
chain (E) of the unit to adjust air flow to the desired speed.
3. Using the Oscillating Feature
Pressing the oscillation knob (D) will allow the fan
head to be turned. Pulling up on the oscillation knob
(D) will lock the fan head at the desired position.
D
E
WALL ASSEMBLY INSTRUCTIONS
1. Concrete Wall Installation
12
Mark the hole by using the bracket and then drill the holes.
After drilling, insert the wall anchors and tap them flush with
the wall. Position the bracket and then tighten the three
screws into the anchors, securely attaching it to the wall.
Wall Stud Installation
2
Mark the hole by using the bracket and then drill small
pilot holes.
After drilling the pilot holes, position the bracket and
secure to the wall with the three screws.
CAUTION: This fan must be securely mounted for
safe operation. It is the user’s responsibility to ensure a
safe mounting location and surface.
2. Remove four sets of hexagonal nuts, spring washers,
and big washers from the motor. Save them for step 3.
3. Attach the rear guard (4) to the screws found on the
motor and then secure them together using four bowl
washers (1), four spring washers (2), and four nuts (3)
from step 2.
12
4
3
4. Assemble fan blade (2) onto the motor shaft by
tightening two screws (1) which are located on the fan
blades. Make sure the screws are tightly secured.
12