ohmcycles.com
FOUR > TECHNICAL INFORMATION
25
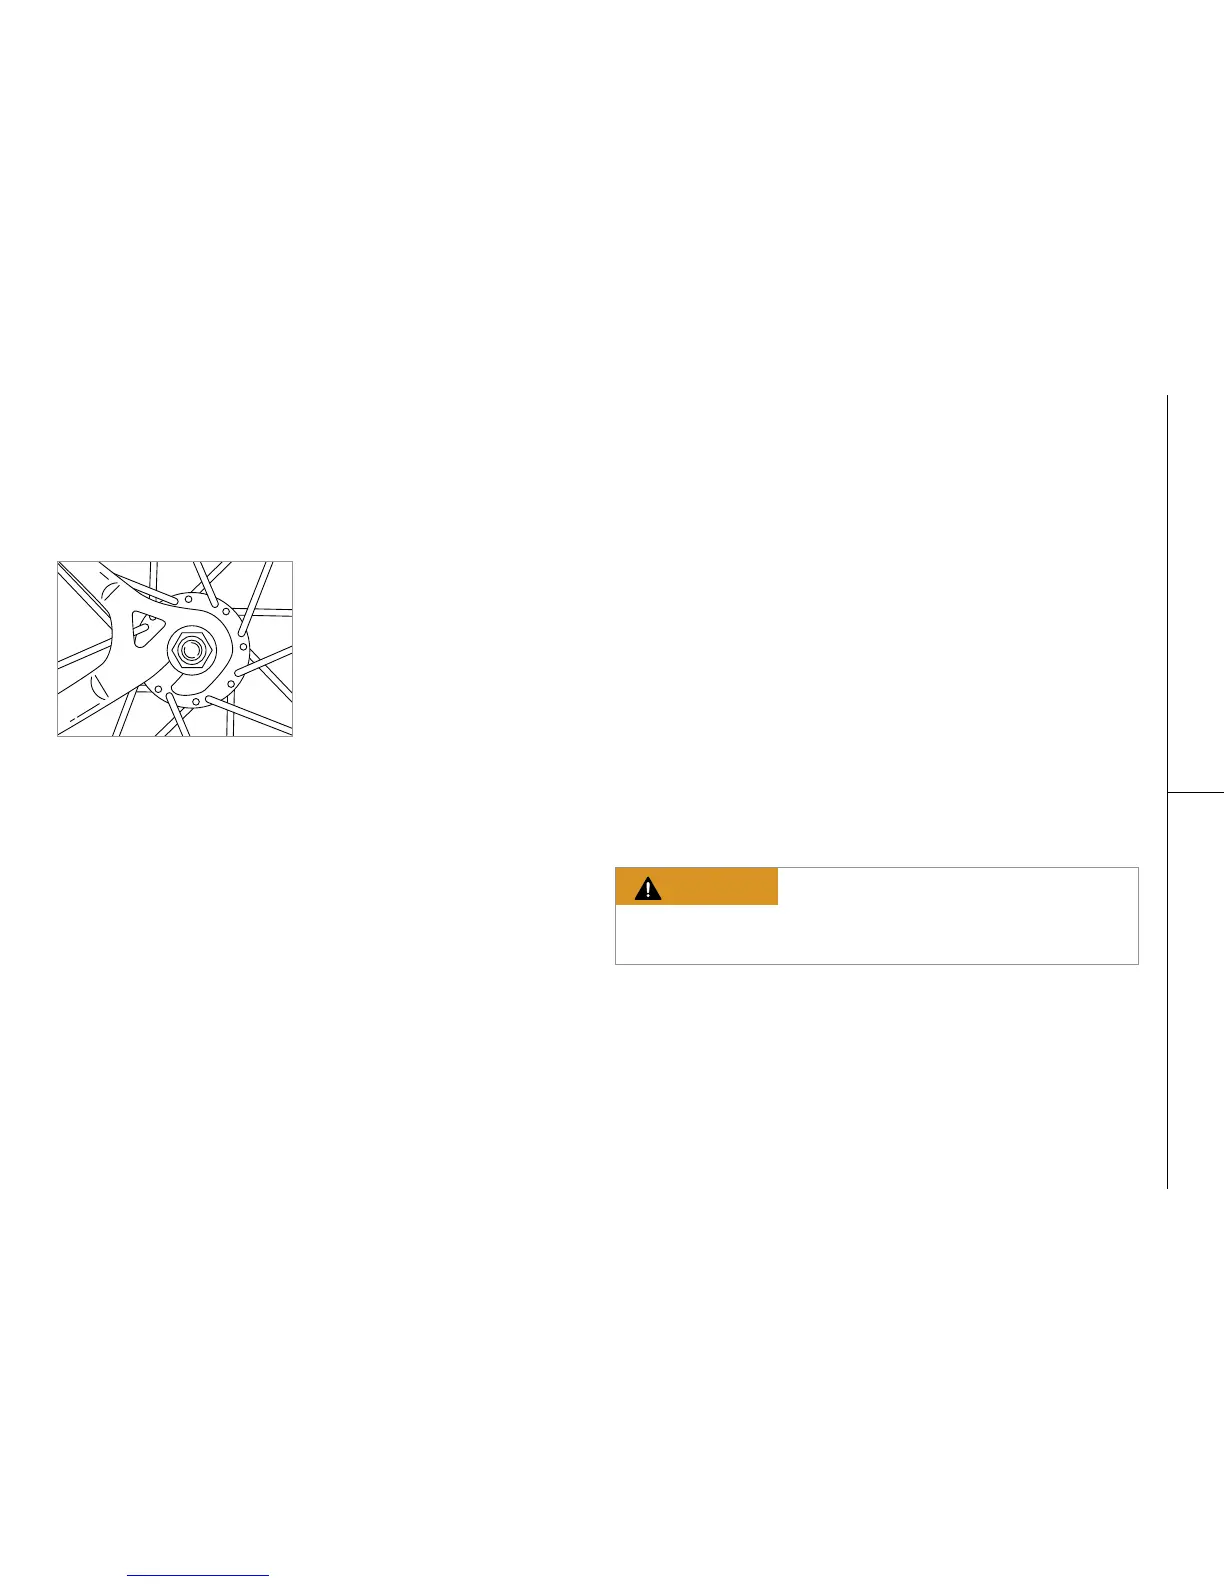
4.1.3 REMOVING AND INSTALLING
BOLT-ON REAR WHEEL
INSTALLING A BOLT-ON REAR WHEEL
✔ Shift the rear derailleur to its outermost position and pull the
derailleur back with your right hand.
✔ Put the chain on the smallest sprocket. Then, insert the wheel into
the frame dropouts and pull it all the way in to the dropouts. The
axle nut washers should be on the outside, between the frame and
the axle nut.
✔ Using the correct size wrench, tighten the axle nuts as tightly as
you can.
✔ Push the rear derailleur back into position.
✔ Re-engage the brake quick release mechanism to restore correct
brake pad to disc clearance; spin the wheel to make sure it is
centered in the frame and clears the brake pads; then squeeze the
brake lever and make sure that the brakes are operating correctly.
✔ Connect the electric motor cables (located on the bottom left hand
chain stay)
REMOVING A BOLT-ON REAR WHEEL
✔ Disconnect the BionX electric motor cables (located on the bottom
left hand chain stay)
✔ Shift the rear derailleur to high gear (the smallest rear sprocket)
and pull the derailleur body back with your right hand.
✔ Using the correct size wrench, loosen the two axle nuts.
✔ Lift the rear wheel off the ground a few inches and, with the
derailleur still pulled back, push the wheel forward and down until
it comes out of the rear dropouts.
WARNING: The motor acts as a rear hub and should
not be adjusted once the rear wheel is properly mounted.
For more information, contact your OHM Dealer.
Fig 4.1.3