9
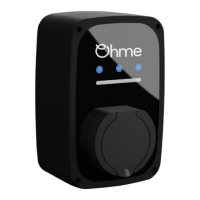
Figure 1 – Clamp connection using spring connectors
Connect up the CT clamp and follow the commissioning procedure either using the Web App or on
the unit using the buttons:
• Web App: once the CT clamp is connected, click Check Clamp to check for correct
connection. Click Enable Load Balancing, then Save Settings
• Buttons: see the ePod Quick Set Up Guide provided in the box. During the clamp check
process, the LED light bar will turn from red to amber when a clamp value has been
successfully received.
The CT clamp and wiring is not polarity sensitive – you can install the CT clamp in either direction.
Ohme recommends EV Ultra Cable 3 Core + Data as a convenient single cable solution. This cable
contains two data cores and can be used to extend the clamp cable up to 60 metres. Cat5e Ethernet
cables or alarm wire (e.g. Belden) can also be used to extend the CT clamp.
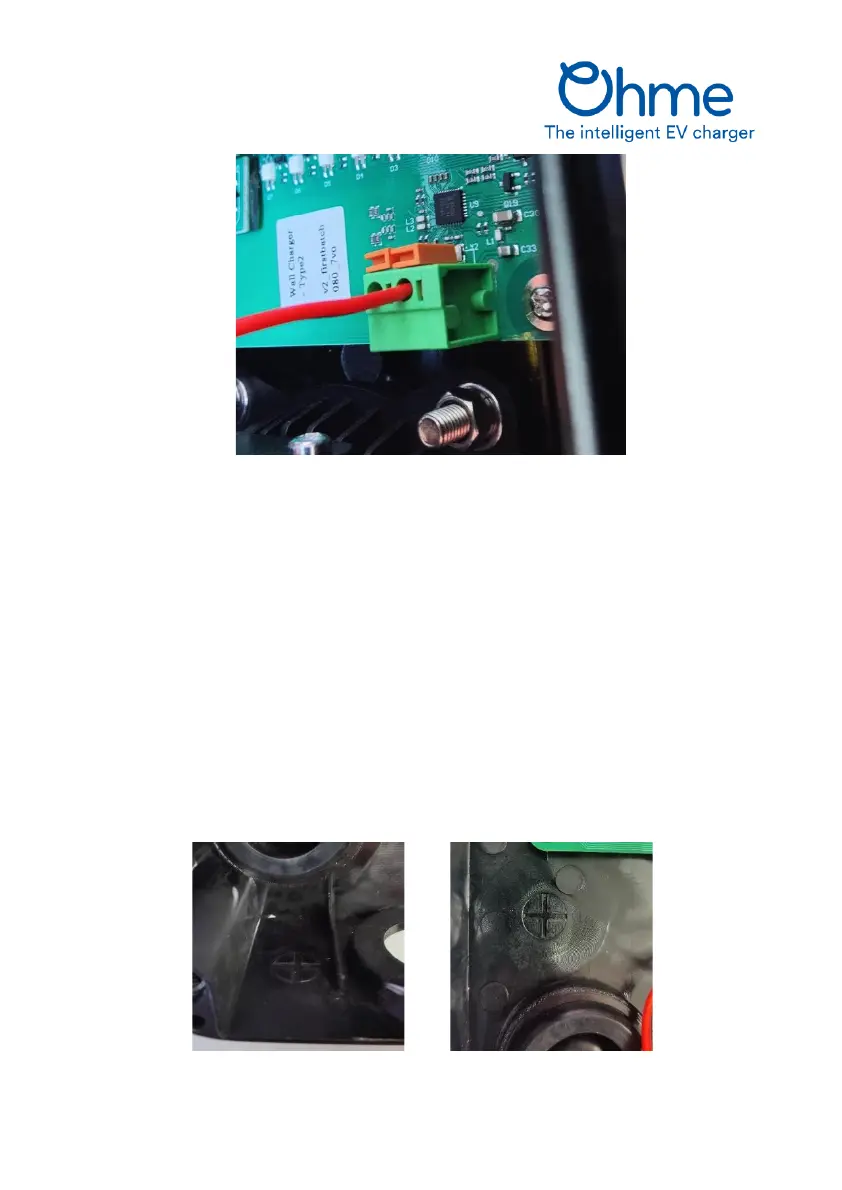
There are two marked areas for drilling to install a separate gland, suitable for a M12 or M16 gland.
Figure 2 – Areas marked for installing additional glands