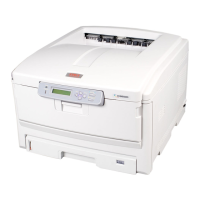
- 37 -
Connecting to a Computer
1
1. Setup
Memo
● To change the name, enter a new name into
[Name:].
11 Click [Add].
12 When [Installable options] is
displayed, click [Continue].
13 Make sure that the machine is added
to [Printers] and [OKI C823 PCL] is
displayed for [Kind].
Note
● If [OKI C823 PCL] is not displayed for [Kind]
correctly, click [-], delete the machine from
[Printers], and then newly perform steps 8 to 12.
14 Click [Open Print Queue...].
15 Select [Print Test Page] from the
[Printers] menu.
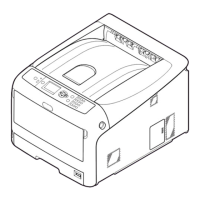
USB Connection
Perform the following procedure to connect your
printer to a computer via USB.
Connecting a USB Cable
1
Prepare a USB cable (1).
A USB cable is not supplied with your printer.
Prepare a USB 2.0 cable separately.
1
Memo
● Use a USB 2.0 Hi-Speed cable for a USB 2.0 Hi-
Speed connection.
2 Turn off your printer and the computer.
Reference
● “Turning Off the Power” P.21
3 Plug one end of the USB cable into the
USB interface connector (2) on the back
of the printer.
4 Plug the other end of the USB cable into
the computer’s USB interface connector.
2
Note
● Do not plug the USB cable into the network interface
connection. Doing so may cause a malfunction.