Do you have a question about the OKIDATA Microline 320 Turbo and is the answer not in the manual?
Connects the power cable to the printer and wall, and the parallel data cable to the printer and computer.
Adjusts the lever on the right side to the middle position for "Top" feed.
Adjusts the paper guide to accept paper in manual feed position at a 45-degree angle.
Sets the left margin bracket to the notch and aligns the right bracket with paper.
Resets the printer to factory settings by holding SEL and Quiet buttons while powering on.
Enters the firmware menu by holding the Shift button and pressing the Menu button.
Presses the Group button to print 'Printer Control Emulation Mode IBM PPR'.
Navigates menus using Group and Item buttons to set Paper Out Override to Yes.
Presses the Item and Set buttons to change 'Auto Select' to 'Yes'.
Uses Shift and Micro Feed buttons to position paper 1/16th inch above the plastic guard.
Installs the default Windows driver by clicking Next through the Found New Hardware Wizard.
Prints a test page from printer properties to confirm correct operation.
This document provides comprehensive instructions for setting up, configuring, and maintaining an Okidata Microline 320 Turbo printer, specifically for use with AutoDealer Plus software. The guide covers physical setup, firmware adjustments, paper feed alignment, driver installation, and printing a test page, ensuring the printer operates optimally for its intended application.
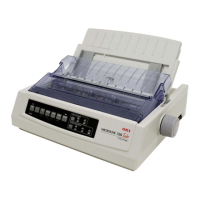
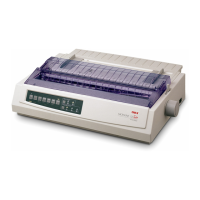
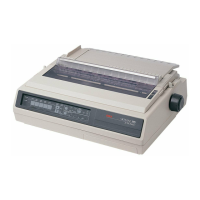
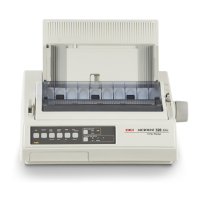
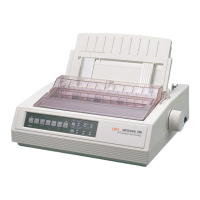
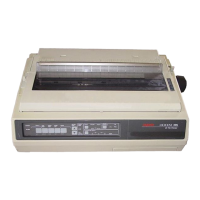
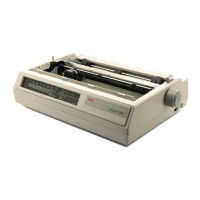
The Okidata Microline 320 Turbo is a dot matrix printer designed for reliable and efficient printing, particularly in business environments where continuous forms or multi-part documents are common. When integrated with AutoDealer Plus, its primary function is to print contracts and other essential documents, offering a robust solution for dealerships. The printer's firmware can be adjusted to ensure compatibility and optimal performance with specific software applications, allowing for precise control over printing parameters such as emulation mode, paper handling, and margin settings. Its durable design and ability to handle various paper types make it suitable for demanding printing tasks.
The setup process begins with the physical connection of the printer. Users must first ensure the printer is turned off but plugged in. The power cable connects to the back of the printer and then to a wall outlet. The parallel data cable connects from the printer to the computer, ensuring a secure connection at both ends. Once connected, the printer can be powered on.
Before adjusting firmware settings, it is recommended to reset the printer to factory settings, even if it is a new printer.
These adjustments program the printer to work specifically with AutoDealer Plus. If any errors occur during this process, the printer can be reset to factory settings as described above.
Accurate paper feed length is crucial for precise printing.
When the printer is first plugged into the computer, Windows will typically detect new hardware and initiate a driver installation wizard.
After installation, it's important to verify the printer's functionality.
The document highlights one key maintenance aspect related to paper feeding:
The overall design of the Okidata Microline 320 Turbo, combined with these detailed setup and adjustment instructions, aims to provide a reliable and precise printing solution for specialized applications like contract printing in a dealership environment. The ability to fine-tune firmware settings and paper alignment ensures that documents are printed accurately and consistently, minimizing errors and improving workflow efficiency.
| Print Technology | Dot Matrix |
|---|---|
| Print Resolution | 240 x 216 dpi |
| Connectivity | Parallel, Serial, USB |
| Emulations | Epson FX, IBM ProPrinter |
| Noise Level | 55 dB |
| Paper Handling | Tractor Feed, Friction Feed |
| Number of Pins | 9-Pin |