4) PromptSetting
5) ReceiveSwitch
6) Date&Time
7) RemoteStatus
8) VersionNO
9) Factory Reset
(2) Pairing
① Pairing Menu List
1) Add Pairing
2) Del Pairing
3) Del All Pairing
② Add Pairing
1) Setting Interface
• CurZone: Mark the number of sensors.
• Code: The sensor’s codes, xx-xx-xx means no pairing. One sensor has one Unique code.
2) Button Operation
• “UP” and “DOWN” button: Switch CurZone number among 0-99.
• “ESC” button: Return to the “Pairing” menu interface.
3) Pairing Instruction
• On the “Add Pairing” interface, turn on the sensor and press the “MENU” button, a 6-digit code
will appear on watch's interface once the sensor and the watch are connected.
• Press “UP” and “DOWN” button to switch the CurZone number for the sensors. For example: If
you would like to mark one of the sensors to number 44, then switch the CurZone to 44Mark,
then pairing the sensor and watch. In this way, this sensor is marked to number 44.
• The receiver receives a transmit signal after the sensor is activated. Pairing is successful when
sensor codes show on the interface. For example: Transmit signal is sent via sensor 1 (Code: ED-
CD-2A). Your code will be specific to your device. It means the code “ED-CD-2A” will display
in the area xx-xx-xx when pairing is successful.
• Set the different number for sensors make it’s easier to locate them.
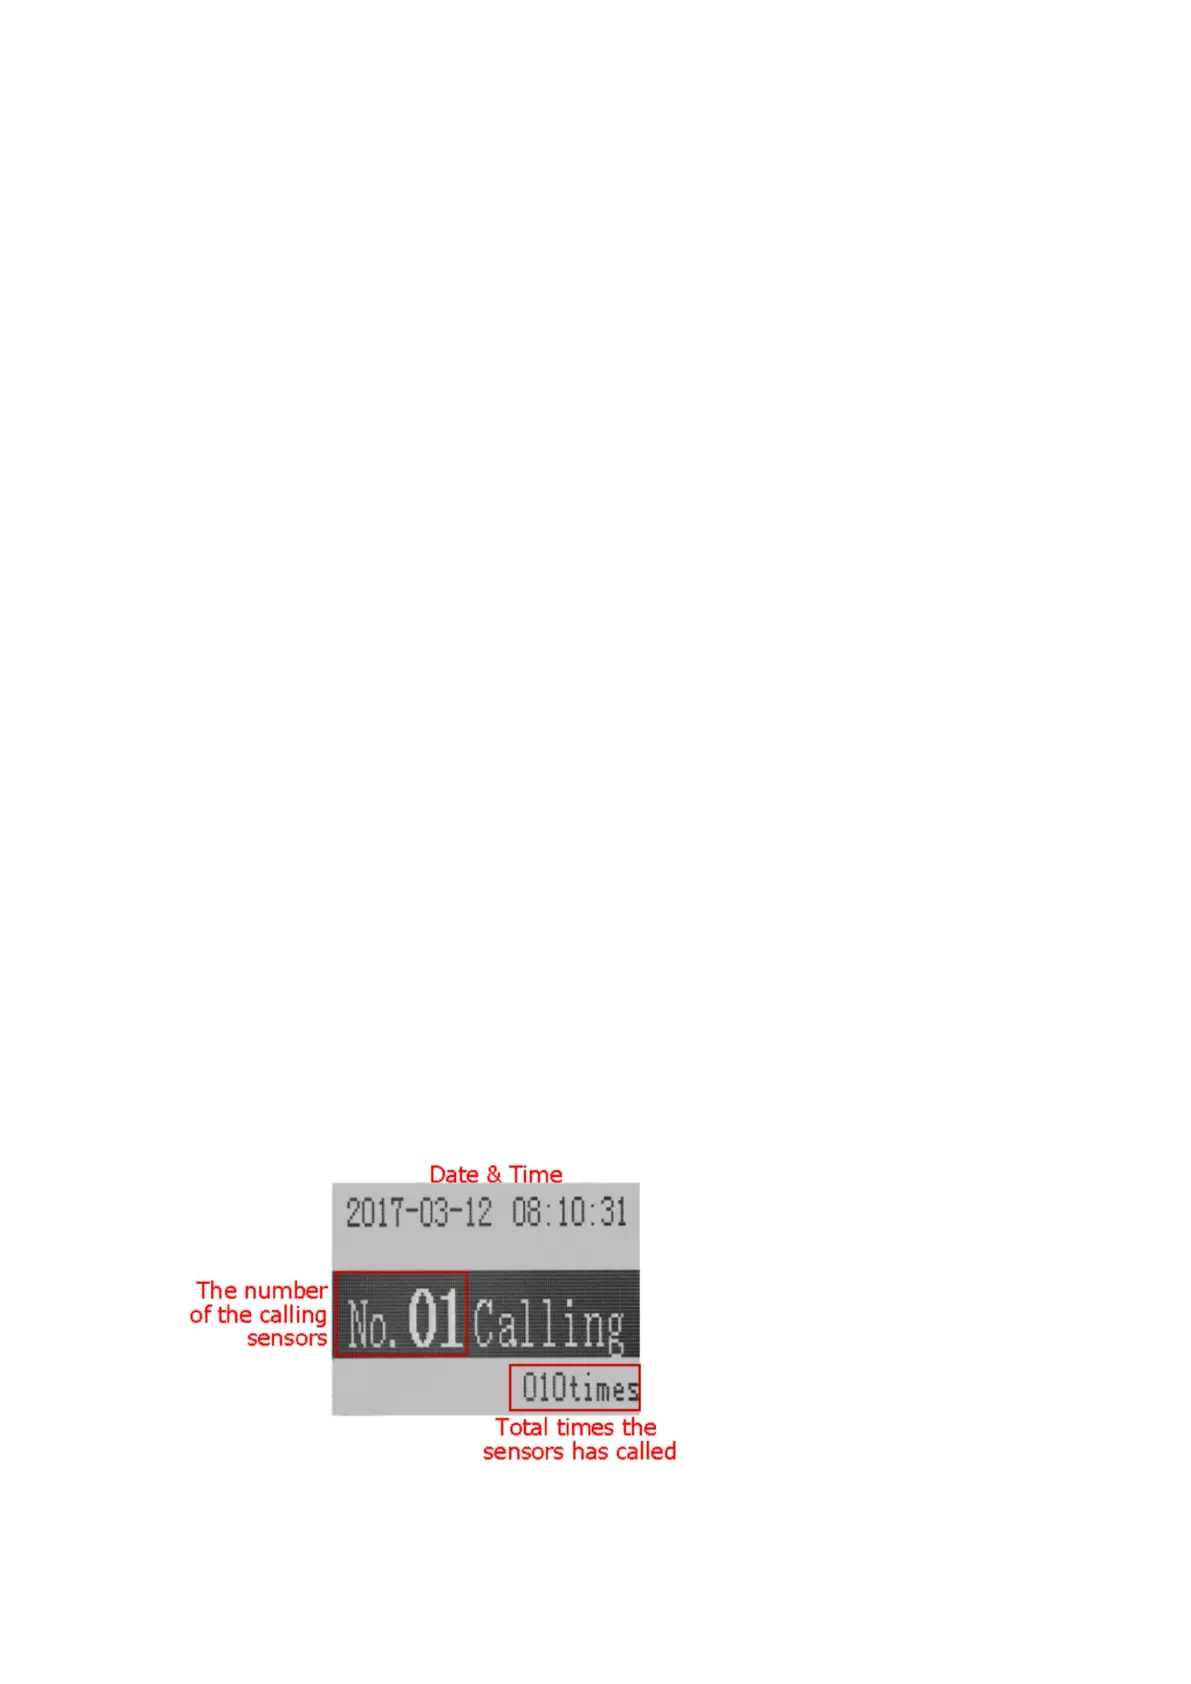
4) Prompt Interface
Each transmitter corresponds to one number.
③ Delete Pairing
1) Setting Interface