Cold Lamination
For cold lamination, the laminating pouch is coated with a special adhesive.
Unlike hot lamination, cold lamination bonds the foil not with heat, but with
pressure. Cold lamination is suitable for non-permanent sealing. The cold
laminating pouch can usually be removed from the laminated material without
leaving any residues.
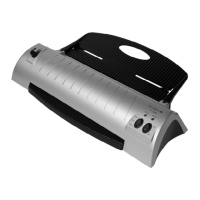
1. Set the laminator down on a level, stable working surface.
2. Plug the laminator cable power cable into an easily accessible power
socket.
3. Switch the On/Off switch to ON.
4. Press the Operating Mode button, several times
if necessary, until the COLD control lamp lights up.
The drive motor for the rollers starts up. The lami-
nator is ready for operation.
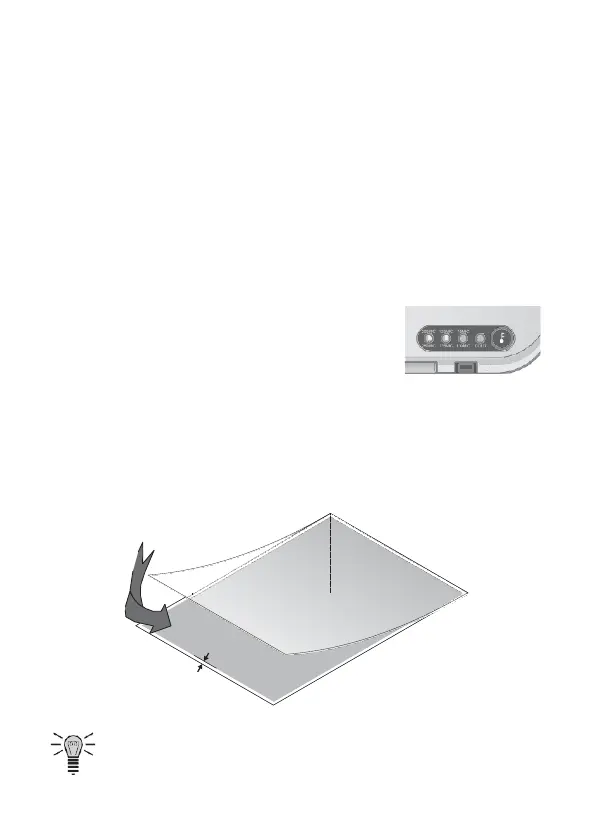
5. Remove the protective foil from the laminating pouch.
6. Place the material to be laminated inside the laminating pouch. For an
optimal lamination result, leave an all-round spacing of 3 to 5 mm from the
edges of the pouch.
If the material to be laminated is not in a standard paper format, also
place an insert inside the laminating pouch that corresponds with the