36
EN
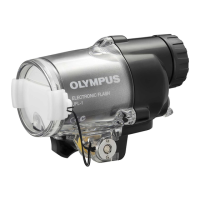
When the unit
is
attached to a camera that does not supply shooting information,
flash output can be set to the value metered by the flash or adjusted
in
advance
using flash controls. The unit can
also
be
configured for use as a slave
flash for
use with cameras that
do not offer
an
RC
mode.
AUTO
The flash
automatically
adjusts flash output for
optimal
results.
1 Set
the flash control
mode
to
[AUTO]
(P.
26).
2
3
Match the angle
of
illumination
to the focal length
of
the lens
(P.
28).
Select
[Flash]
for
[Auto
Mode
Source]
in the
menu display
(P.
35).
• ISO
sensitivity and aperture are displayed.
4
Adjust aperture and
ISO
sensitivity
(P.
28).
. .
~·.::.~.~•
--...~
A
I
0.0
I
2Smm
oF:
~Too
S.s)
• If
the selected
values
are out of the
flash control
range,
[ISO]
and [F]
will
blink
in
the display. The AUTO CHECK lamp blinks
for about
5 s after the
shutter
is
released to show that the flash has fired successfully.
MANUAL
Choose the guide number.
1
Set
the flash control
mode
to
[MANUAL]
(P.
26).
2
Adjust
flash level
(P.
28).
Slave Mode
The flash can
be
fired remotely
in
sync with any flash fired by other units.
1
Set
the flash control
mode
~o
[SL
AUTO]
or
[SL
MANUAL]
(P.
26).
2
Position the flash.
•
The flash can not be used with cameras that require a pre-flash.
•
The flash may fire
in
response to flash units used by other photographers.