16
EN
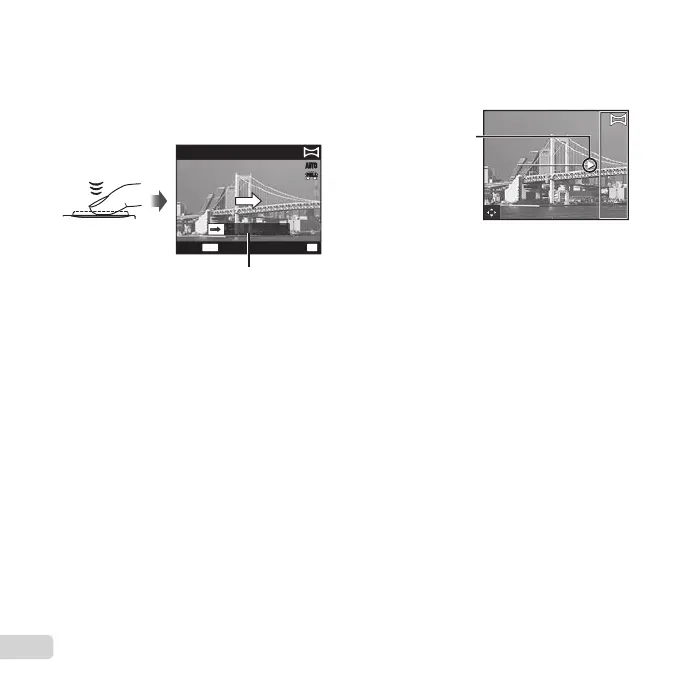
Taking pictures with [Auto]
Taking pictures with [Auto]
1 Select [Auto] in the submenu, and use HI to
select the angle of view (STD: 180°, FULL: 360°)
and then press the A button.
2 Point the camera to the start position.
3 Press the shutter button to begin shooting.
Guide
AUTO
FULL
MENU
Cancel
OK
Save
4 Start panning. When the arrow reaches the end of
the guide, recording ends automatically.
● The camera automatically processes the
images and the combined panorama image is
displayed.
● To stop shooting in the middle, press the
shutter button or A button. If the camera
pauses for a while, shooting automatically
fi nishes.
● If the message “Image was not created.” is
displayed, shoot again.
● To cancel the panorama function, press the
button.
● If the shutter does not automatically release, try
[PC].
Taking pictures with [PC]
Taking pictures with [PC]
1 Use FGHI to specify at which edge the next
picture is to be connected, and then press the A
button.
Direction for
combining frames
2 Press the shutter button to take the fi rst frame.
The edge of the fi rst frame is displayed faintly on
the screen.
3 Compose the next shot so that the edge of the
fi rst frame displayed faintly on the screen overlaps
the subject of the second frame, and press the
shutter button.
4 Repeat step 3 until the desired number of frames
are taken, and then press the A button or
button when fi nished.
Panorama shooting is possible for up to 10 frames.
The shot images are combined into a single
panorama image by the PC software.
● For details on installing the PC software, refer
to (p. 40). In addition, refer to the PC software
help guide for details on how to make panorama
images.
 Loading...