• Thank you for purchasing an
Olympus digital voice recorder.
Please read these instructions
for information about using the
product correctly and safely.
• This manual is a basic version.
Please refer to the complete
advanced manual either from the
stored data in the [OL_MANUAL]
folder of the recorder or download
the data from the OLYMPUS
website.
Introduction
EN
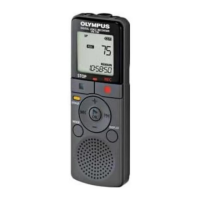
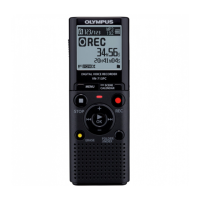
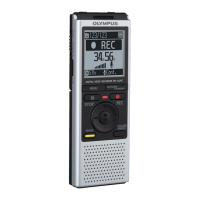
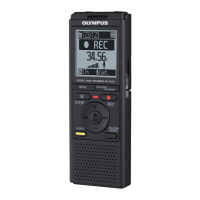
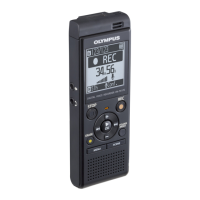
Names of parts
Recorder
1 USB connector
2 Display
3 LED indicator light (LED)
4
STOP
( 4) button
5
ERASE
button
6
MENU
button
7 Built-in speaker
8 Built-in microphone
9
POWER
switch
0
REC
(record) ( s) button
!
FOLDER/INDEX
button
@
SCENE
button
# 0 button
$
+
button
% 9 button
^ `
OK
button
&
–
button
* Stand
( USB connector slide lever
) Microphone jack (
)
- Earphone jack (
)
= Battery cover
q Strap hole
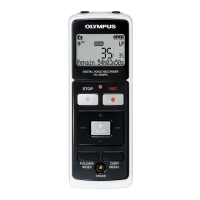
Display (Normal Mode)
A During recording mode
B During stop mode or playback mode
1 File name
2 Battery indicator
3 Folder indicator, Current file
number in folder/Total number of
recorded files in folder and file lock
indicator
4 Voice recorder status indicator
[ ]: Recording indicator
[
]: Recording pause indicator
[
]: Stop indicator
[
]: Playback indicator
[
]: Fast playback indicator
[
]: Slow playback indicator
[
]: Fast-forward indicator
[
]: Fast-rewind indicator
5 Elapsed recording time or playback
time
6 Recording media indicator
[l]: Internal memory
Possible recording time remaining
7 Meanings of indicators shown in
indicator display area
Rec Scene:
[
]: Dictation
[
]: Meeting
[
]: Conference
[
]: Duplication (Cassette)
[
]: Duplication (CD)
[
]: Duplication (Timer)
[
]: Telephone Rec
[
]: DNS
[
][ ][ ]: Rec Level
[
]: VCVA
[
]: Low Cut Filter
Play Mode:
[
]: Folder
[
]: File
[
]: Repeat
8 Recording format indicator
9 File length
0 Level meter
! Playback position bar indicator
Display (Simple Mode)
C During recording mode
D During stop mode or playback mode
1 Folder indicator, Current file
number in folder/Total number of
recorded files in folder and file lock
indicator
2 Battery indicator
3 Voice recorder status indicator
[ ]: Recording indicator
[
]: Recording pause indicator
[
]: Stop indicator
[
]: Playback indicator
[
]: Fast playback indicator
[
]: Slow playback indicator
[
]: Fast-forward indicator
[
]: Fast-rewind indicator
4 Elapsed recording time or playback
time
5 Recording media indicator
[l]: Internal memory
Possible recording time remaining
6 Level meter
7 File length (During stop mode),
Playback position bar indicator
(During playback mode)
8 Rec Scene
Setup
Inserting the battery (Fig. 1)
Before using the voice recorder,
insert the battery in the battery
compartment of the voice recorder.
1 Slide open the battery cover while
pressing down on it.
2 Insert AAA batteries, making sure
to place the positive and negative
terminals correctly.
a Insert the battery’s negative
terminal first.
3 Slide the battery cover completely
closed.
3
EN
 Loading...