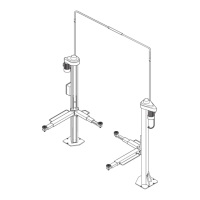
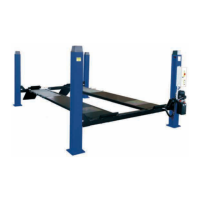
Fig.61-Abb.61
CAP.5FUNZIONAMENTOEDUSO
Icomandidelsollevatoresonoiseguenti:
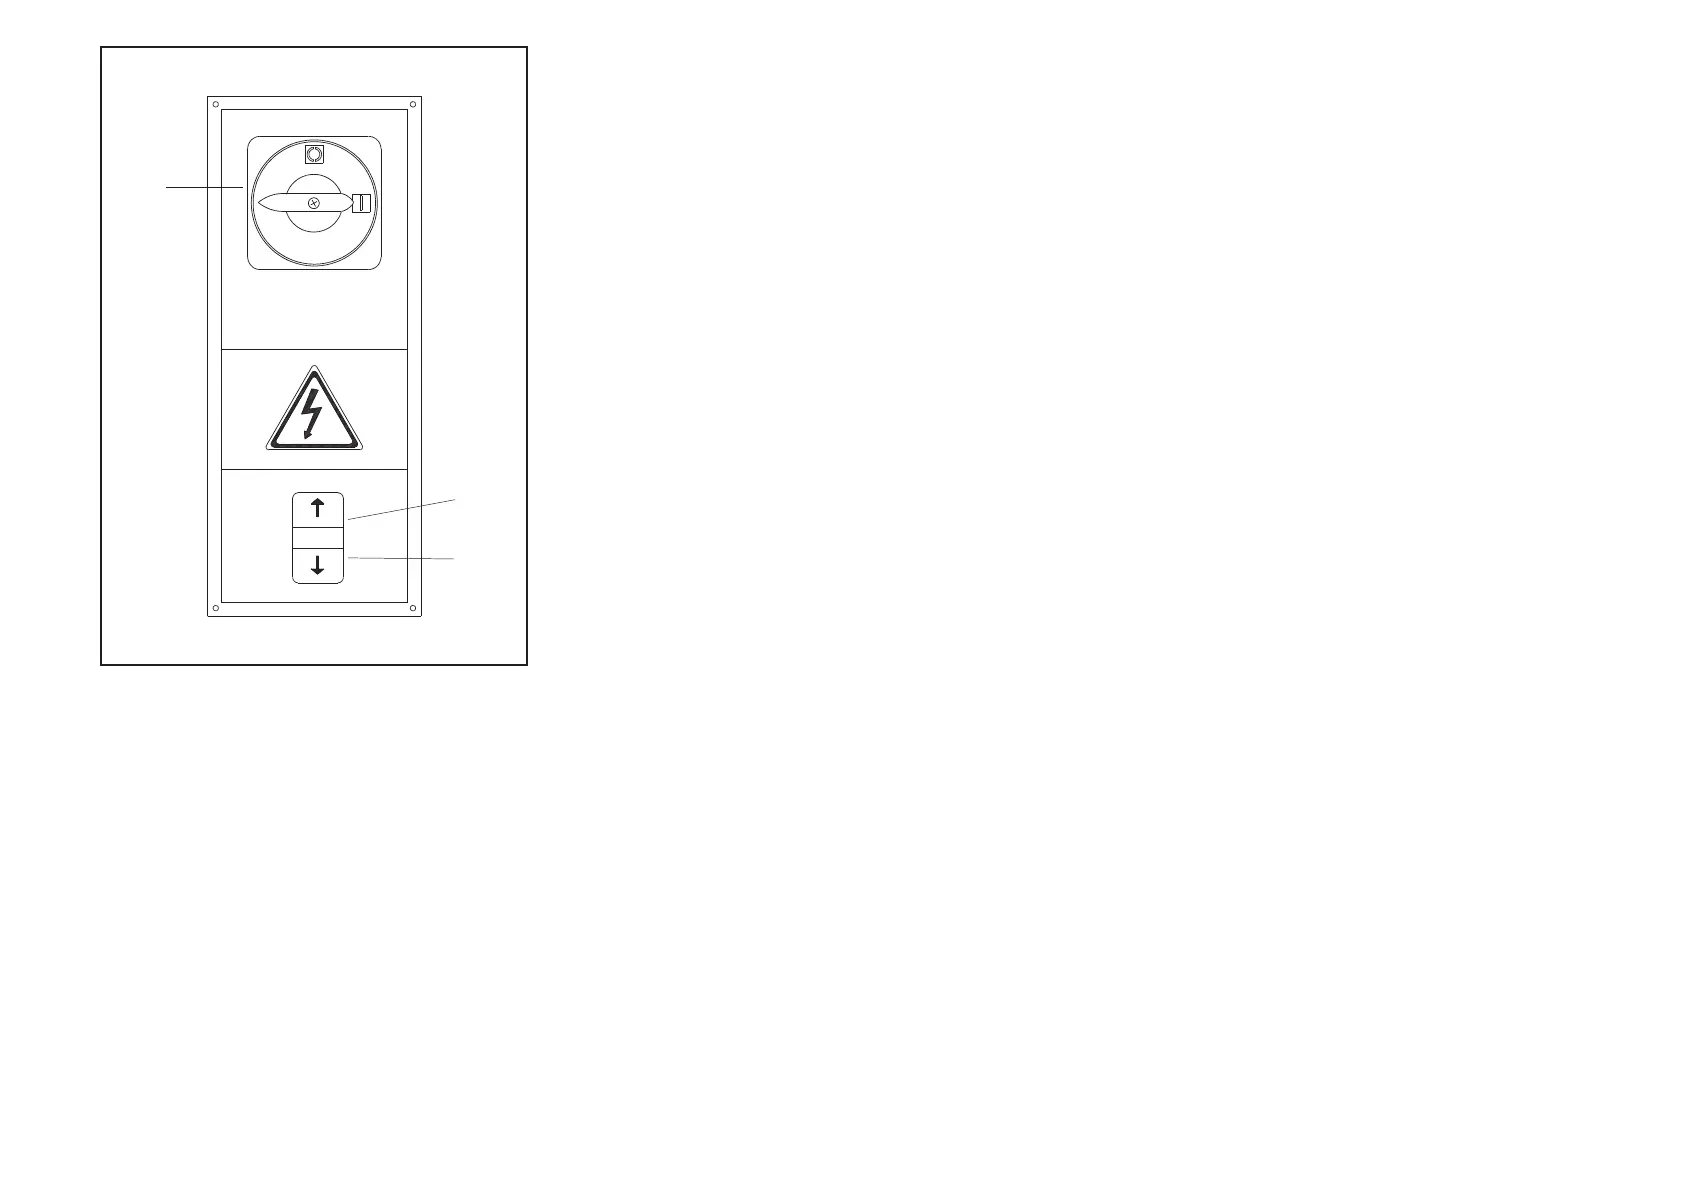
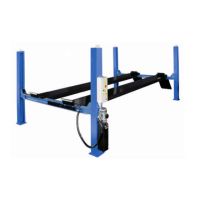
QUADROCOMANDIFIG.61
INTERUTTOREGENERALE(IG)
POSIZIONE0:Ilsollevamentononèintensione;èpossibilel’accesso
all’internodelquadroedèpossibilelucchettarel’interruttoreperimpe
-
dirnel’usodelsollevatore.
POSIZIONE1:dàtensionealsollevatoreebloccalaportadelquadro
controleapertureaccidentali.
PULSANTEDISALITA(P1)
Tipo“uomopresente“,funzionasottotensionea24Ve,sepremuto,
azionailmotoreelettricoedimeccanismicheattuanoilsollevamento
delcarrello.
PULSANTEDIDISCESA(P2)
Tipo“uomopresente“,funzionasottotensionea24Ve,sepremuto,
azioneilmotoreelettricoedimeccanismicheattuanoladiscesadel
carrello.
SEQUENZADIFUNZIONAMENTO
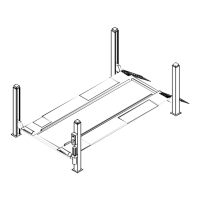
Posizionareibraccidelsollevatoreneipuntiprescrittidelveicolo,rego-
landoipiattelliallastessaaltezza.
Ognivoltachesiscendeconicarrellifinoaterra,primadiprocedere
adunanuovasalita,riverificarelaposizionedeipiattellisottoiltelaio
dellavettura.
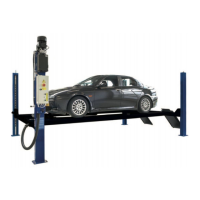
SOLLEVAMENTO
Ruotarel’interrutoregeneraleinposizione1epremereilpulsantedisa
-
litafinoalraggiungimentodell’altezzadesiderata.
STAZIONAMENTO
Unavoltaraggiuntal’altezzadesideratarilasciareilpulsantedisalita;
inoltreportarel’interruttoregeneraleinposizione0.
DISCESA
Riportarel’interruttoregeneraleinposizione1,verificarechesottoal
sollevatorenonvisianoostacoli,quindipremereilpulsantedidiscesa
P2cheportailveicoloaterraoall’altezzavoluta.
Seduranteladiscesailsollevatoreincontraunostacolocheimpedisce
ilproseguimentodellacorsadiuncarrellosihal’interventodelcavodi
sicurezzachebloccailmovimentodelsollevatore.
CHAPTER5OPERATIONANDUSE
Theliftcommandsinclude:
CONTROLBOXFIG.61
MASTERSWITCH(IG)
POSITION0:Theliftisnotreceivingelectricalpower:accesstopanel
ispossible.Themasterswitchmaybelockedouttopreventimproper
use.
POSITION1:powersuppliedtolift;paneldoorisautomaticallylocked
topreventaccidentalopening.
LIFTBUTTON(P1)
Non-detentedbuttonthatmustbeheldpressed(deadmandevice),ope
-
ratingat24V;operatestheelectricmotorandmechanismsforraising
carriage.
DESCENDBUTTON(P2)
Non-detentedtype(seeabove),operatingat24V;operatestheelectric
motorandmechanismsforloweringcarriage.
OPERATINGSEQUENCE
Positionrackarmsinvehiclemanufacturerrecommendedliftpoints,
thenadjustdisksupportplatestosameheight.
Wheneveryoulowerthelifttotheground,beforeliftingagain,re-check
thepositionoftheliftdisksupportplatesonthevehiclechassis.
LIFTING
Turnthemasterswitchtoposition1,thenpresstheLIFTbuttonuntil
thedesiredheighthasbeenreached.
PARKING
Releaseliftbuttononcedesiredheighthasbeenreached,thenturnthe
masterswitchtoposition0:
DESCENT
Afterensuringthatnoobstaclesarepresentbeneaththelift,turnmas
-
terswitchbacktoposition1,thenpressbuttonP2tolowervehicleto
thedesiredheightortotheground.
Ifanobstaclehamperscarriageduringthisphase,thesafetycablewill
operatetoimmobilisethelift.
52
IG
P1
P2