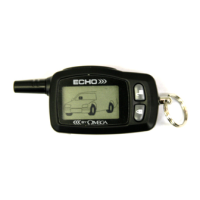
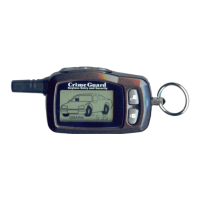
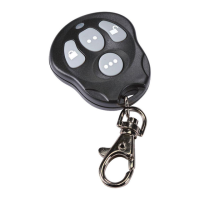
THE OMEGA ECHO 2-WAY TRANSCEIVER
“Arm/Lock”
Button
“Disarm/Unlock”
Button
“II”
Button
“II”
Button
Programming
Button
On the rear side is battery compartment. The Echo uses a standard
“AAA” 1.5 volt battery, and it will indicate when to replace the battery.
LCD
Screen
...
..
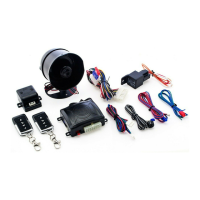
INSTALLING THE ECHO TRANSCEIVER SYSTEM
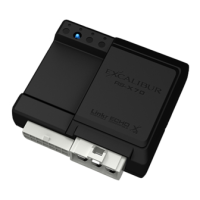
The Omega Echo communicates with a remotely-mounted base receiver/transmitter unit
which is plugged directly into the host security system module; no other wiring connections
are needed. The base receiver/transmitter unit may be mounted directly to an interior glass
by utilizing the attached adhesive pad (clean and prepare the glass before adhering) for the
best operating range. The receiver/transmitter also contains alternative system Status Lights
and a Valet Switch. these may be used, or the original items may be retained.
Step 1
Locate &
Remove the
security system’s
Echo port jumper
connector (it has a
Red wire loop).
Step 3 Program the Echo transceiver and the
original 1-way transmitters into the security system.
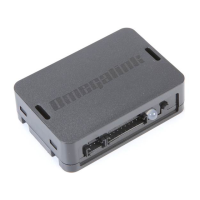
Echo Base
Transmitter/
Receiver Unit
Step 2 Plug in and route the Echo
transmitter/receiver unit wiring harness.
Using the adhesive tape, mount the Echo
transmitter/receiver onto an interior glass
(carefully clean the surface).
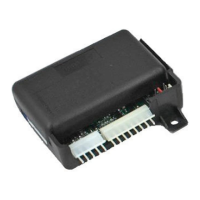
Host Omega Security
System Control
Module
( ( (ECHO
LED and Valet
Switch plugs.
Security
System
Receiver
V
(configurations vary)