Do you have a question about the Omega K9-150 and is the answer not in the manual?
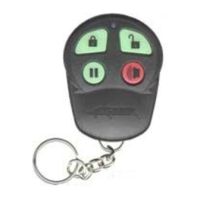
Steps to override the system using the Valet button within 10 seconds.
Press and hold the 'Lock' button for 3 seconds with ignition off.
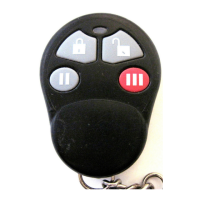
Arm alarm, then press '•' button within 2 seconds to bypass sensor.
Press and hold the '•' button for 3 seconds for optional functions.
Press and hold the '•' button for 3 seconds with ignition on.
Arm the alarm by pressing and releasing the 'Lock' button.
Arm the alarm silently by pressing and releasing the '•' button twice.
Arm the alarm by turning ignition off and closing doors.
Disarm the alarm by pressing and releasing the 'Unlock' button.
Disarm the alarm silently by pressing and releasing the '•' button twice.
Silences siren first, then disarms alarm with a second press.
Describes siren, parking lights, and re-triggering behavior.
Press and hold the 'Arm/Lock' button for 3 seconds with ignition off.
Arm alarm, then press '•' button within 2 seconds to bypass sensor.
Press and hold the '•' button for 3 seconds for optional functions.
Press and hold the '•' button for 3 seconds with ignition on.
Details activation via transmitter, open door, or ignition.
Describes LED and siren feedback during the anti-carjacking sequence.
Explains siren, lights, starter interrupt, and restart procedure.
Press and hold the Valet Switch for 3 seconds while alarm is disarmed.
Simply press and release the Valet Switch to exit.
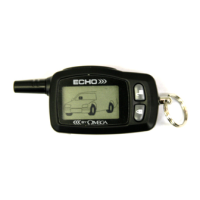
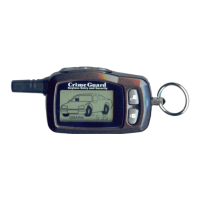
LED indicates armed, disarmed, valet mode, or re-arming status.
LED flashes indicate which zone was triggered after disarming.
LED flashes indicate the number of programmed remote controls.
Details the on-board dual zone shock sensor and optional sensors.
Detects triggers from a dual zone sensor or detection device emitting chirps.
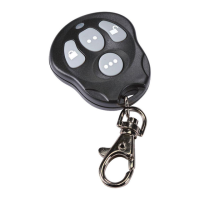
Steps to program remote controls using the ignition and Valet switch.
Up to 4 remotes can be programmed; all existing codes are erased.
Protects against unauthorized transmitter programming by verifying codes.
Instructions for programming features by changing dip switch positions.
Enables or disables the internal dual-zone shock sensor.
Configures door unlock to single or double pulse upon disarming.
Automatically arms and locks doors 30 seconds after ignition off.
Allows the alarm to rearm automatically if disarmed and no door is opened.
Configures the horn output wire for siren, horn, or both.
Enables or disables anti-carjacking activation via ignition.
Enables or disables anti-carjacking via remote control or open door.
Locks/unlocks doors automatically when ignition is turned on/off.
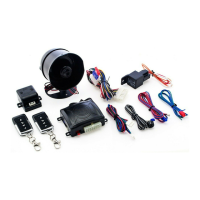
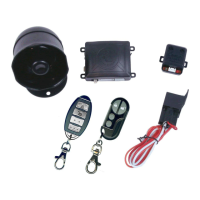
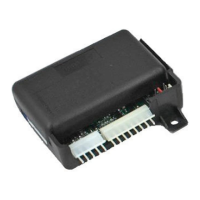
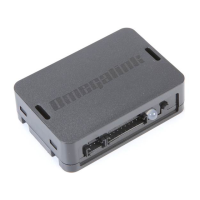
Details the connections for the main wire harness, LED, Valet, and Door-Lock ports.
Wiring diagram for negative trigger door locking systems.
Wiring diagram for positive trigger door locking systems.
Wiring diagram for 5-wire reversal door lock systems.