00041723.DOC, Version 1.1
18/19
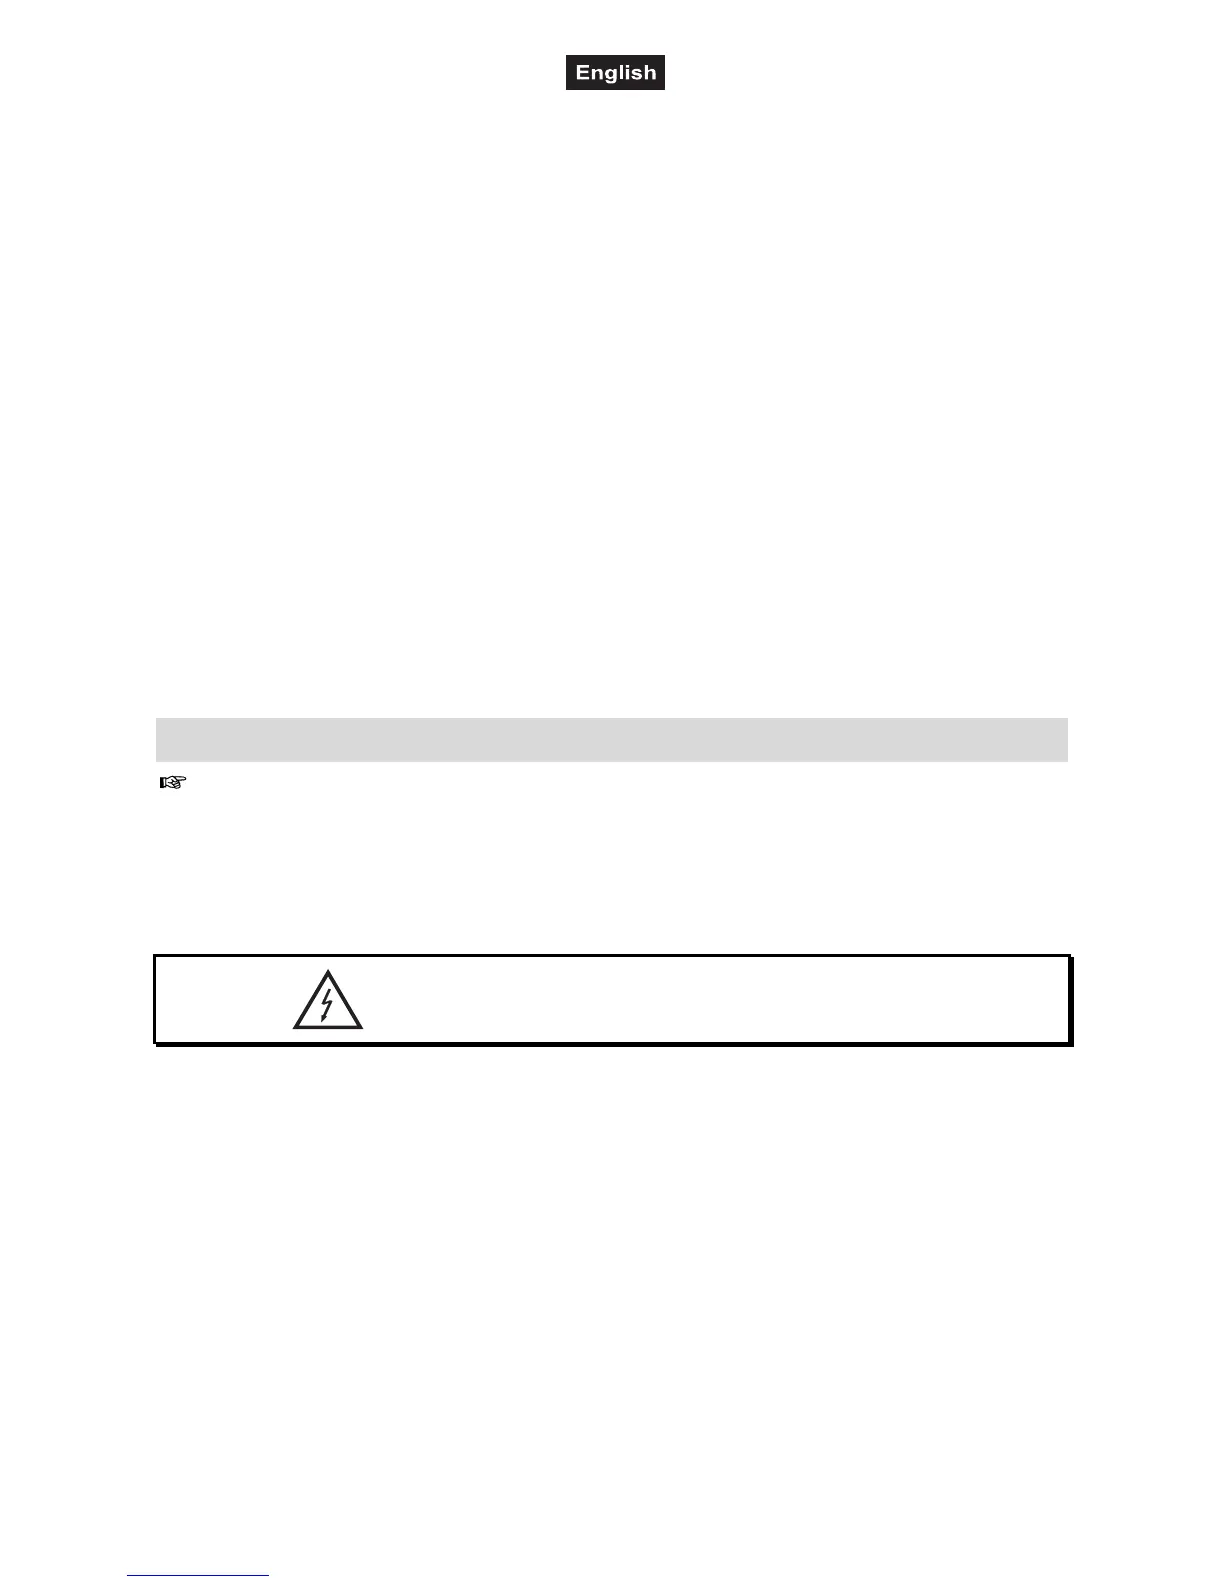
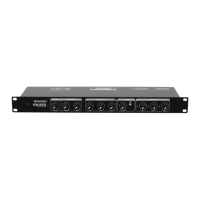
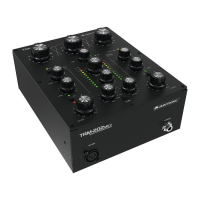
6. OPERATION
1 Prior to switching on, turn the master control to zero to avoid a possible switching-on noise.
2 Switch on the unit with the power switch. The power indicator on the front panel lights up. Then switch on
the connected units, always switch on the PA amplifier for the speakers last. When switching off the
system, always switch off the PA amplifier first.
3 Turn up the master control so that the mixing ration of the connected audio sources can be adjusted in
an optimum way.
4 With the input selector MIC/LINE adjust the mono channels MIC 1-3 to the connected sources:
• button not pressed: input switched to microphone level
• button pressed: input switched to line level
5 Adjust the desired volume ratio with the level controls of the stereo channels and the mono channels.
The overload indication CLIP should not light up or only light up shortly during signal peaks. If it lights
permanently, reduce the level with the channel level control.
6 To mix the signal of an external effect unit to the master signal press the button FX LOOP and adjust the
signal amount with the control FX LOOP.
7 Adjust the desired sound with the tone controls. By adjusting the tone controls, the high frequencies
(control HIGH) and the low frequencies (control BASS) can be boosted or attenuated. With the controls
in mid-position, the frequency response is not affected.
8 Adjust the definite level of the stereo master signal with the master control.
6.1 Switching on phantom power
In order to operate phantom-powered microphones, it is possible to switch on a 12 V phantom power
separately for each microphone input. To switch on phantom power, set the corresponding dip switch to
position ON.
Caution! Only switch on phantom power for microphones that require phantom power. If in doubt, please
contact your microphone manufacturer.
The phantom power must only be activated if all microphones are connected and the master control is
set to zero. During the stabilization phase (approx. 1 minute), you must not connect or disconnect any
microphones or adjust the output volume. Otherwise danger of speaker damage.
7. CLEANING AND MAINTENANCE
Disconnect from mains before starting maintenance operation!
DANGER TO LIFE!
We recommend a frequent cleaning of the device. Please use a soft lint-free and moistened cloth. Never use
alcohol or solvents!
There are no serviceable parts inside the device except for the fuse. Maintenance and service operations are
only to be carried out by authorized dealers.
7.1 Replacing the fuse/volage selection
If the fine-wire fuse of the device fuses, only replace the fuse by a fuse of same type and rating.
Before replacing the fuse, unplug mains lead.
Please note: This fuse is being used for both 115 V and 230 V.