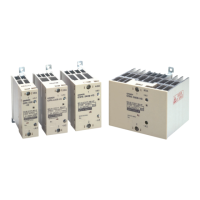
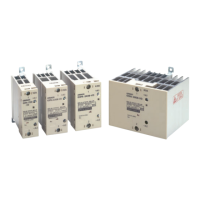
G3PA-(VD)
G3PA-(VD)
141
Note: 1.
Replacing Power Device Cartridges
When
replacing Power Device Cartridges, use the specified model. Using a Power Device Cartridge other than the specified one
will
result in faulty operation and destruction of the elements.
2. Noise T
erminal V
oltage according to EN5501
1
Conformance
to EN5501
1 is possible if a capacitor is connected to the load power supply as shown in the diagram below
. (G3P
A-
VD)
Input
G3PA-VD
Load
240 VAC
24 VDC
Replacement
Note: Be
sure to turn OFF the power supply when replacing the Cartridge. Supplying power with the Cartridge removed may result in mal
-
function.
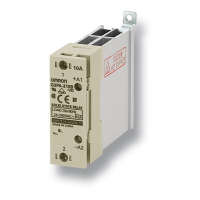
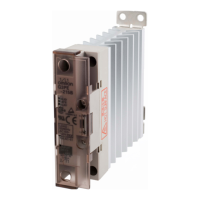
G32A-A10-VD/G32A-A20-VD/G32-A420-VD
Use
the special tool (provided) to extract the cartridge for replacement with a new one.
Extraction
Follow the procedures below to dismount the Power Device Car-
tridge
from the G3P
A.
1. Switch off the power.
2.
Remove the terminal cover
.
3. Hook
the indented part of the cartridge with the tool and pull
up
on the cartridge to remove it.
Remover
Hook here with
Remover.
Mounting
Follow
the procedures below to
mount the Power Device Cartridge
on
the G3P
A.
1. Apply
silicone grease (provided with the G32A-A) to the entire
surface
of the heat radiator
.
Apply silicone grease here.
2. Make
sure that there is no dust or pieces of wire on the heat
radiator
of the G32A-A or the G3P
A.
3.
Insert the cartridge into the
opening of the G3P
A so that the
letters
on the cartridge and those on the G3P
A are in the same
direction
and side A and side B are even.
Side A
Side B
4. Attach
the terminal cover
.
5. Switch
on the power and check the G3P
A to be sure it works
properly.
 Loading...