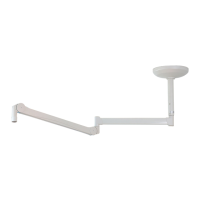
Seite / Page 12
38629, Edition / Ausgabe 2012-05, Version 4
DeutschEnglish Abbildung / Figure
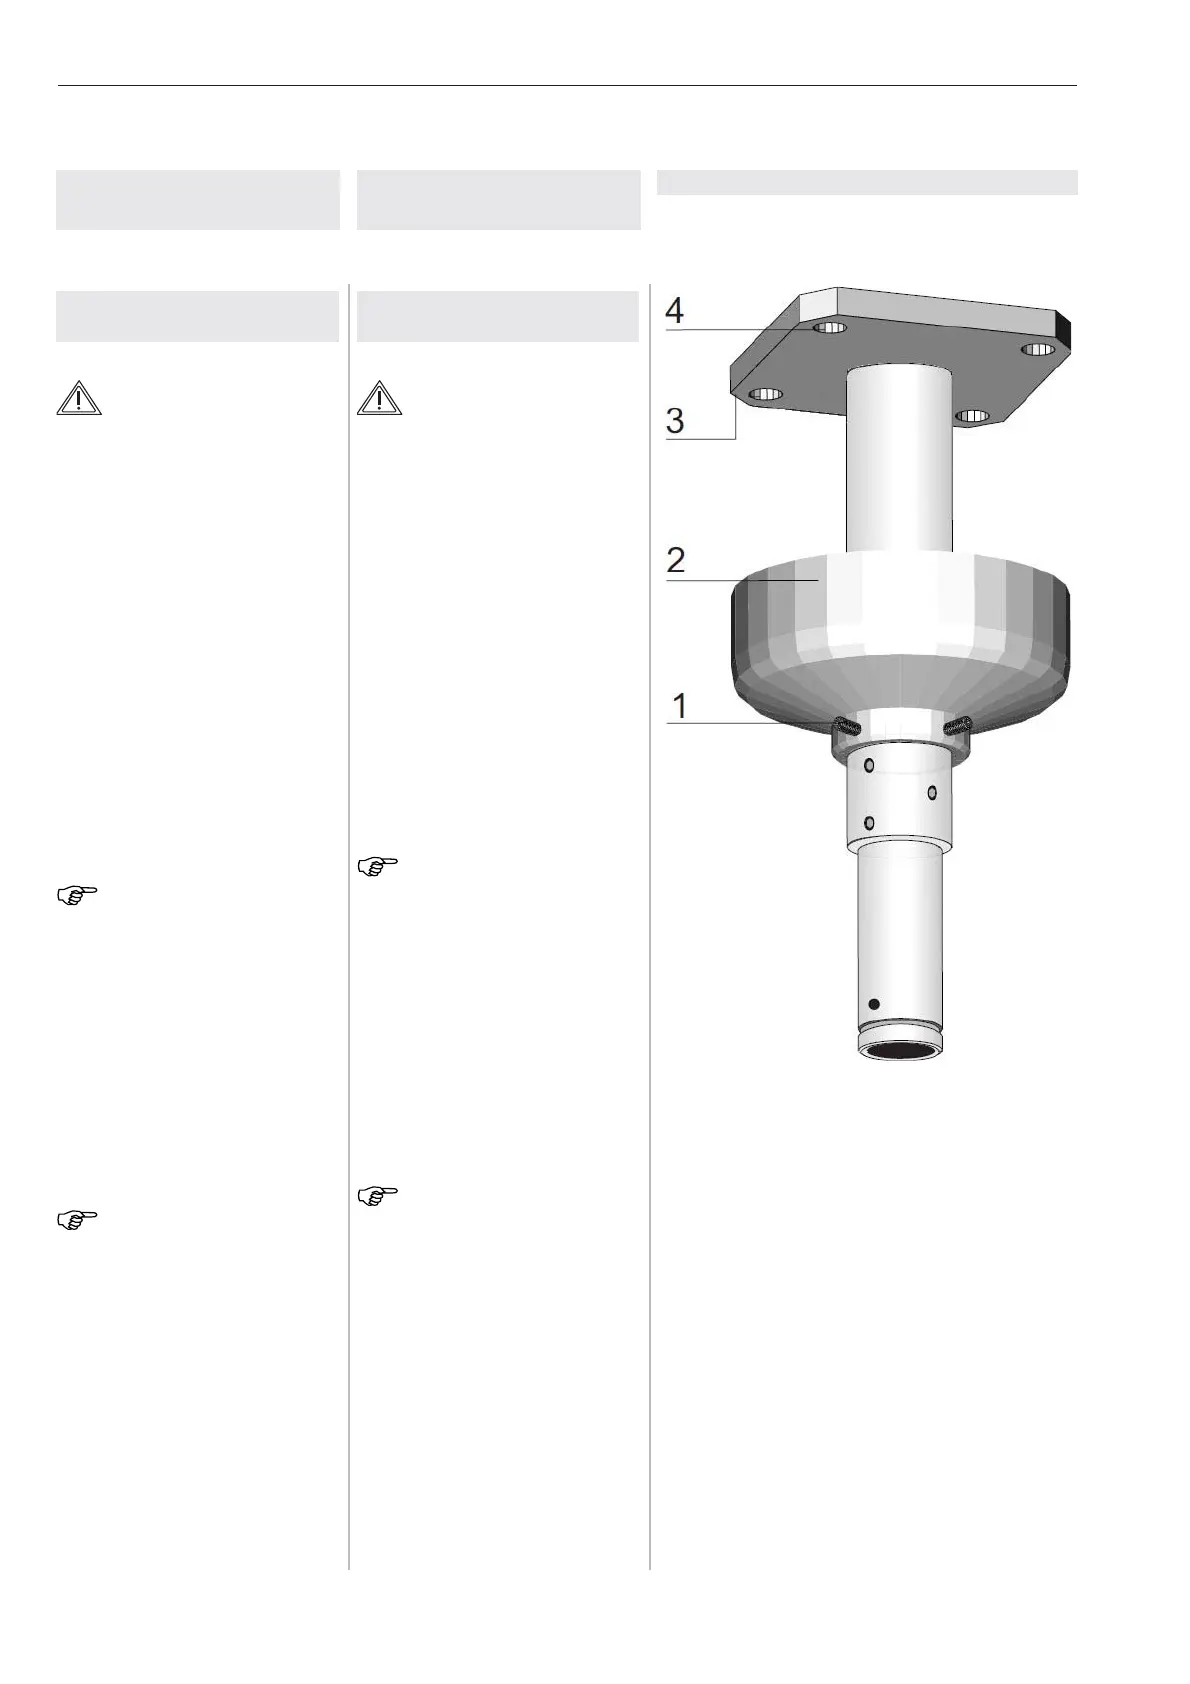
Figure / Abbildung 3
1 Threaded pins
Gewindestifte
2 Fixture flange
Baldachin
3 Ceiling plate
Deckenplatte
4 Holes for fastening agent
Bohrungen für Befestigungsmittel
4 Ceiling model
4.1 Installing the ceiling
plate Fig.3
WARNING -
ELECTRICAL SHOCK:
Power off the construction side sup-
ply and secure it from being switched
on again.
1. Loosen the three threaded
pins (1), and remove the fix-
ture flange (2).
2. Mark the holes with the drilling
template (on the last page).
3. Make four holes according to
the specifications of the ma-
nufacturer of the fastening
agent.
4. Insert the fasteners flush with
the ceiling.
NOTE:
Continue with the installation only
after the binding agent has hardened
completely.
5. Insert the fastening agent in
the four holes (4) and screw
in the ceiling plate (3).
6. Align the ceiling plate (3) ho-
rizontally and check for firm
seating.
NOTE:
If the desired pass line height is not
observed, the spacer tube can be
shorted as described in Chapter 4.2.
It is recommended to observe a pass
line height of at least 2,000 mm.
7. Clamp the transformer and
ground the ceiling plate.
8. Place the fixture flange (2)
and fasten it with the three
threaded pins (1).
4 Deckenausführung
4.1 Deckenplatte
montieren Abb. 3
WARNUNG -
STROMSCHLAG:
Bauseitige Spannungsversorgung
spannungslos schalten und gegen
Wiedereinschalten sichern.
1. Drei Gewindestifte (1) lösen,
und Baldachin (2) abnehmen
2. Bohrungen mit der Bohrscha-
blone (auf der letzten Seite)
anreißen.
3. Vier Bohrungen nach Anga-
ben des Befestigungsmittel-
herstellers bohren.
4. Befestigungsmittel bündig mit
der Decke einsetzen.
HINWEIS:
Die Montage erst nach dem Aushär-
ten des Bindemittels fortsetzen.
5. Befestigungsmittel in die vier
Bohrungen (4) einstecken
und Deckenplatte (3) an-
schrauben.
6. Deckenplatte (3) waagerecht
ausrichten und sicheren Sitz
prüfen.
HINWEIS:
Wird die gewünschte Durchgangshö-
he unterschritten, kann das Distanz-
rohr entsprechend Kapitel 4.2 ge-
kürzt werden. Es wird empfohlen
eine Durchgangshöhe von min. 2000
mm einzuhalten.
7. Transformator anklemmen
und Deckenplatte erden.
8. Baldachin (2) aufschieben
und mit den drei Gewindestif-
ten (1) festschrauben.