12
1
52
3
4,6 LEVEL
Output level setting
Set the output level for each speaker type using the test tone. You may
fine-tune the output level for the playing source later.
When setting the output level...
Use a sound pressure level (dB) meter for determining the output level of
speakers. Human ears hear the sound from subwoofers quieter than the
actual level, resulting in setting a higher output level than is optimal.
Note:
The output level of the ED-301 has been set to the maximum level (0 dB)
at the factory.
If your ED-301 is connected to power amplifiers, set the output level of
each power amplifier at a low level before turning on the ED-301.
Setting the output level using the test tone
1 Press POWER.
2 Press INPUT-1 or INPUT-2.
Skip this step if the desired input mode is already selected.
Do not press MULTI-CH INPUT or you will be unable to go on to
the next and later steps.
3
<If you use one A/V amplifier...>
3-1 Press the VOLUME button of the ED-301 and keep it
depressed until the display shows 0 dB (the maximum).
3-2 Adjust the output level by using the output level control of
your A/V amplifier.
If the amplifier’s input level is too high, use the VOLUME
control button of the ED-301 to decrease the ED-301’s output
level.
If no sound is heard, check if the ED-301 is selected on the
amplifier’s input selector.
<If you use three power amplifiers... >
3-1 Press VOLUME (a) and keep it depressed until the display
shows –50 dB.
If you use three integrated amplifiers, set the output level of
each amplifier to a normally used level.
The output level setting range is between -∞ (minimum) and
-88 to 0 dB (maximum).
Press the VOLUME a or s button and release it when the
value you wish to set is displayed. The displayed value can be
changed in increments of 1 dB by pressing and releasing the
button immediately.
4 Press TEST TONE.
A test signal is output to all existing channels in turn. The speaker
indicator for the channel to which test signal is being output will
blink.
Test signal output sequence
L (Left) → C (Center) → R (Right) → RS (Right Surround) →
LS (Left Surround) → SW (Subwoofer) → Return to L
The test signal output will be automatically changed to the next
channel if approximately 2 seconds are elapsed. To make it more
rapidly, press the LEVEL button.
(The channels whose speaker setting is "NONE" or "NO" will be
skipped.)
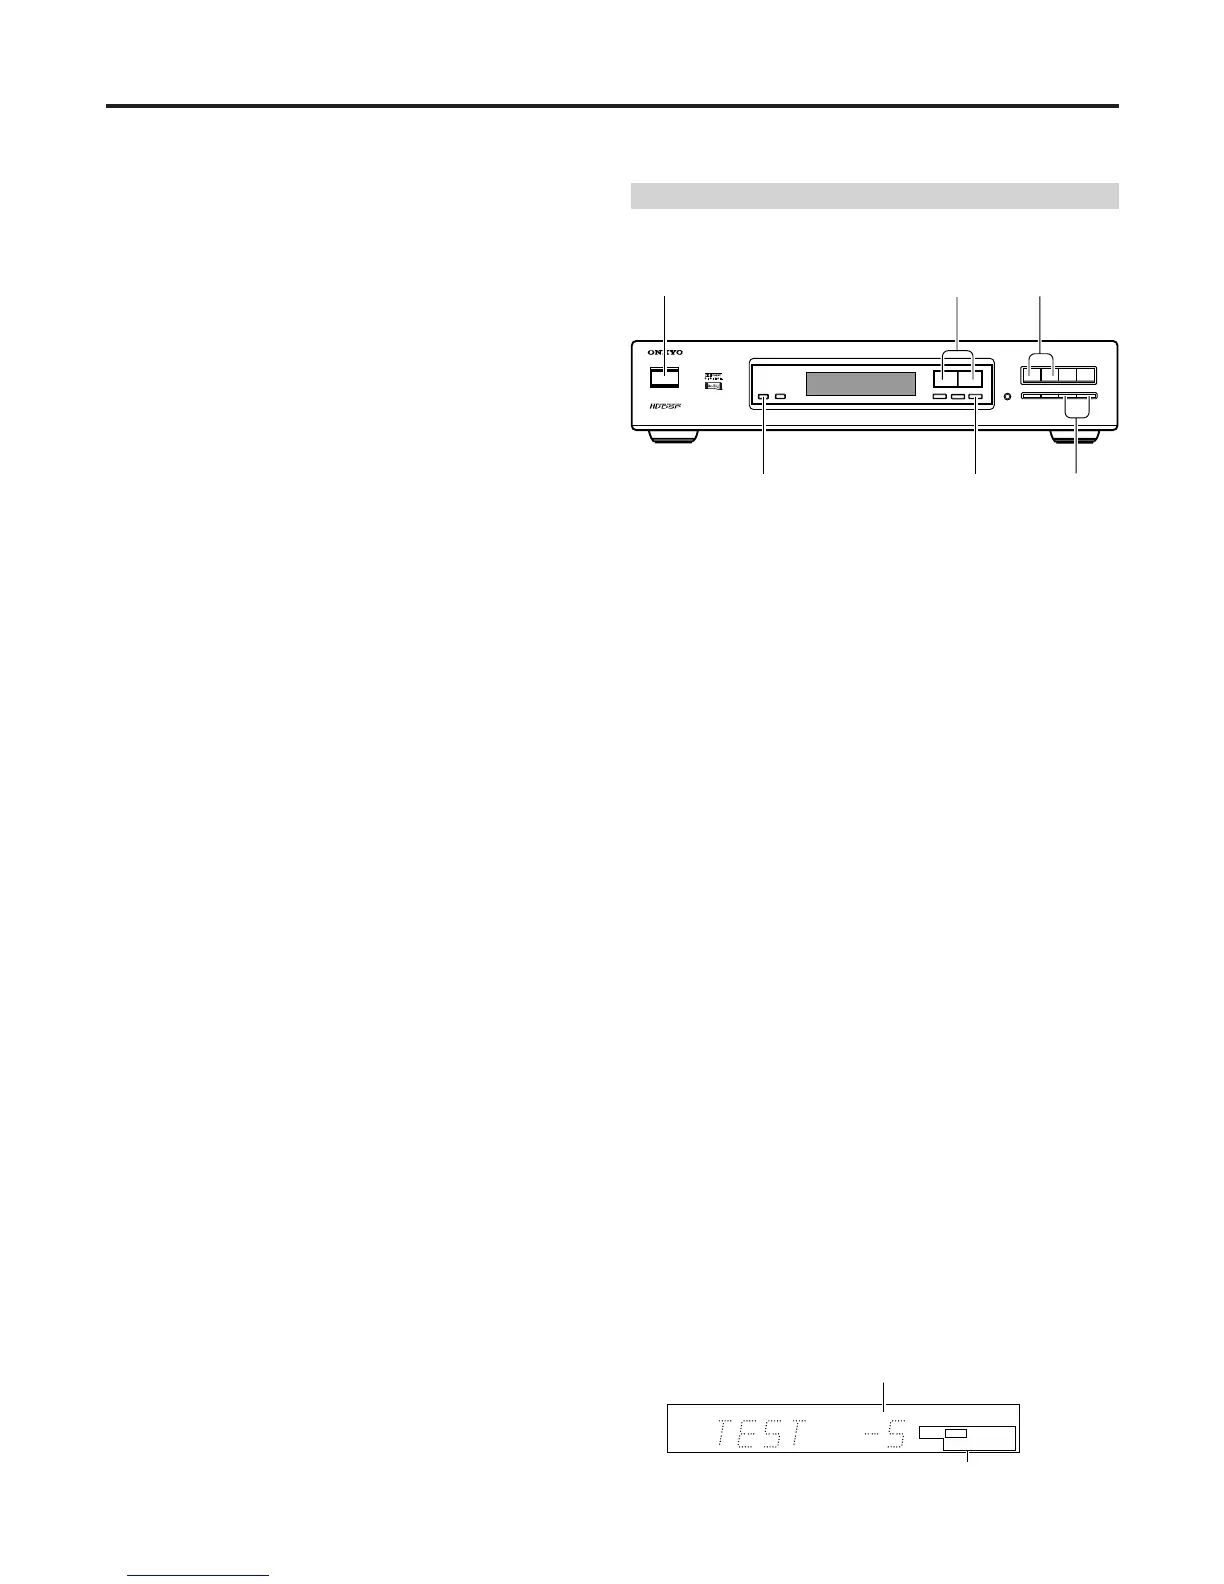
INPUT-1
d B
L
Indicator for channel for which
setting is being made
Output level
 Loading...