Onset Computer Corporation
17
For More Information: See Setting Alarm Preferences in the
HOBOware Help.
Configure Scaling on External Sensors (If
Applicable)
If scaling is supported/required on an external sensor, double-
click on the sensor row in the Device Table and then click the
Configure button in the Scaling section to open the Configure
Scaling window.
NOTE: Sensors that support scaling will have a scaling icon
next to them in the Sensor Type drop-down list and in the
Device Table once configured.
For More Information: Click the Help button on the
Configure Scaling window.
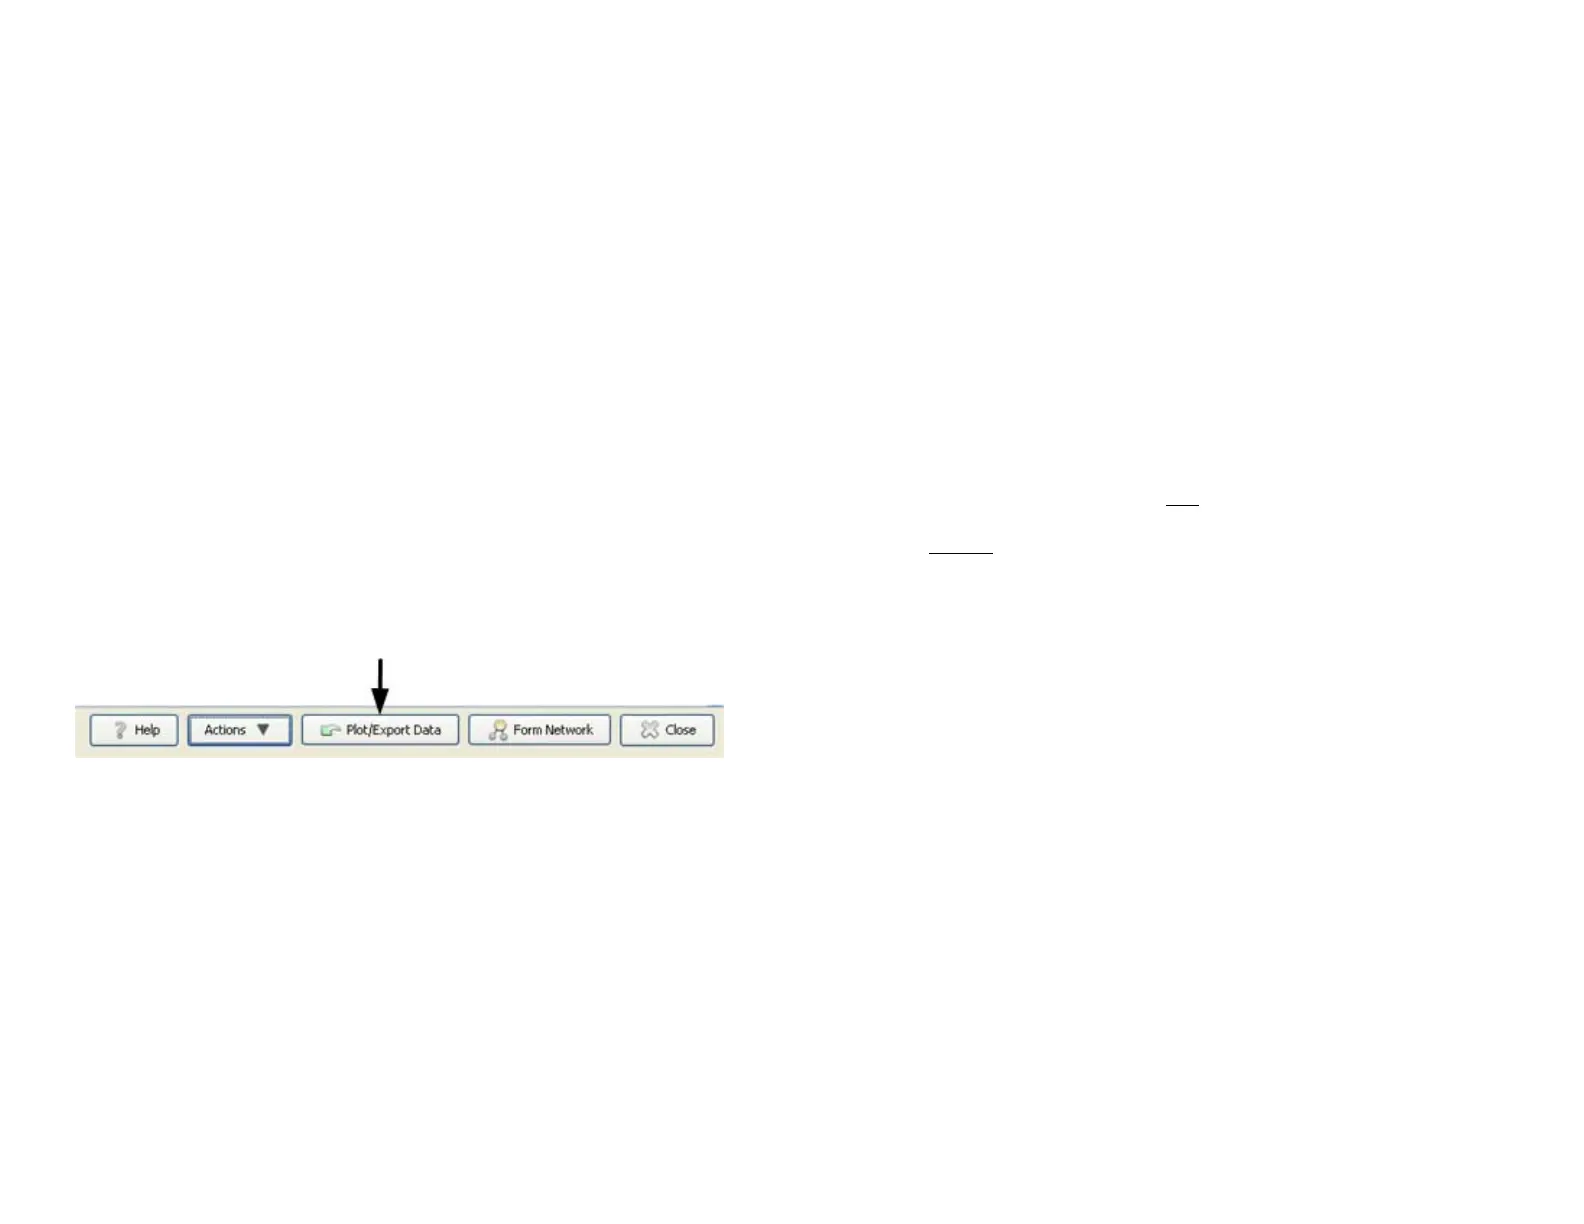
Plot/Export Data
To plot data for viewing in HOBOware Pro, or to export data to
a text file for use with a third-party application, click the
Plot/Export Data button at the bottom of the HOBOnode
Manager window to open the Plot/Export Wireless Data window.
For More Information: Click the Help button on the
Plot/Export Wireless Data window.
Create Groups
You can create groups and then assign sensors to them, and
then use groups to sort rows in the table, or to refine a list of
sensors in the Plot/Export Wireless Data window.
For More Information: See Using Groups to Sort Sensors, in
the HOBOware Help.
Onset Computer Corporation
18
Powering Data Nodes
Onset strongly recommends that you deploy data nodes where
they can be plugged into a wall outlet, which allows them to
route data from other data nodes. This optimizes your network
reliability.
Using a wall outlet also greatly reduces the frequency with
which batteries will have to be replaced.
IMPORTANT: How a data node is initially powered
determines if it will be able to route data from other data
nodes. If you plug the data node into a wall outlet first, it will
be able to route data. If you install batteries before you plug
the data node into the wall, it will not be able to route data.
Data Nodes Plugged into Wall Outlet
IMPORTANT: If a data node will have access to a wall outlet
when deployed, make sure you plug the data node into the wall
outlet before
installing batteries. If you install batteries before
you plug it into the wall, it will not have routing capabilities.
If a data node will be plugged into a wall outlet when deployed:
1. Insert the power cord connector into the Pwr jack on
the receiver.
2. Insert the power plug into an AC wall outlet.
LED Indication: Both the RED and GREEN LEDs flash
for 5 seconds, then the RED LED blinks for 5 seconds,
then both LEDs blink once, and then both LEDs go OFF.
This confirms that the data node is powered using a wall
outlet and can route data.
3. After you have plugged the data node into the wall
outlet, insert 3 AAA batteries for backup power.
If you are configuring data nodes at your desk, you can plug
them into a wall outlet one at a time, add them to the network,
and then unplug them until you move them to their deployment
location.
 Loading...