


G
Gregory KennedyJul 28, 2025
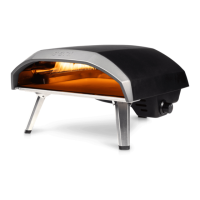
How to fix Ooni Koda 16 burner that will not light?
- CChristina JacksonJul 29, 2025
If the burner on your Ooni Kitchen Appliance won't light, several factors could be the cause. First, ensure that your propane tank isn't empty and that there's sufficient gas flow. Check that the coupling nut and regulator are fully connected; tighten them by hand until you reach a solid stop, but avoid using tools. Also, make sure there's no obstruction in the burner tube that's blocking the gas flow. Verify that the burner is correctly engaged with the valve, and if not, re-engage it. Finally, double-check the assembly instructions to ensure everything was put together correctly.