Do you have a question about the OPT7 PHOTON RGB ROCK LIGHTS + MAGNET and is the answer not in the manual?
Specifies the input voltage required for the product, which is DC 12V.
Details the maximum power consumption per pod, rated at 9 Watts.
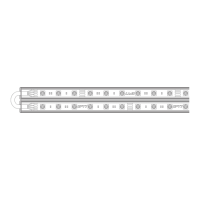
Indicates the LED color capabilities, featuring 6pcs RGB per pod.
States the total light output in lumens, with 1200 LM for 8 pods combined.
Confirms the product's water resistance level as IP68.
Defines the operational temperature range, from -5°F to 120°F.
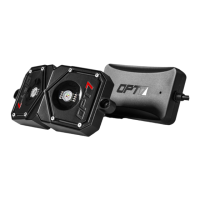
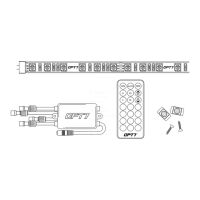
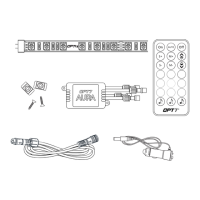
Details the functions of each button on the remote control, including power, color change, speed, mode, and dimmer.
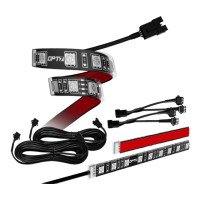
Utilizes strong magnets for mounting the rock light pods, as illustrated in Figure 1.
Employs self-drilling screws for secure mounting, depicted in Figure 2.
Applies VHB double-sided adhesive for mounting, shown in Figure 3.
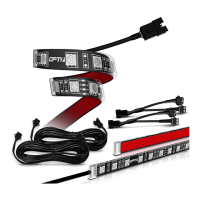
Guide for connecting rock light pods to the control box using extension wires and Y splitters.
Key considerations for correct installation, including arrow direction and avoiding product damage.
Instructions for connecting the positive and negative wires to a 12-volt power source or common ground.
Critical warnings regarding amperage limits, early failure, and safe mounting temperatures for components.
| Brand | OPT7 |
|---|---|
| Product Type | Rock Lights |
| Light Color | RGB |
| Mounting | Magnet |
| Power Source | 12V DC |
| Waterproof Rating | IP68 |
| Color Options | Multiple Colors |
| Control Method | App |
| Usage | Off-Road |