Do you have a question about the OPT7 AURA INTERIOR and is the answer not in the manual?
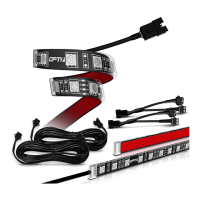
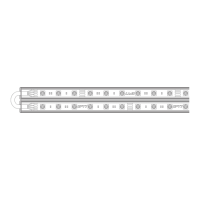
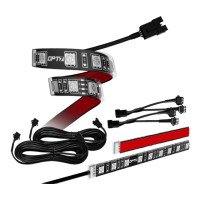
The LED light strips included in the kit.
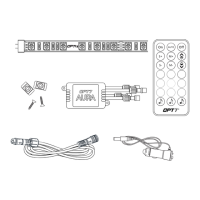
Hardware provided for installing the light strips and control box.
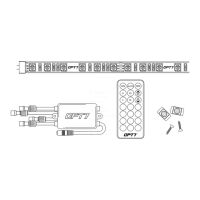
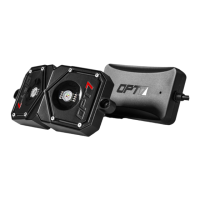
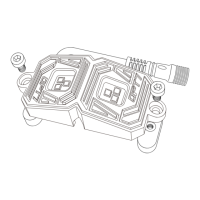
The central unit that controls the light strips.
Remote control for operating the light system.
Cables used to connect light strips to the control box.
Adapter for powering the control box via a vehicle's 12V port.
Decide where to locate light strips and ensure sufficient wiring length for the control box.
Mount the control box securely in a desired location, protecting it from moisture as it is not waterproof.
Clean the surface, attach LED strips firmly, and secure all wiring away from moving components.
Use the 21-Key E-Z Remote to select desired colors or patterns, keeping it within optimal range.
| Brand | OPT7 |
|---|---|
| Product Type | Interior LED Lighting Kit |
| Light Color | Multi-color |
| Power Source | 12V DC (Vehicle Power Outlet or Hardwired) |
| Placement | Interior, Under Dashboard, Under Seats |
| Installation | Plug and Play with Adhesive Backing |
| Compatibility | Universal (Most 12V Vehicles) |
| Control Method | Wireless Remote or Smartphone App (Bluetooth) |
| Features | Multiple Color Options, Dimming, Flashing Modes |