Preparation
nstalling the Remote
ontrol’s Batteries
Your CD changer’s remote control requires two AA batteries (not supplied) for
power. We recommend alkaline batteries (RadioShack Cat. No. 23-552).
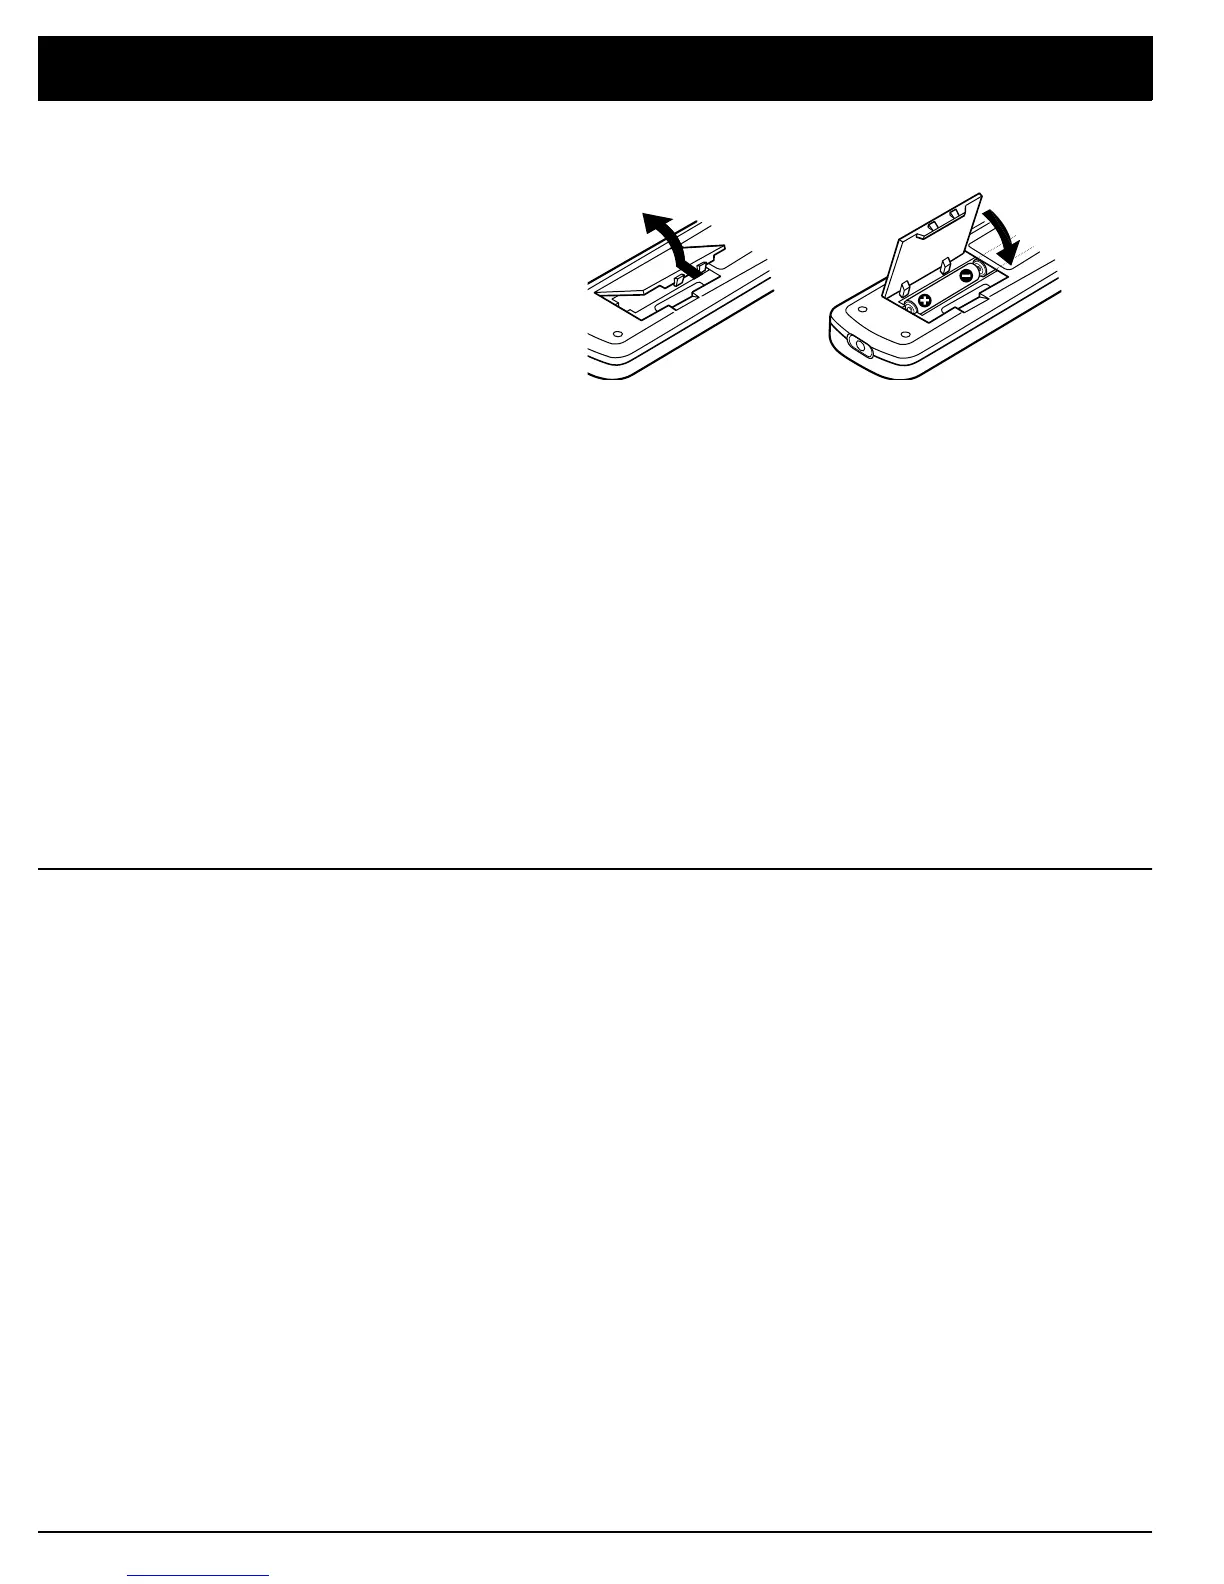
1. Press in the battery compartment cover’s latch and lift off the cover.
2. Put two fresh AA batteries into the compartment as indicated by the polar-
ity symbols (+ and –) marked inside.
3. Replace the cover.
Cautions:
• Use only fresh batteries of the required size and recommended type.
• Do not mix old and new batteries, different types of batteries (standard,
alkaline, or rechargeable), or rechargeable batteries of different capaci-
ties.
• Always remove old or weak batteries. Batteries can leak chemicals that
can damage electronic circuits.
• If you do not plan to use the remote control for a month or more, remove
and store the batteries.
Note:
If the remote’s range is reduced, replace the batteries immediately.
Using a Receiver’s Remote
ontrol with the CD Changer
If your receiver/amplifier (such as most Optimus Professional Series receiver/
amplifiers) has an OSR mark, the receiver/amplifier’s remote can control some
of the CD changer’s functions.
Plug one end of the supplied control cable into the CD changer’s
CONTROL IN
jack. Plug the other end of the cable into the receiver/amplifier’s
CONTROL OUT
jack.
Notes:
• This connection disables the CD changer’s infrared sensor. Aim the
remote control at the receiver/amplifier’s infrared sensor.
• You must also connect audio cables to your receiver for the receiver’s
remote control to operate your CD changer.
For details on connection and operation, refer to the receiver/amplifier’s owner’s
manual.