22
Oracle Talari E100 Hardware Guide
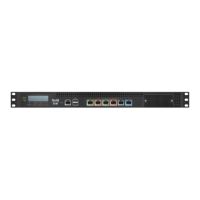
Installing the Talari Appliance
Unpacking and Inspection
Remove E50 appliance and accessories from box.
Remove E50 from plastic wrapping.
Inspect appliance for signs of damage.
Ensure all accessories are included.
Rack Mounting
The E50 does not ship with hardware for rack mounting by default. If the appliance
needs to be rack mounted, there are two options available:
1. Purchase optional Rack Mount Kit, available from Talari.
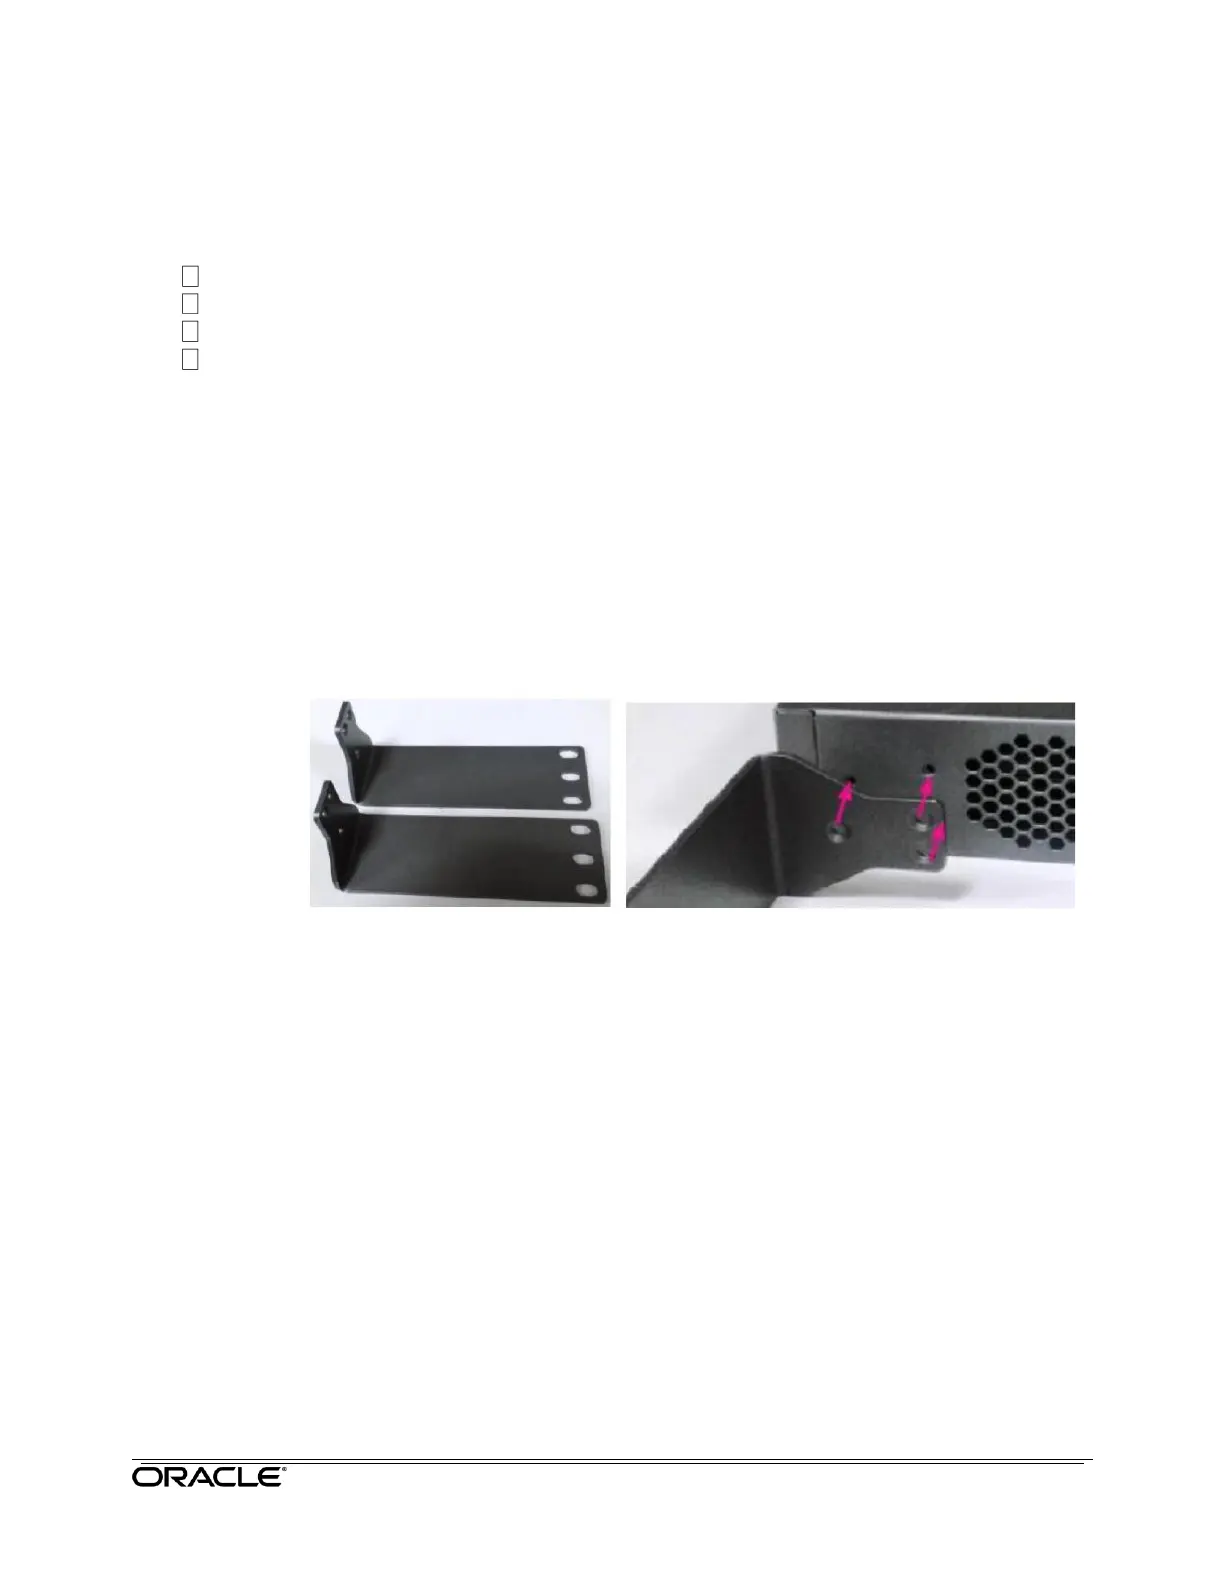
Rack mounting kit includes 2 ear brackets and 6 screws. Ears mount
towards the front (faceplate) side of the appliance. To attach the ear
brackets, follow the instructions below:
Each ear bracket has three holes, which align with matching holes on
the appliance:
Align the holes in ear brackets with the holes in the appliance, then secure
with screws:
The appliance may now be rack-mounted in a standard 19-inch rack.
2. User-provided standard 1U tray designed for rack mounting.
The Talari E50 is designed to fit a standard 1U tray within a rack. Two
E50 devices may be placed in a rack shelf with a divider. Adhere the
optional Adhesive Rubber Feet to prevent slippage.
Safety Recommendations
Prior to installing the device, adhere to the following installation guidelines:
Ensure that there is adequate airflow. Restricted airflow can damage the
equipment.
Cables should be easily identifiable.