EasyManua.ls Logo

Oreck XL Zip Vac Ultra ZIP100 Series User Manual

Oreck XL Zip Vac Ultra ZIP100 Series
2 pages
To Next Page IconTo Next Page
Page #1 background imageLoading...
Page #1 background image
SIMPLY AMAZING
®
U
SERS GUIDE
•IMPORTANT•
SAVE THIS BOOKLET!
Includes:
Important Safety Instructions
Warranty
Operating Instructions
Zip Vac
®
Ultra
®
Rechargeable Vacuum
ZIP100 Series
40198-01 REV A
©2003 Oreck Holdings, LLC. All rights reserved. All word marks, logos, product configurations, and registered trademarks are owned and used
04/03
under the authorization of Oreck Holdings, LLC.
REGISTER YOUR PRODUCT
ON THE WEB:
WWW.ORECK.COM
Oreck Corporation
100 Plantation Road
New Orleans, LA 70123
USA: 1-800-989-3535
CANADA: 1-888-676-7325
WWW.ORECK.COM
VISIT ONE OF OUR
OVER 750 LOCATIONS
Question and Answer IconNeed help?

Do you have a question about the Oreck XL Zip Vac Ultra ZIP100 Series and is the answer not in the manual?
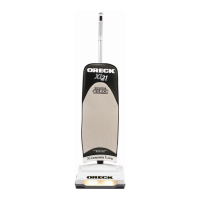
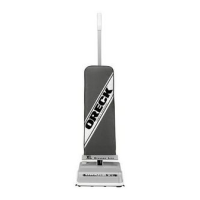
Oreck XL Zip Vac Ultra ZIP100 Series Specifications

General IconGeneral
CategoryVacuum Cleaner
Weight8 lbs
Cord Length25 ft
Dust Capacity0.5 gallons
Power SourceCorded Electric
Voltage120V
ModelZIP100
TypeUpright
Filter TypeHEPA

Summary

Important Safety Instructions

General Safety Precautions

Read and follow instructions, use for intended purpose, avoid damaged cords, keep openings clear.

Specific Usage Warnings

Do not pick up combustibles, operate without filter, allow supervision near children, do not use as a toy.

Warranty Information

Product Registration

Register your product on the web at WWW.ORECK.COM for warranty service.

Parts and Service

Included Parts

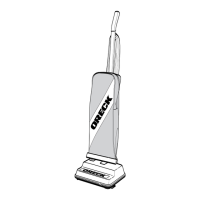
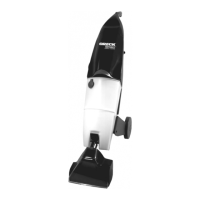
Lists the main vacuum unit and included accessories like crevice and brush tools.

Replacement Parts

Identifies separately available replacement parts like bulb, reflector assembly, and dust filter.

Repair or Replacement Inquiries

Contact Oreck Customer Service for assistance and specify product model number for service.

Operating Instructions

Initial Setup and Charging

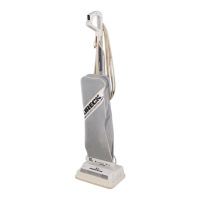
Mount wall holder, wrap cord, plug in charger, place vacuum for charging.

Using the Vacuum and Light

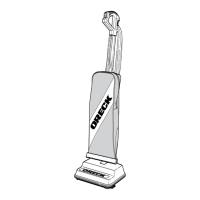
Operate unit with power switch, control light independently using top switch.

Attachments and Cleaning

Attach tools to nozzle, remove and clean dust container and filter.

Bulb Replacement

Replace light bulb by pushing and twisting counter-clockwise, use same voltage bulb.

Related product manuals