4
GB
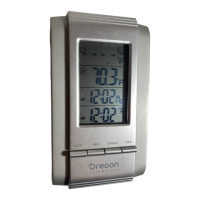
The Start Date Display
Set the start date to any date after January 1
st
, 1998.
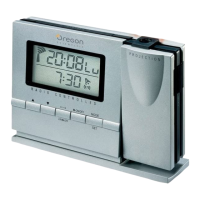
The Target Date Display
The target date shows the date that has been chosen for the target
of the countdown alarm.
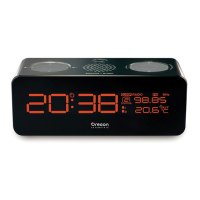
Remaining Time [day / hour / minute] Display
The remaining time to a targeted date is shown in the number of
days / hours / and minutes.
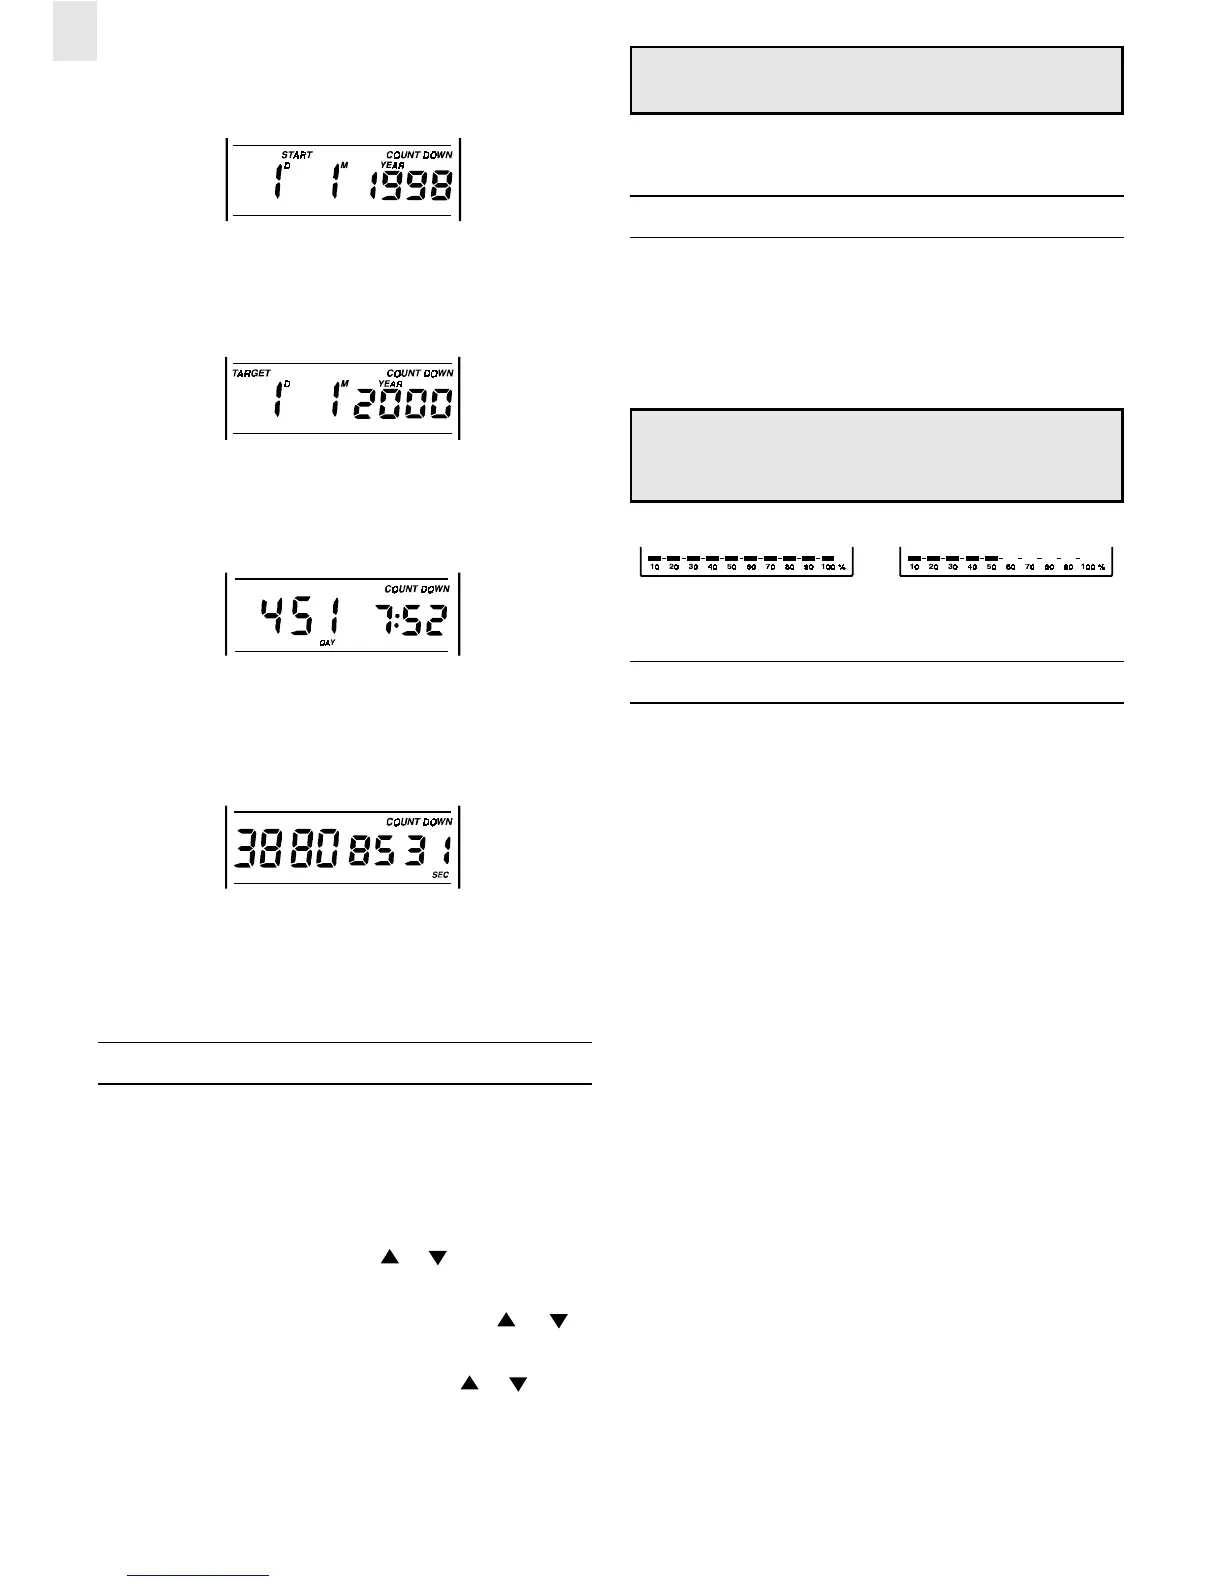
Remaining Time [seconds] Display
The remaining time to a targeted date is shown in the number of
seconds.
In a display other than the Current Date Calendar Display, if no
key is pressed for about 8 seconds, the display will automatically
return to the calendar display.
SETTING THE DATE ALARM
The JM828CD is preset to countdown to the Year 2000 /1/1/
2000)
To change the countdown date:
1. In the Target Date Display, press and hold MODE for about 2
seconds. The year will flash. Use
or to enter the appro-
priate year.
2. Press MODE, the month digits will flash. Use
or to
enter the appropriate month.
3. Press MODE, the day digits will flash. Use
or to enter
the appropriate day.
4. Press MODE to confirm and exit to other displays.
Note: The Date Alarm will sound regardless of whether the
daily alarm icons are displayed.
When the alarm is sounding, to turn off, press ON/OFF.
ABOUT THE BAR GRAPH
At the bottom of the LCD is a bar graph. This graph visually
shows the amount of time remaining between the target date and
the start date. When a target date is first set the graph will show
that 100% [FIG A] of time still remains. When half of the time has
passed, the graph will show 50% [FIG B]. As the target date
approaches, the remaining bar graph gets smaller.
Note: If the Start Date is disabled, the bar graph will also be
disabled. To enable the bar graph, both the target date and
the start date must be set.
FIG A FIG B
MAINTENANCE
When handled properly, this unit is engineered to give you years
of satisfactory service. Here are a few product care instructions:
1. Do not immerse the unit in water. If the unit comes in contact
with water, dry it immediately with a soft lint-free cloth.
2. Do not clean the unit with abrasive or corrosive materials.
Abrasive cleaning agents may scratch the plastic parts and
corrode the electronic circuit.
3. Do not subject the unit to excessive: force, shock, dust,
temperature, or humidity. Such treatment may result in mal-
function, a shorter electronic life span, damaged batteries, or
distorted parts.
4. Do not tamper with the unit’s internal components. Doing so
will terminate the unit’s warranty and may cause damage. The
unit contains no user-serviceable parts.
5. Only use new batteries as specified in this instruction manual.
Do not mix new and old batteries as the old batteries may leak.
6. Read this instruction manual thoroughly before operating
the unit.
 Loading...