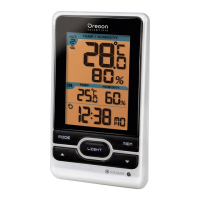
4
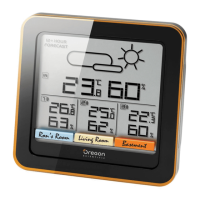
1. LCD display
2. LED status indicator
3. Wall mount hole
4.
5. switch
6. Battery compartment
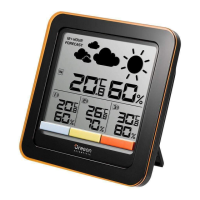
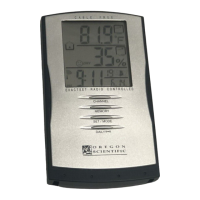
1
2
3
4
5
1. LED status indicator
2. Wall mount hole
3. Battery compartment
4. hole
5. switch
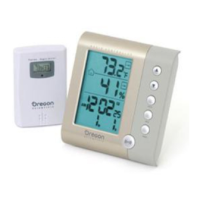
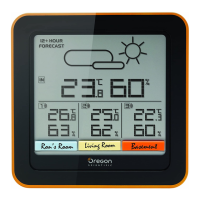
Optional wireless remote sensors such as those
listed below can be purchased separately. For more
information, please contact your local retailer.*
-THGR122N / THGN122N
- THGN132N
* Features and accessories will not be available in all
countries.
1. Step applicable only to THGR122N:
Using a Philips screwdriver, open the battery
compartment cover.
2. Slide channel switch to select channel 1. Ensure
you use a different channel for the other sensors
(2, 3).
3. Insert the batteries, matching the polarities.
4. Press after each battery change.
5. Replace the battery compartment cover.
RAR501_IM_EN_R4.indd 4 12-6-15 下午2:31
 Loading...