2
GB
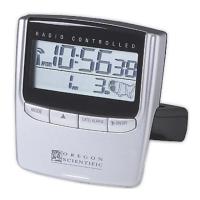
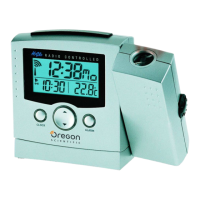
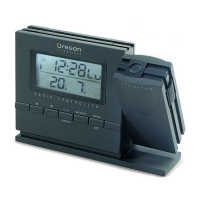
DISPLAY BUTTONS
A DIGITAL CLOCK DISPLAY
B ANALOG CLOCK DISPLAY
CONTROL BUTTONS
C [MODE/SET] BUTTON
Changes the display mode or holds to enter the setting routine
D [ALARM] BUTTON
Manipulates the daily alarm function
E[
] AND [ ] BUTTONS
Change the value of a setting
F[
SNOOZE
] BUTTON
Activates the snooze function or turns on the back-light and
clock projection
G [RESET] BUTTON
Returns all settings to default values
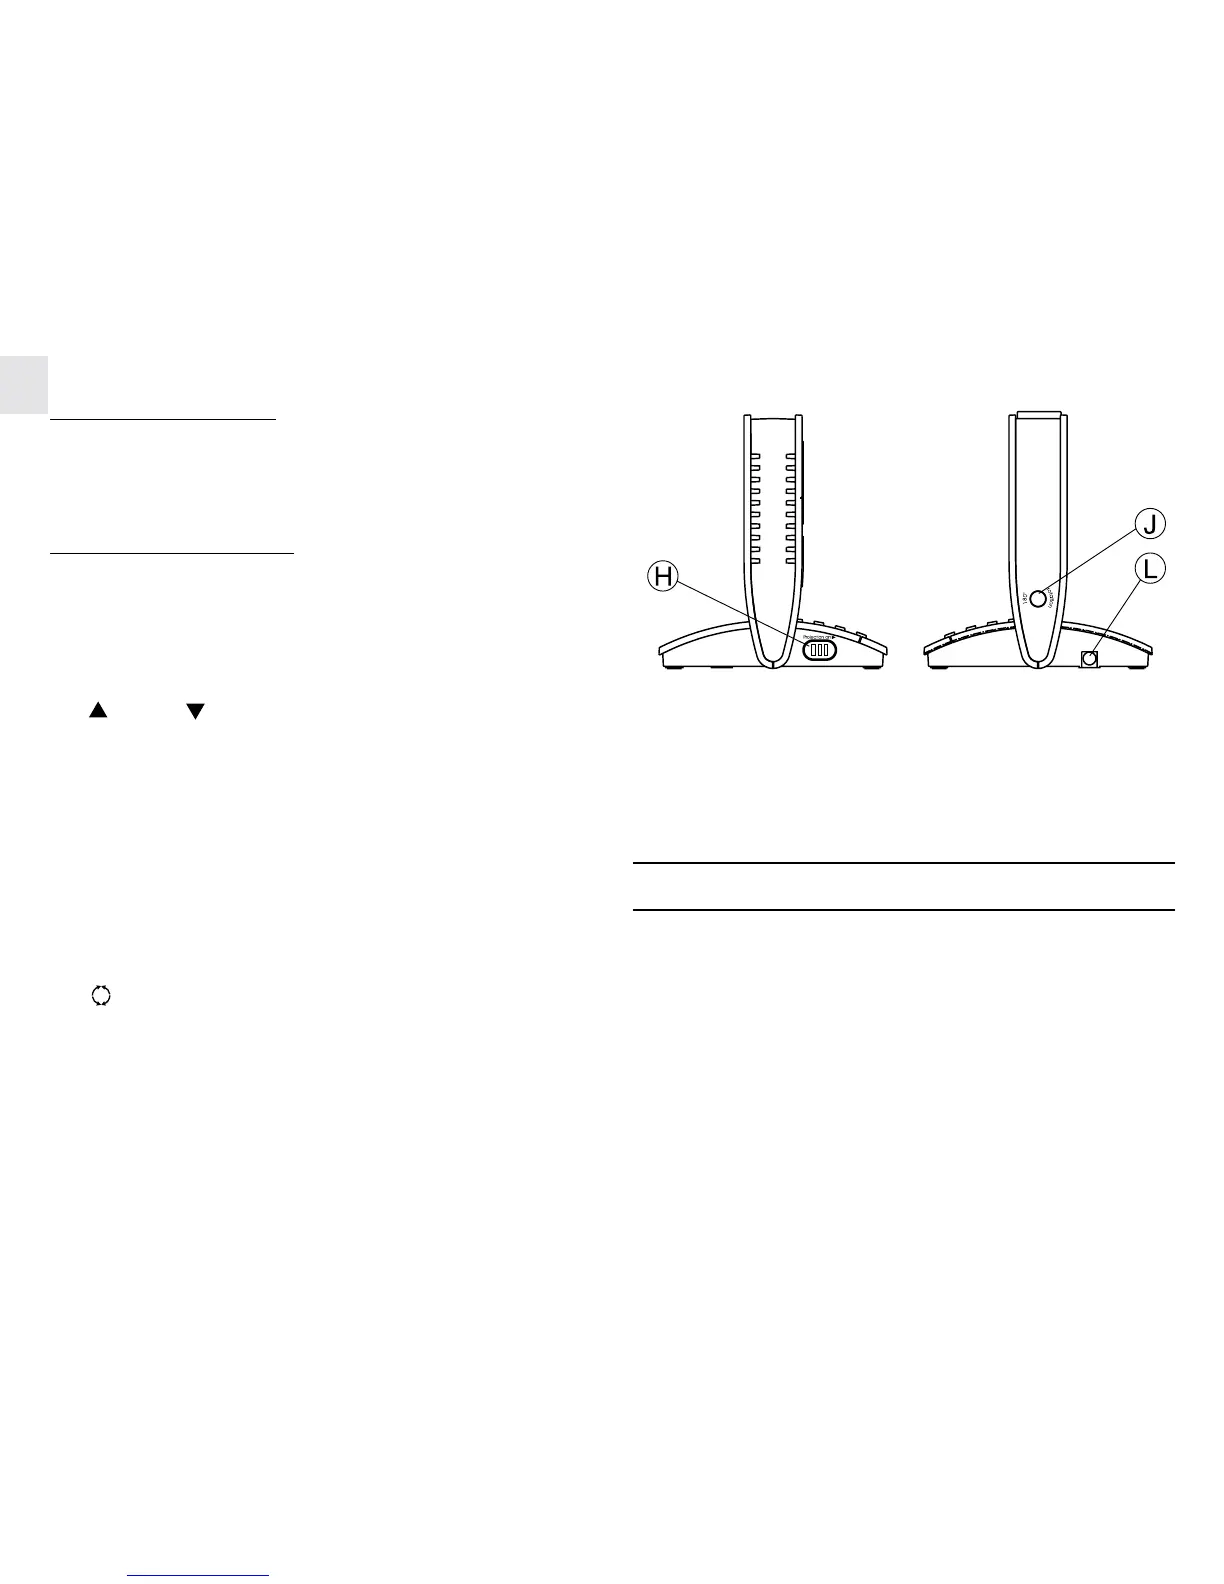
H [PROJECTION ON] BUTTON
Used with power adapter to enable continuous projection
I[ ] [IMAGE ROTATION] KNOB
90º (left or right) image rotation
J [180º ROTATION] BUTTON
Flips the projected image horizontally
K [FOCUS] KNOB
Adjusts the focus of clock projection
L 3 V DC JACK
For AC power adapter installation
M WALL - MOUNT HOLE
N PROJECTOR
POWER
This unit can be operated by batteries or AC power alone as well as
both together.
Battery Installation:
1. Remove the battery compartment door.
2. Insert two AA-sized (UM-3) 1.5V batteries as shown.
3. Press [RESET] .
4. Replace the battery compartment door.