ASSEMBLY INSTRUCTIONS
Assembly/Setup
AA.. MMoouunntt GGrriinnddeerr ttoo aa BBeenncchh oorr WWaallll::
11.. FFoorr ccoorrrreecctt bbeenncchh ppoossiittiioonniinngg
, use the
notch on the base of the grinder.
(see Figure 1).
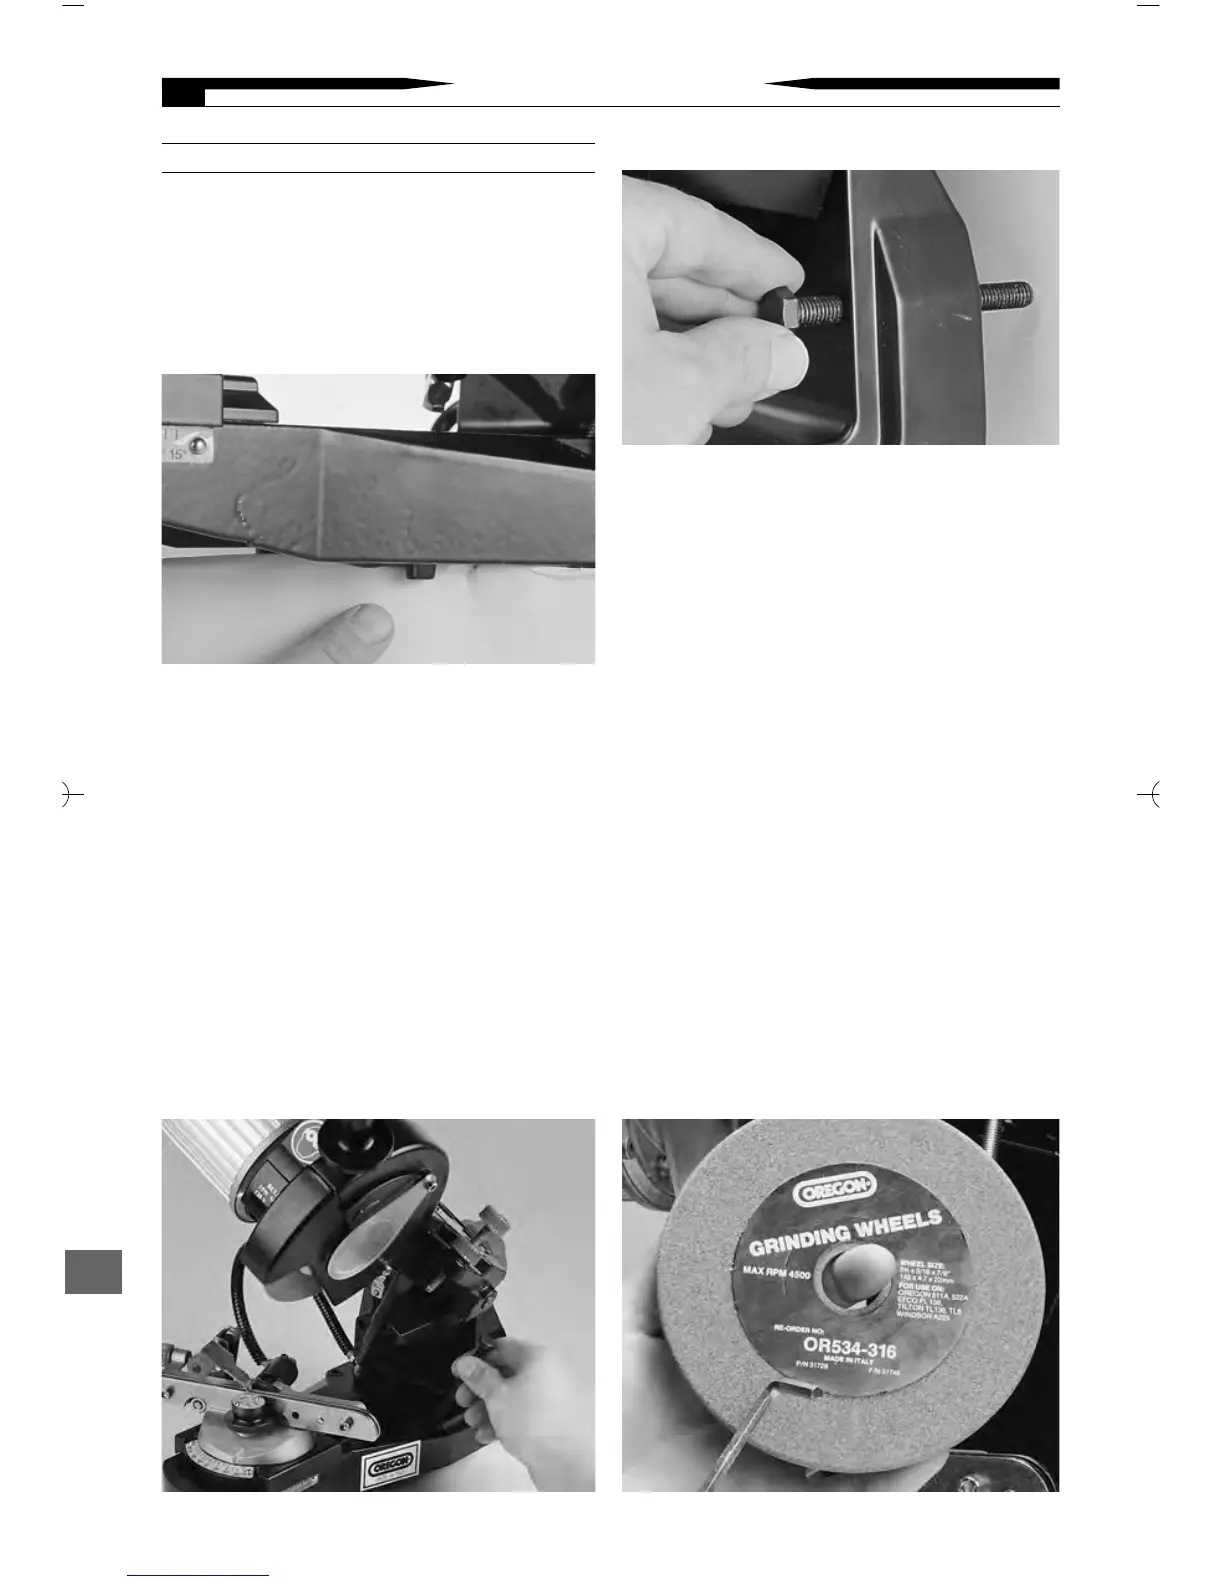
22.. MMoouunntt tthhee uunniitt oonn aa bbeenncchh oorr wwoorrkkttoopp
using nuts and bolts (see Figure 2).
33.. TToo mmoouunntt tthhee uunniitt ttoo aa wwoorrkksshhoopp wwaallll
, use
three 8mm expansion bolts (not provided)
(see Figure 3).
NNoottee::
For wall mounting, the position
adjustment knob, at the back of the unit,
will need to be replaced with a large nut
(not provided).
44.. TThhee mmaacchhiinnee mmuusstt bbee
connected to a 120V
10A socket and the socket must be correctly
grounded and fitted with a 10A fuse.
BB.. SSeelleeccttiinngg aanndd MMoouunnttiinngg tthhee GGrriinnddiinngg
WWhheeeell::
11.. FFoorr tthhee aapppprroopprriiaattee ssiizzee ggrriinnddiinngg wwhheeeell
see table 2 on page 13.
22.. MMaakkee ssuurree tthhaatt tthhee ggrriinnddiinngg wwhheeeell iiss iinn
ppeerrffeecctt ccoonnddiittiioonn
. Hang the wheel by the
center hole and tap it lightly with a metal
object on one side near the perimeter. If a
flat tone is heard it may be cracked or
broken.
DDoo nnoott uussee!!
(see Figure 4).
33.. PPoossiittiioonn tthhee ddeessiirreedd ggrriinnddiinngg wwhheeeell iinnssiiddee
the shield guard assembly onto the motor
flange and insert arbor bolt, with washer,
through the wheel center hole into motor
shaft. Tighten the arbor bolt, with the large
5.5mm Allen wrench (provided with this
unit), to a snug fit (see Figure 5). Do not
over-tighten this bolt, as doing so may cause
damage to the wheel, rendering it unusable.
44..
Install the wheel guard (see Figure 6).
Figure 3
6
Figure 2
Figure 1
Figure 4

 Loading...