CC.. DDrreessssiinngg TThhee GGrriinnddiinngg WWhheeeell::
11..
Set the motor/head to the 90-degree position.
22..
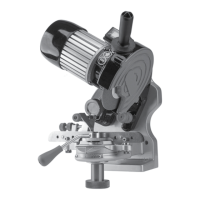
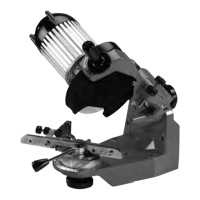
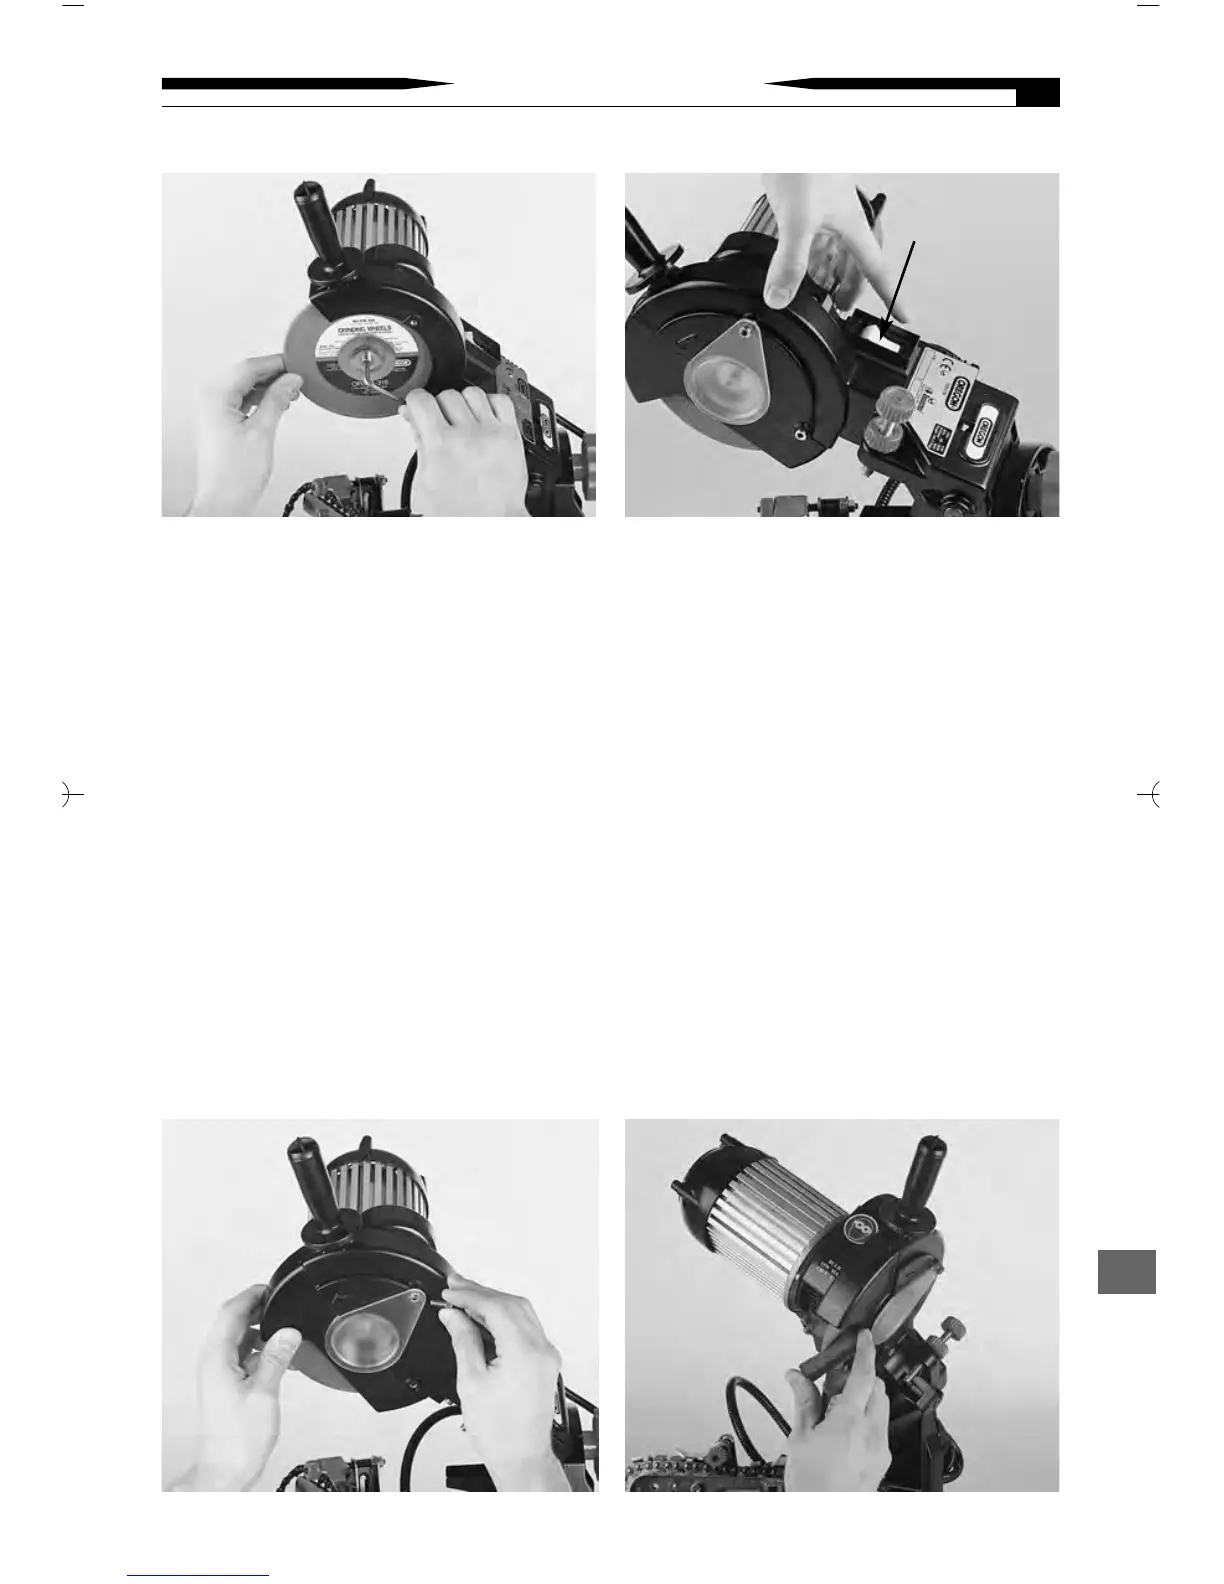
With the grinder in the “OFF” position
(white switch, Figure 7), check the profile
of the wheel using the special template
(provided with this unit). If the wheel
profile is not correct according to the
template, the wheel will need to be
dressed until it does fit the proper profile.
33..
Connect the plug correctly to a serviceable
electrical outlet, then turn the grinder to the
“ON” position (white switch, see Figure 7).
44..
From a safe distance at the side of the unit,
observe the grinding wheel as it turns to
make sure it does not oscillate either laterally
or transversally. If wheel turns in a true and
even rotation, allow wheel to turn for one
minute before wheel is dressed.
NNoottee::
If the wheel does not run true, turn
the unit off, troubleshoot and correct the
problem before proceeding.
55..
Begin dressing the full radius of the wheel
with the use of the dressing brick provided
with this unit (see Figure 8). For best results
use quick, light strokes with the brick to form
the desired profile.
66..
Turn the unit off and use the special orange
template to re-check the profile of the wheel.
NNoottee::
If necessary, turn electrical power on
and repeat steps 5 and 6 until desired profile
of the wheel is obtained.
RReeppllaaccee tthhee wwhheeeell iiff nneecceessssaarryy..
ASSEMBLY INSTRUCTIONS
7
Figure 5 Figure 7
Figure 6
ON/OFF
Figure 8
 Loading...