6
button cell battery to make contact with the nder scope’s elec-
tronic circuitry to power the nder’s red LED illuminator. The tab
can then be discarded.
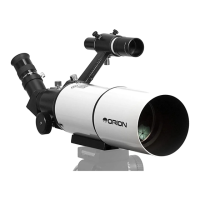
To use the red dot nder scope properly, it must be aligned with
the main telescope. This is easiest to do during daylight hours,
before observing at night. Follow this procedure:
1. First, remove the dust cap (T) from the front of the tele-
scope.
2. With the star diagonal and 25mm eyepiece already in
place from step 13 above, point the telescope at a well-
dened land target (e.g., the top of a telephone pole) that’s
at least a quarter mile away. Center the target in the eye-
piece by turning the slow-motion cables (P) as needed
to point the telescope. For larger telescope movement,
release the R.A. and Dec. axis lock knobs (Figure 18) and
move the telescope tube by hand to the approximate loca-
tion, then retighten the lock knobs and make ner pointing
adjustments with the slow motion cables.
Note: The image in the telescope will appear mirror reversed,
i.e., reversed left to right. This is normal for refractor tele-
scopes used for astronomical observing with a standard star
diagonal. (For terrestrial observing we recommend using an
optional “correct image” diagonal, which will serve up a cor-
rectly oriented view.)
3. Now that a distant target is centered in the main tele-
scope’s eyepiece, turn on the red dot nder scope by slid-
ing the power switch to ON (refer to Figure 17). The “1”
position provides dim illumination while the “2” position
provides brighter illumination. Typically the dimmer setting
is used under dark skies and the brighter setting is used
under light-polluted skies or in daylight. Position your eye
at a comfortable distance from the rear of the unit. Look
through the rear of the nder scope with both eyes open
to see the illuminated red dot. The target object should
appear in the eld of view somewhere near the red dot.
4. You’ll want to center the target object on the red dot. To do
so, without moving the telescope, use the nder scope’s
vertical and horizontal adjustment knobs (shown in Figure
17) to position the red dot on the object.
5. When the red dot is centered on the distant object, check
to make sure the object is still centered in the telescope’s
eyepiece. If it isn’t, re-center it then adjust the finder
scope’s alignment again. When the object is centered in
the telescope eyepiece and on the nder scope’s red dot,
the nder scope is properly aligned with the telescope.
The red dot nder scope’s alignment should be checked
before every observing session.
At the end of your observing session, be sure to slide the power
switch on the red dot nder scope to OFF to preserve battery life.
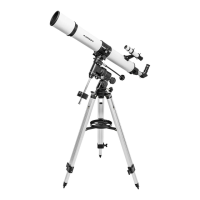
Balancing the Telescope
In order for the telescope to move smoothly on its mechanical
axes, it must rst be balanced as follows:
1. Loosen the R.A. lock knob half a turn or so (Figure 19).
With the R.A. lock knob loosened, the telescope mount
will turn freely about the polar (R.A.) axis. Rotate the tele-
scope about the polar axis so that the counterweight shaft
is parallel to the ground (horizontal), as shown.
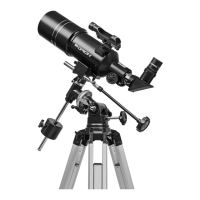
Figure 7. a) Install the equatorial mount onto the tripod mount
platform, then b) secure it from the underside with azimuth lock knob.
Azimuth
lock knob
Washer
Figure 8. Screw in the latitude adjustment bolt.
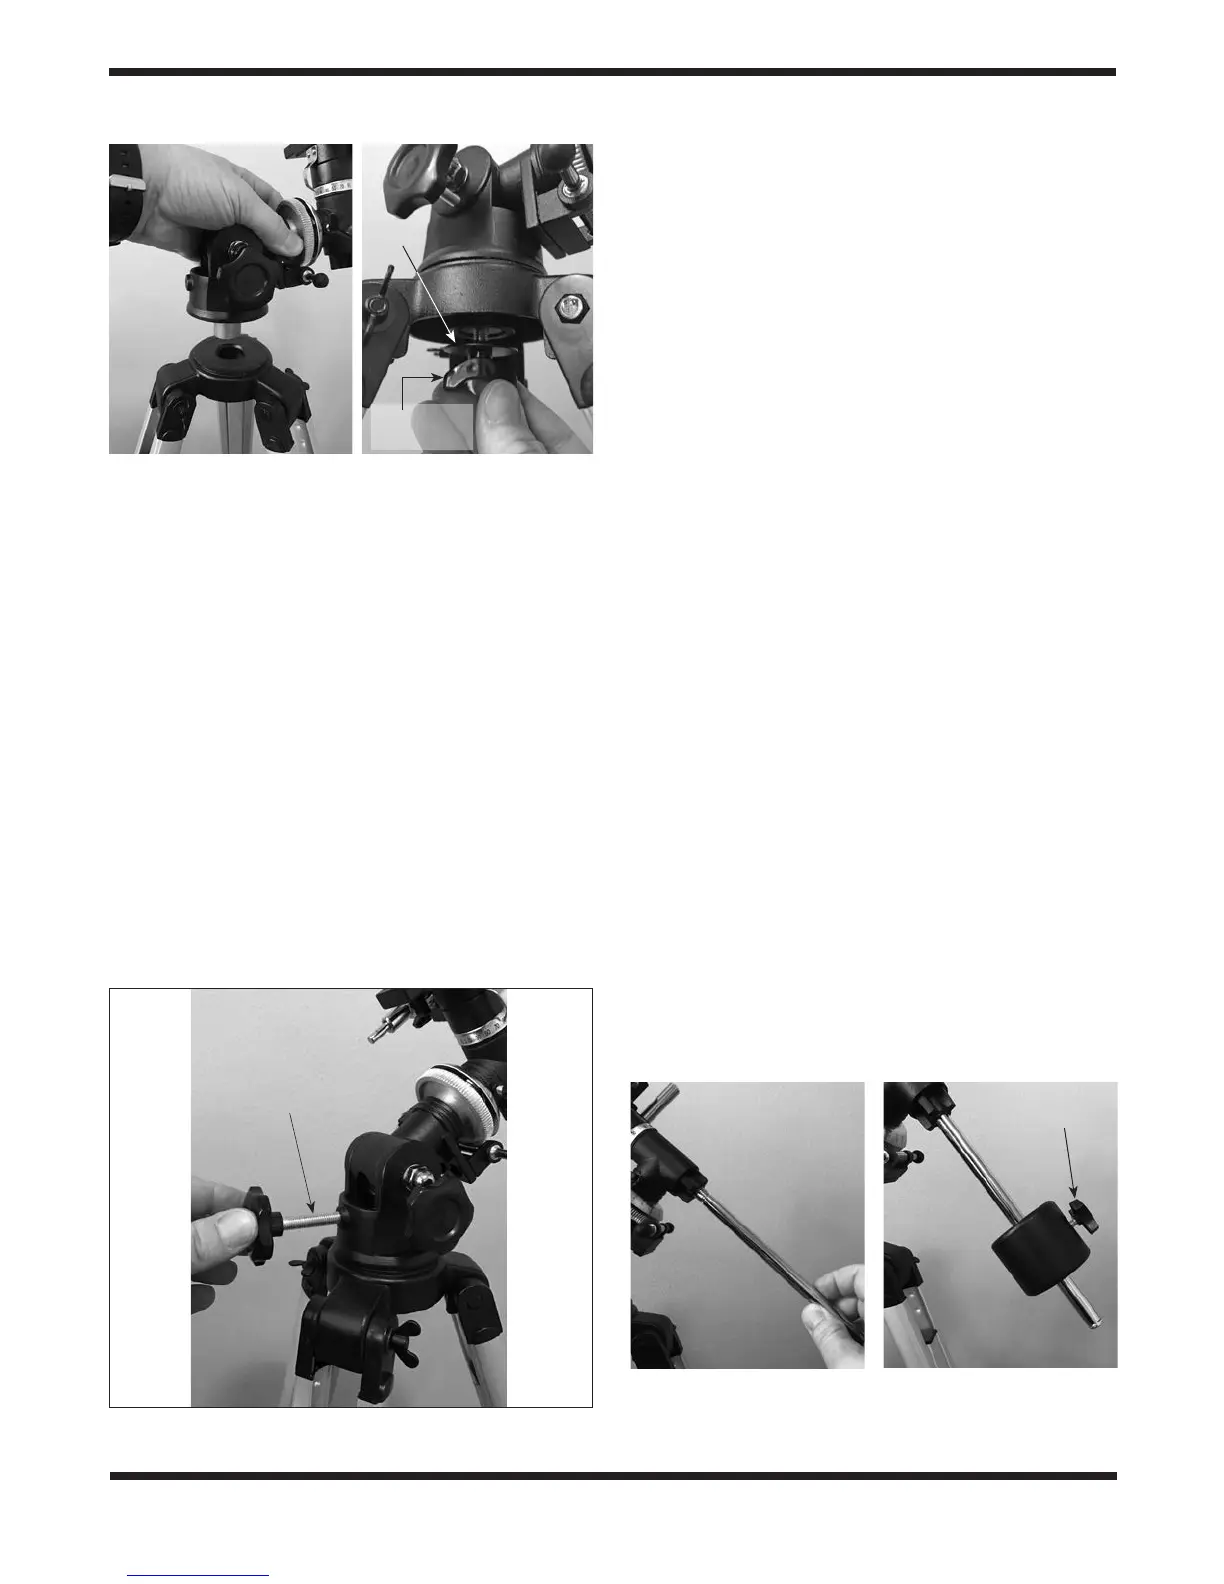
Figure 9. Thread the counter-
weight shaft into the declination
housing.
Figure 10. The
counterweight, installed.
Lock knob
Latitude adjustment
bolt