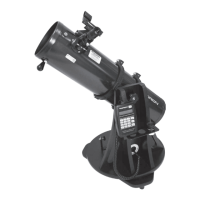
11
mirror alignment screws then lightly tightening the other two
(Figure 14), using a Phillips screwdriver. Be sure to loosen
a screw as the rst step, followed by light tightening of the
other(s). And turn the screws by only 1/8 turn or less at a given
time as you make adjustments. The goal is to center the pri-
mary mirror reection in the secondary mirror, as in Figure
13C. Don’t worry that the reection of the secondary mirror
(the smallest circle) is off-center. You will x that in the next
step. It will take some trial and error to determine which screws
to loosen and tighten to move the reection of the primary mir-
ror to the center of the secondary mirror. But be patient and
you’ll get it.
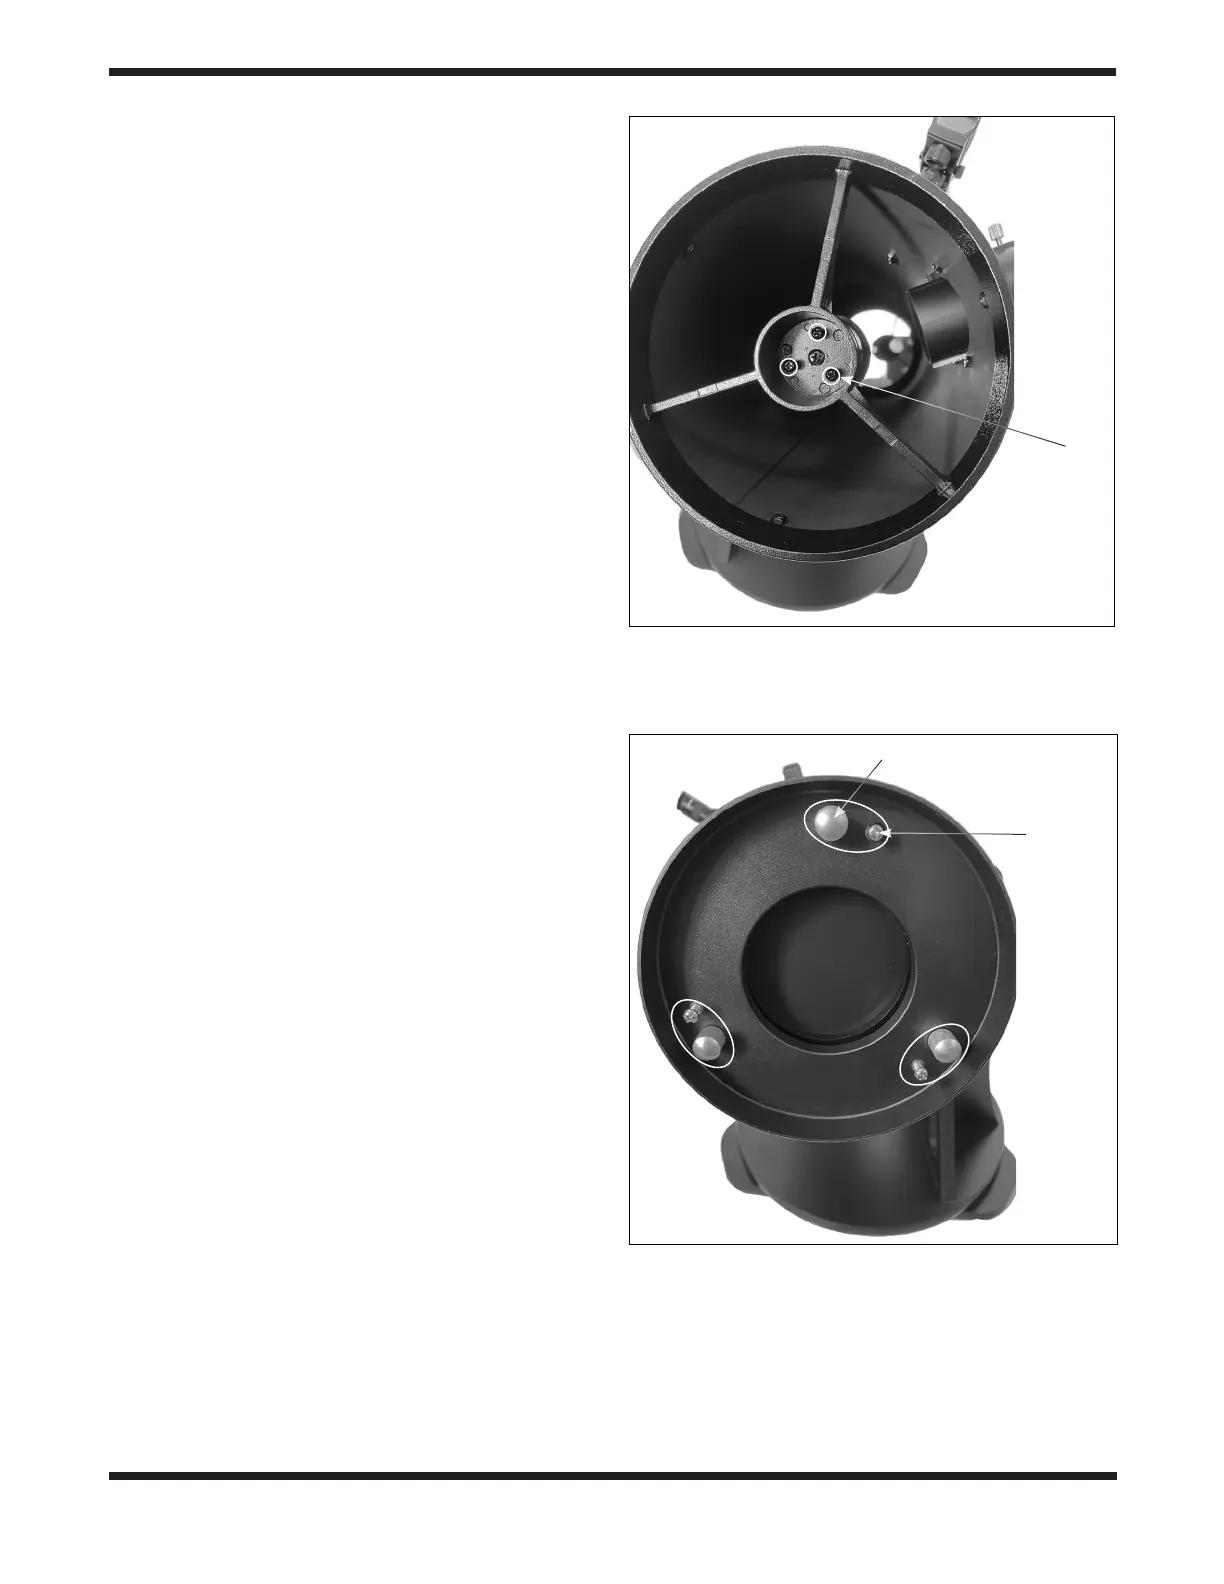
Aligning the Primary Mirror
The nal adjustment is made to the primary mirror. It will need
adjustment if, as in Figure 13C, the reection of the primary
mirror is centered in the secondary mirror, but the small reec-
tion of the secondary mirror is off-center. The tilt of the primary
mirror is adjusted using three spring-loaded collimation knobs
and three smaller Phillips screws on the back end of the opti-
cal tube (Figure 15). First loosen the three lock screws a turn
or so. Then tighten one of the collimation knobs about a quar-
ter turn and see if the secondary mirror reection has moved
closer to the center of the primary. If it moved farther away
then try loosening the same collimation knob a bit. Repeat this
process on the other two sets of collimation screws, if neces-
sary, adjusting them one way or the other and seeing if the
secondary mirror reection moves closer to the center of the
primary mirror reection. It will take a little trial and error to get
a feel for how to tilt the mirror in this way. When the center hole
in your collimating tool is centered as much as possible on
the reection of the adhesive dot on the primary mirror, your
primary mirror is collimated. The view through the collimation
cap should resemble Figure 13D. Then, very lightly tighten
the three lock screws so that the primary mirror stays in that
position. A simple star test will tell you whether the optics are
accurately collimated.
Star-Testing the Telescope
When it is dark, point the telescope at a bright star and accu-
rately center it in the eyepiece’s eld of view. Slowly de-focus
the image with the focusing knob. If the telescope is correct-
ly collimated, the expanding disk should be a perfect circle
(Figure 16). If the image is unsymmetrical, the scope is out
of collimation. The dark shadow cast by the secondary mirror
should appear in the very center of the out-of-focus circle, like
the hole in a donut. If the “hole" appears off-center, the tele-
scope is out of collimation.
If you try the star test and the bright star you have selected is
not accurately centered in the eyepiece, the optics will always
appear out of collimation, even though they may be perfectly
aligned. It is critical to keep the star centered, so over time you
may need to make slight corrections to the telescope’s posi-
tion in order to keep the star in the center of the eld of view.
A good star to point at for a star test is Polaris, the North Star,
because its position does not move signicantly over time.
Figure 14. Use a Phillips screwdriver to adjust the three
secondary mirror collimation screws.
Secondary
mirror
collimation
screws
(Phillips)
Figure 15. The optical tube’s rear cell has three pairs of
collimation screws for adjusting the tilt of the primary mirror. The
large knobs are the spring-loaded collimation knobs while the
smaller Phillips screws are the locking screws.
Lock screw
(Phillips)
Collimation knob
 Loading...