20 21
1. If your guide scope has a focus lock, firmly tighten the focus lock
thumb screw after you have focused on your guide star.
2. If you are using adjustable guide scope tube rings, make sure all
thumb screws are firmly tightened against the guide scope tube.
3. The guide scope tube rings and mounting plate should be tightened
very securely against the main imaging scope. Check for any visual
flexure or movement by gently pressing against the guide scope.
4. The focuser and tube rings on the main imaging scope should also
be firmly in place. It is not uncommon for screws and bolts to come
loose after a few usages; so they should be checked before each
imaging session.
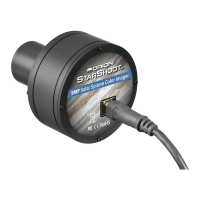
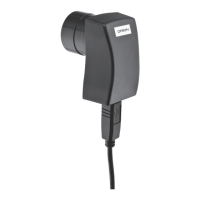
Cabling
The SSAG uses only two light-weight cables; a USB cable and the
autoguide cable. Keep an eye on the cables as you move the scope
around. If there is any stress on the cables, your tracking may be
affected.
Some imaging cameras use heavy-duty cables with significant weight.
These cables can contribute to differential tube flexure. If you are get-
ting images with oblong stars and your tracking appears to be good
otherwise, try tying any heavy cables to a secure location on your
mount. It does not take much resistance against the autoguider or
imager to create poor tracking.
USB Extension Cable
In many instances, it is likely a longer cable for the SSAG will be needed
in order to comfortably setup the telescope, camera, and computer. We
recommend purchasing a 10' USB extension cable if you need more
cord length (available from Orion).
Using the SSAG
with MaxIm DL
Essentials
For StarShoot Deep Space
Imaging Camera users MaxIm
DL Essentials version 1.08
and later supports the use of
the SSAG. You can simultane-
ously operate the StarShoot
AutoGuider and StarShoot Deep
Space Imager at the same time.
1. Plug the SSAG and the
SSDSCI/SSDSMI (II) into the
USB ports on your computer.
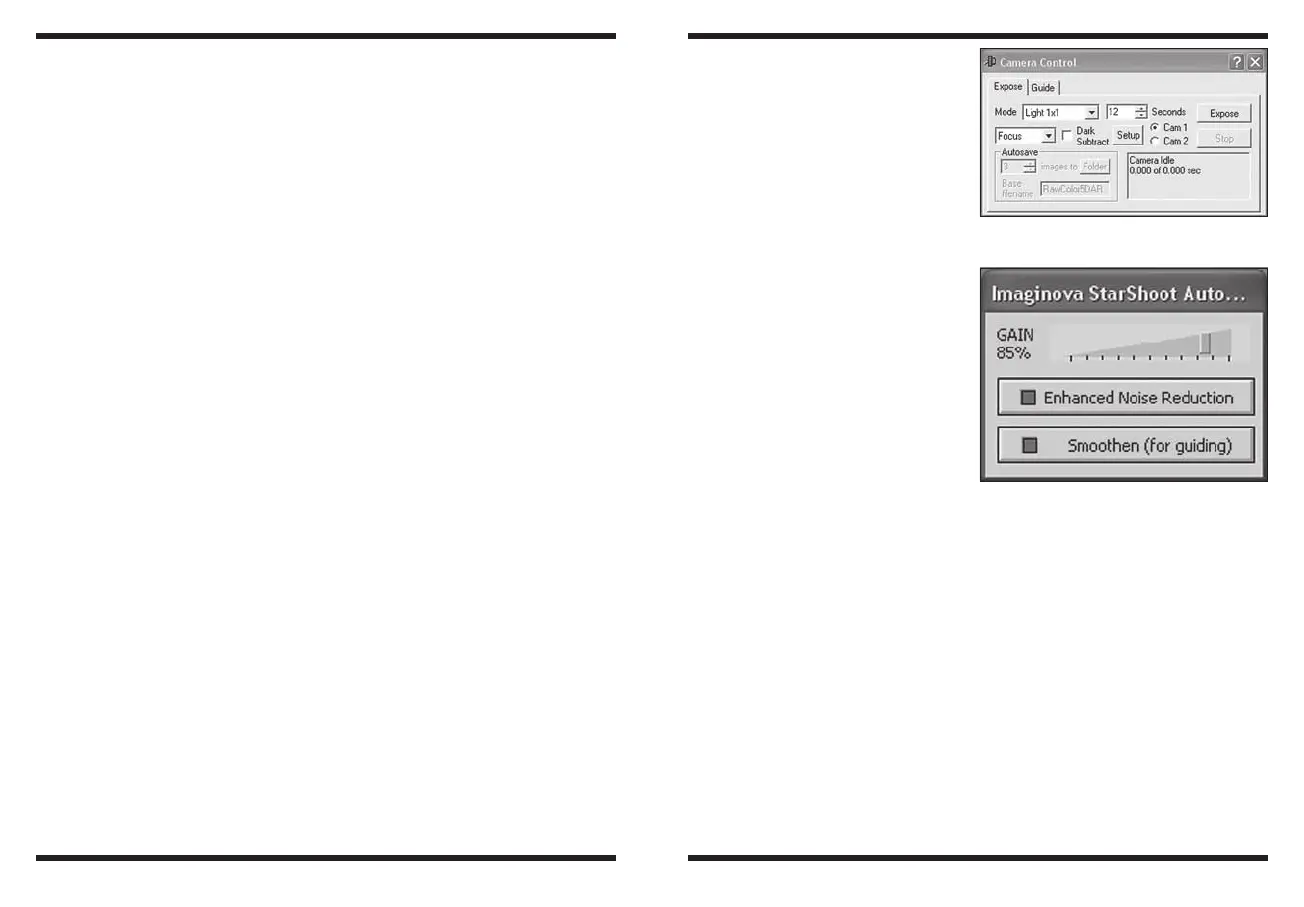
2. Load MaxIm DL Essentials.
The Camera Control window
should have an option to
select Cam 1 or Cam 2 (Fig-
ure 11). You will also notice
the Imaginova StarShoot
AutoGuider window appear
in the center of the screen
(Figure 12). This window
allows you to adjust the camera gain and optionally enable noise
reduction.
3. Determine which camera the SSAG is, Cam 1 or Cam 2. This is
done by taking a 1 second exposure in each camera. The camera
that has the larger 1280x1024 image is the SSAG.
4. Click the Autoguide tab in the camera control window. Select the
camera that corresponds to the SSAG.
5. Click the Settings button.
Figure 11. Cam 1 / Cam 2 camera
control window in MaxIm DLE
Figure 12. MaxIm DLE AutoGuider
window allows you to adjust the
camera gain and optionally enable
noise reduction to smooth out the
background noise.
 Loading...