SETUP
Number of Channels: 2
Type: Class AB
3RZHU2XWSXWSHU&KDQQHORKPV :
3RZHU2XWSXWSHU&KDQQHORKPV :
%ULGJHG2KPV 0$;
'$& '$&&7(6.06XSSRUWV%LW.K]
Capacitors: 2 x 6800uf
Frequency Bandwidth: 10-20k
7+'
0LQLPXP,PSHGDQFH 2KP
6SHDNHU2XWSXWV
7+;&HUWLÀFDWLRQ 1R
'LPHQVLRQV /['[+µ[µ[µ
Weight: 9.6 pounds
,QSXWV2XWSXWV
Number of Inputs: 3
,QSXW7\SH 5&$[86%
Power Cord: Fixed IEC 2-prong
Level Controls: Yes
Speaker Connectors: Posts
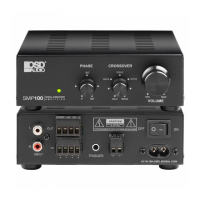
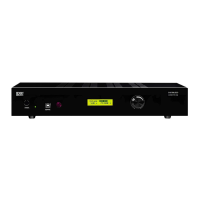
Set Rear Controls First
Spec
Mode – Either Stereo or Bridge
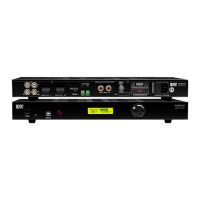
Do you want to power the amp via the front panel on/off switch or use a 12-volt trigger or have the amp turn on when a
signal is present? Select your choice on the rear panel. 1RWH If you choose Trigger or Auto, the front panel on/off switch
must be ON.
1RWH Only the digital input or the RCA Line-Level input should be used at one time. Example: If you use a digital input
and the RCA, they will both be heard.
Now connect Speakers and Sources.
Then connect the power cord.
Make sure the volume control on the front panel is turned down before turning the amp on.
Turn the amp on using the front panel on/off switch. If you are using a trigger, make sure it is on, if you are using auto,
make sure there is a signal playing.
Adjust the volume to the desired level.
Finally, adjust the tone controls on the rear panel to suit the acoustics of the room or your personal preference.
 Loading...