BEFORE USING YOUR
APPLIANCE FOR THE FIRST TIME
CLEANING AND PRIMING THE UNIT PRIOR TO FIRST USE
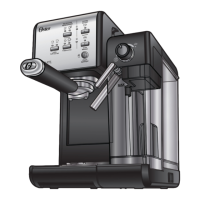
Please refer to the “Description of the Appliance” section to familiarize with the
product and identify all parts.
1. Please make sure the unit is off “O” by pressing the on/off “I/O” button located on the
side of the unit. Make sure it is unplugged from the electrical outlet.
2. Remove stickers and labels from the unit.
3. First remove and then wash the water reservoir, the milk reservoir, the porta-lter, the
3 lters and measuring scoop in a mixture of mild detergent and water. Rinse each
thoroughly and place them back into the unit.
4. Refer to the instructions on “PLACING THE PORTA-FILTER” section before placing
or removing the porta-lter and lter from the unit.
5. To clean the inside of the appliance, follow the steps listed on the “PREPARING
CAPPUCCINO” section using water in both reservoirs and no coffee in the lter. Do
not immerse the appliance in water or attempt to reach any of its internal parts.
IMPORTANT - PRIME THE UNIT
To prime unit, run the steam cycle for 90 seconds by following the steps below:
1. Fill water reservoir up to the “MAX” level.
2. Fill the milk reservoir with water up to the “Max Fill” level and slide the milk reservoir
in place. Be sure to push rmly in place.
3. Select one of the lters and place it on the porta-lter. Place the porta-lter in the unit
ensuring it is properly locked and place a cup under it. Also, make sure the tip of the
frothed milk dispensing tube is pointing inside the cup.
4. Plug the appliance into the appropriate outlet.
5. Turn the power button on “I”.
6. The 3 control panel lights will start blinking. Once these lights become solid, press the
Espresso button “ ” and hold it for 3 seconds, then release it. Once the pump starts,
let the water ow for up to 90 seconds.
7. Press the Espresso button “ ” once again to stop the process.
8. Press the Cappuccino button “ ” and hold it for 3 seconds, then release it. Once the
pump starts, let the water ow for up to 90 seconds.
9. Press the Cappuccino button “ ” once again to stop the process.
10. The 3 control panel lights will turn on solid indicating that the unit is ready to be used.
Now your unit has been primed and is ready to be used.
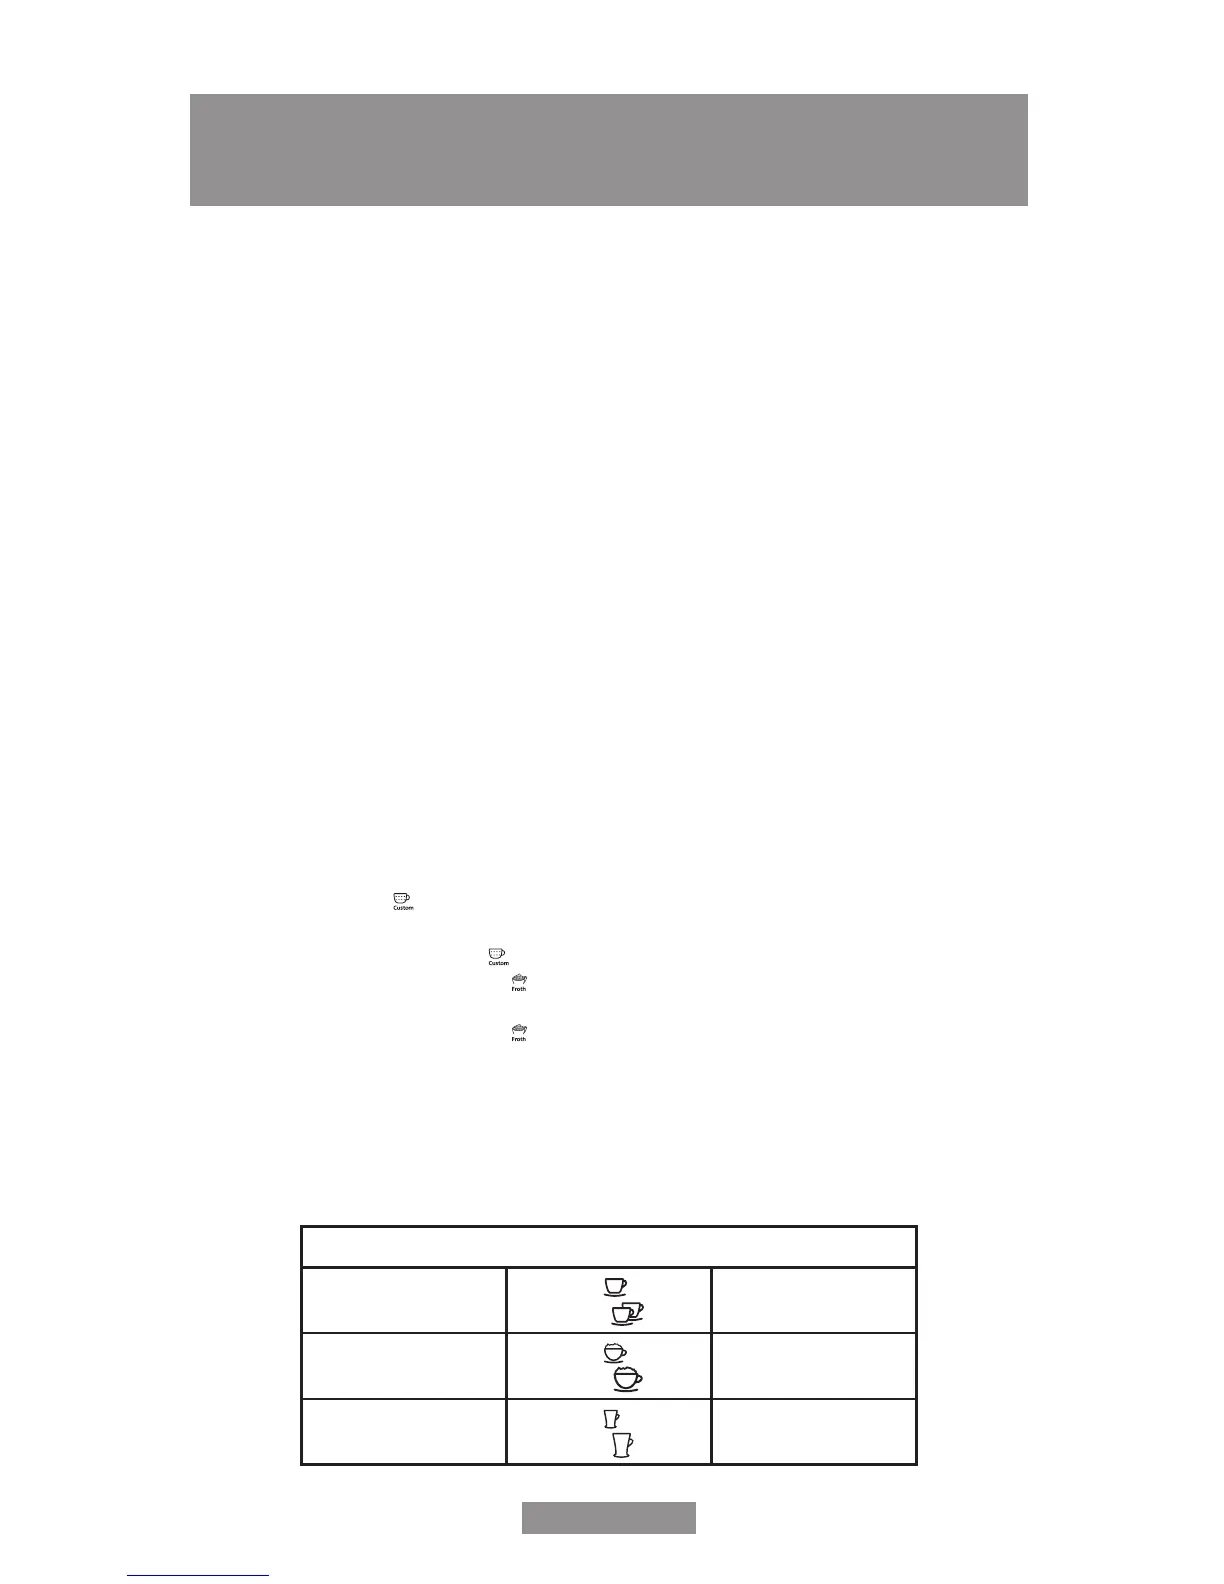
SELECTING THE RIGHT CUP
Before preparing your beverage, please make sure to select the right cup size according
to the following table:
Ratios by Beverage Type
Espresso
Single (
INTRODUCTION
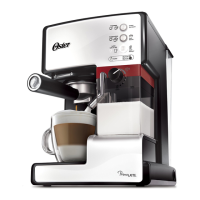
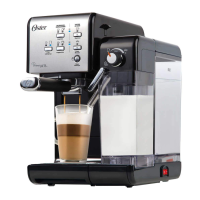
Congratulations! You have selected the new and innovative Oster
®
Automatic Espresso,
Cappuccino, and Latte Maker. This unique appliance has been designed to help
you prepare delicious espressos, cappuccinos and lattes quickly, conveniently, and
automatically with the touch of a button.
ESPRESSO
A unique method of coffee brewing in which hot water is forced through nely ground
coffee. Popular in Europe, it is a far richer and more full-bodied brew than regular drip
coffee. Because of its richness, espresso is usually served in 44 to 59 mL portions, in
demitasse cups.
CAPPUCCINO
A drink made with about ⅓ espresso, ⅓ steamed milk, and ⅓ frothed milk.
LATTE
A drink made with about ¼ espresso and ¾ steamed milk.
Please read ALL of the instructions, cautions, notes and warnings included in this
instruction manual carefully before you begin to use this appliance. When this unit is
used, some parts and accessories get hot and need to cool down. Proper care and
maintenance will ensure the long life of the Oster
®
Automatic Espresso, Cappuccino,
and Latte Maker and its trouble-free operation. Save these instructions and refer to them
often for cleaning and care tips.
Your Oster
®
Automatic Espresso, Cappuccino, and Latte Maker can be used with ground
coffee, making it exceptionally practical and versatile to prepare single shots of espresso,
cappuccino and latte.
IMPORTANT SAFETY INSTRUCTIONS
Please follow these important safety instructions while using your unit:
1. Before removing any of the parts and accessories, make sure the three lights are on,
press the on/off switch to the off position “O” and unplug the appliance.
2. Do not remove the porta-lter at any time during the brewing process.
3. Use caution when removing the porta-lter. The metal parts may still be very hot.
Also, there may be hot water oating on the top of the lter. Hold it only by its handle
and dispose of the brewed coffee ground by using the lter retention clip.
4. If coffee does not drip, the lter is blocked. Turn off the appliance and allow it to cool
down. The blockage may be caused by the coffee being too nely ground. See the
“PROBLEMS AND CAUSES” section.
5. WHEN CLEANING THE FROTHED MILK DISPENSING TUBE: Place a large cup
under the tube. Fill the milk reservoir with water and place it back on the unit. Turn
the Froth Control Knob clockwise to the clean position “ ” then press the latte/clean
button for 3 seconds and release to activate the clean function. Let the unit dispense
the water through the tube for approximately 30 seconds and then press the Latte/
Clean Button once to stop the process.
NOTE: In order for your unit to work properly time after time, clean it after every use.
5
BVSTEM6601-049_14EM1.indd 7-8 10/06/14 11:19 AM
 Loading...